


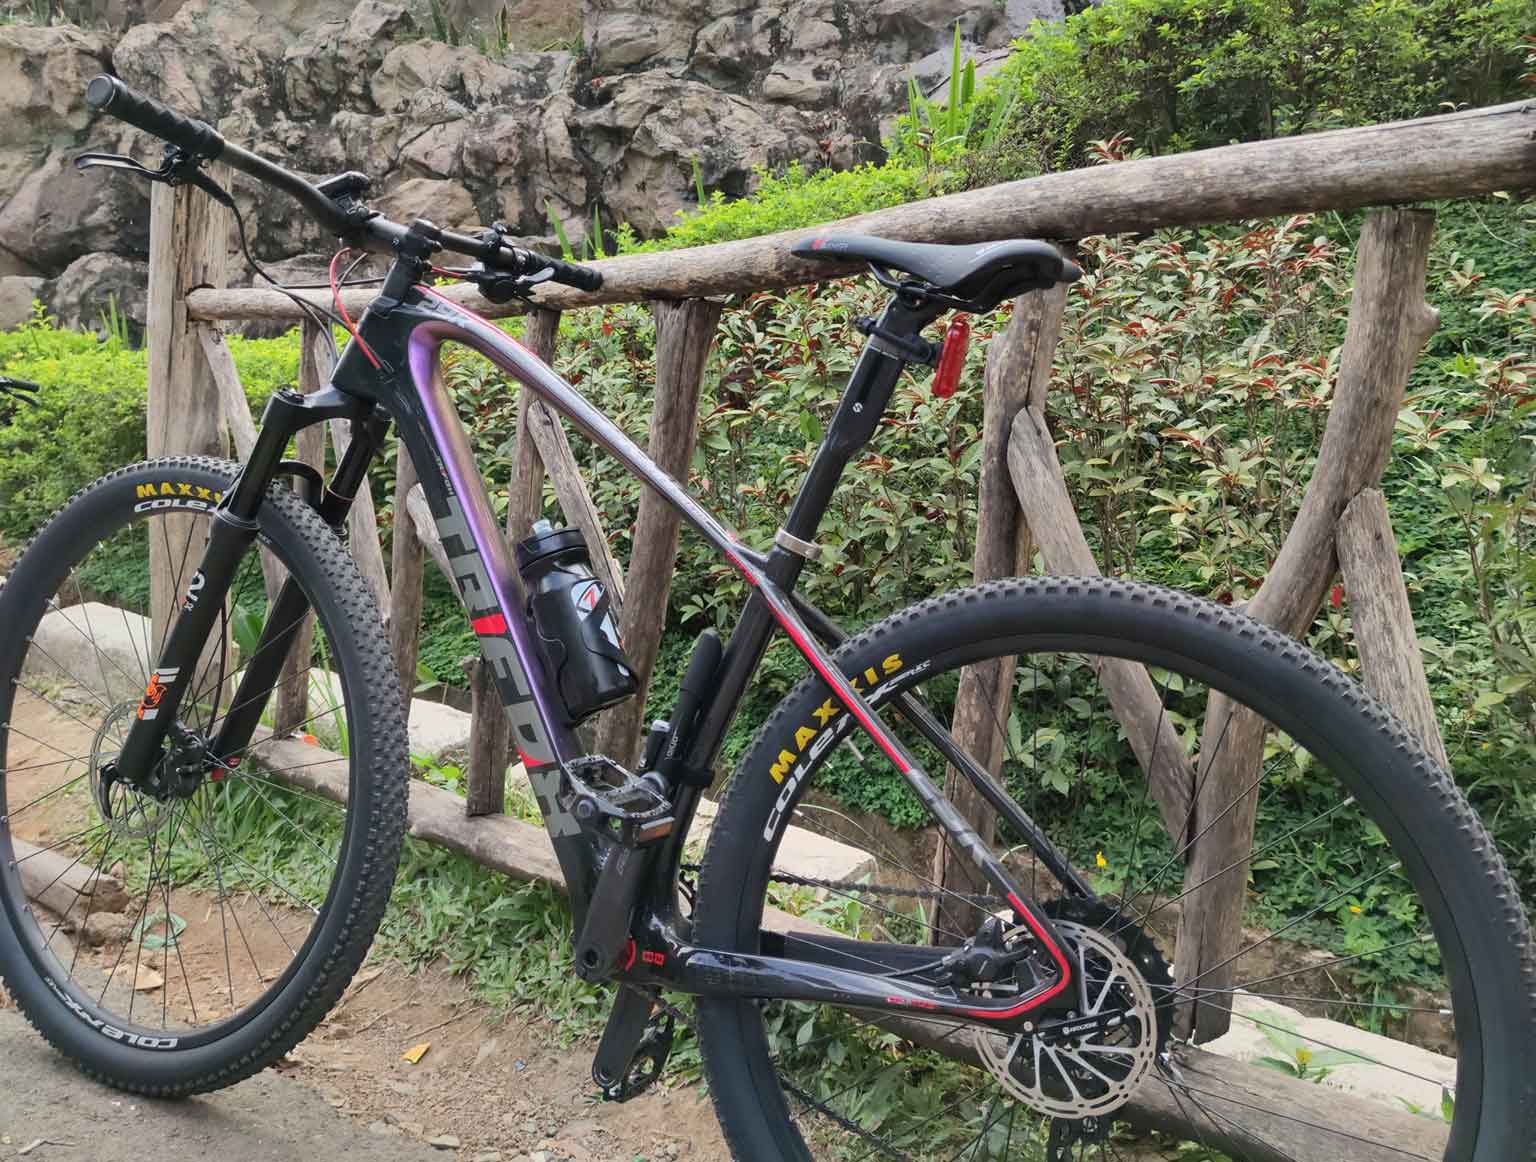
The development of mountain bike Speed gear: Since the mid-90s, the speed gear of mainstream mountain bikes has been changing. The development process is roughly like this: 3×8=24 speed→3×9=27 speed→3×10=30 speed→2×10=20 speed→2×11=22 speed →1×11=11 speed →1×12=12 speed. The more popular speed gear such as 3×9, 3×10, etc., have now been replaced by lesser speeds such as the front 1-2 speed and the rear 10-12 speed. Why is there less and less speed gear? Not use so many speed gears: Bikers who often ride mountain bikes cross country know that in the process of cycling, the three-disc configuration is actually not very useful. Take me as an example. In the era of 3 discs, I would basically use the big disc to ride on the road, the middle disc for climbing or cross-country. For the adjustment of the front and rear speed ratio, I used more on the rear derailleur. It is not needed because it is too “light” and it feels like kicking in the air. And in use, the 3-disk system will have a lot of overlap between the front and rear speed ratios, which is actually too redundant. The wheel diameter is getting bigger and bigger: In addition, the current professional mountain bike wheel diameter is mostly 27.5 or 29 inches, which is much larger than the traditional 26 inches. The large wheel diameter and the larger chainring make the foot feel very heavy, which is not suitable for XC cycling, So manufacturers will reduce the number of teeth of the chainring to a more suitable number of XC teeth, such as a single disk with 34-36 teeth, or a small disk with about 26 teeth. This allows the cyclist to obtain a more suitable pedaling force during cross-country cycling. Cassette gears gradually increase: At present, the freewheels of mainstream mountain bikes are all 10 and 11 speeds, and SRAM has even introduced a 12-speed freewheel. For the outdated 8 and 9-speed freewheel era, the current freewheel covers more speeds, with double discs and even A single disc is completely sufficient, and the increment range of the number of teeth is small, and a very fine increase/decrease of the gear ratio can be obtained-the fine speed change is more reflected in the freewheel than the chainring. Easy to operate: Too many gears will make you feel very complicated to operate, especially in XC cycling that requires a high degree of concentration, and can handle changing terrain at any time. Simple operation is particularly important. Therefore, streamlining the transmission system allows cyclists to concentrate more on cycling. Moreover, the higher the intensity of mountain bike cycling, the more downhill and the less frequently the transmission system is used. Practical application: At present, 3×9 and 3×10 speeds are still in use, but they are mostly concentrated on 26-inch hardtail mountain bikes. 3×9 speeds are basically only used for entry-level mountain bikes. The dual-disc transmission system is mostly found in the middle and high levels. Hardtail mountain bikes with 27.5 or 29-inch wheel diameters, and suspension bikes with stronger off-road strength (mountain bikes with rear shocks) basically use a single-disc transmission system. As shown below:
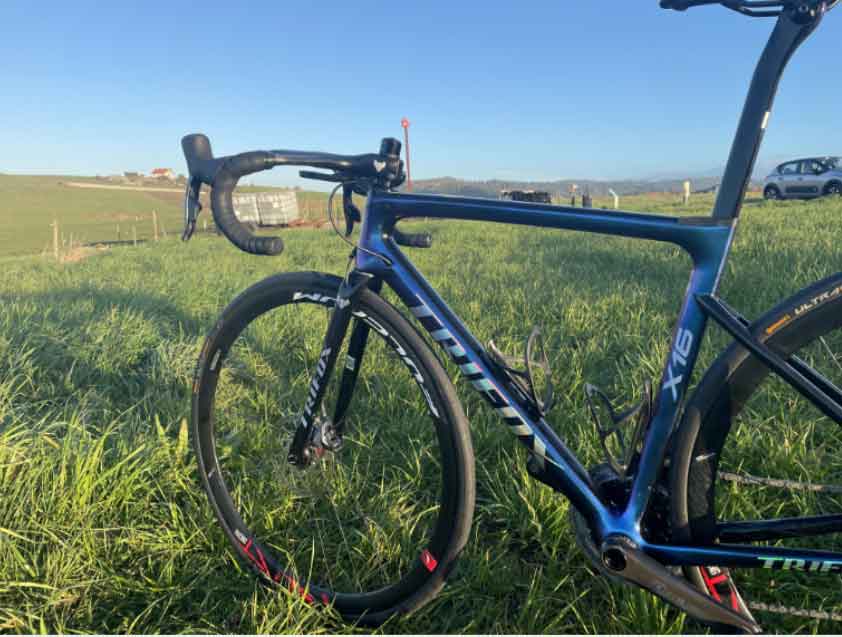
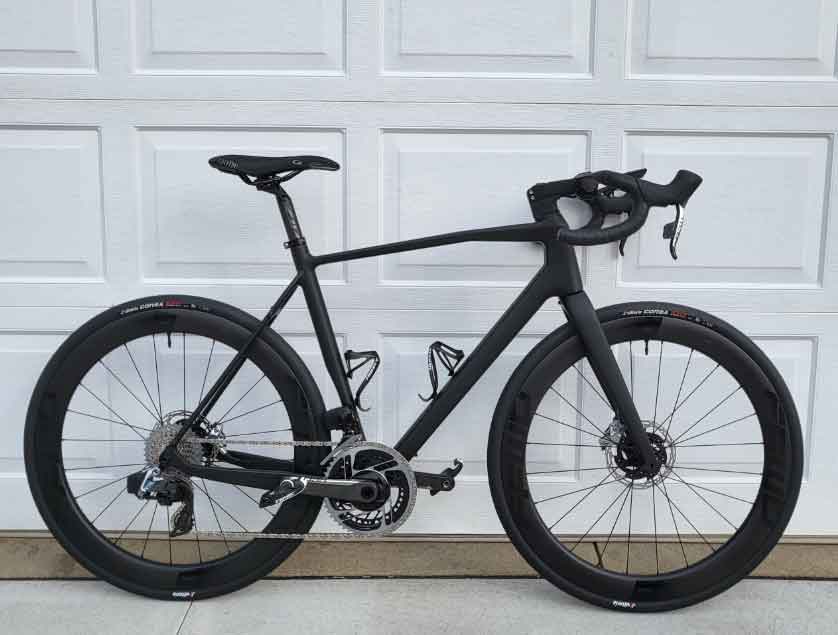
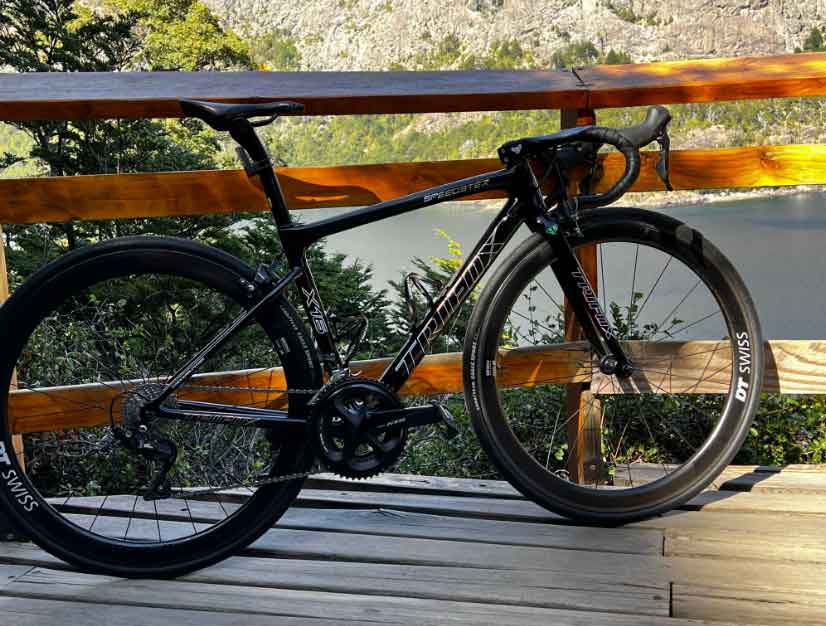
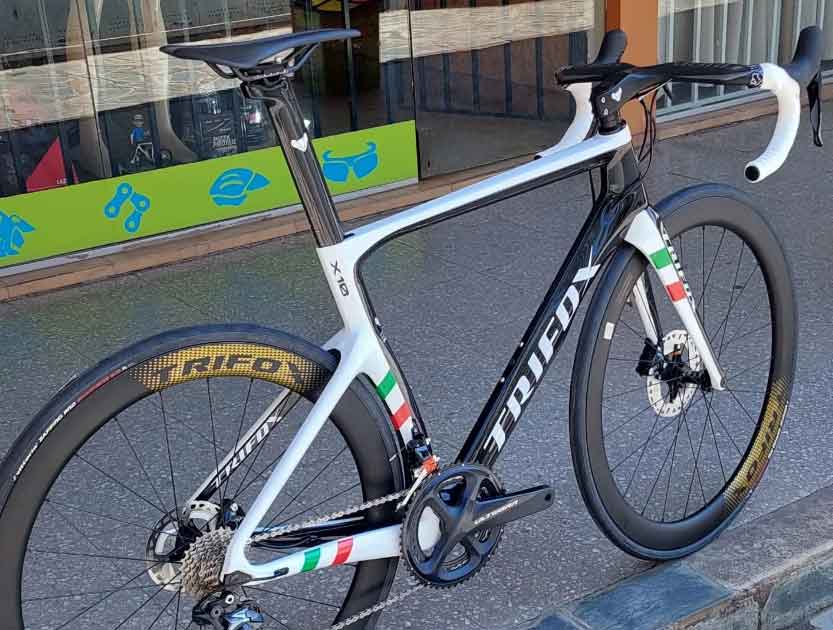
Generally speaking, for long-distance riding on good roads, a road bike is a good choice. A road bike will be faster and improve your efficiency. If riding on complex and varied mixed terrain, mountain bikes will provide better traction while handling more complex road conditions better. Reliability The biggest advantage of riding a mountain bike is reliability. The frame of the mountain bike is strong enough and can adapt to all kinds of bad weather and road conditions. The probability of failure during riding is much smaller than that of road bikes, so you can rest assured when riding mountain bikes. Although road bikes are strong enough, they are still a little bit worse than mountain bikes. Efficiency Mountain bikes were originally designed to cope with off-road riding. The tires are wider, the texture is more complex, and the body is heavier. These all limit the speed of mountain bikes, so mountain bikes will be slower than road bikes. If you want to achieve efficient long-distance For cycling, a road bike is a good choice. Comfort Mountain bikes are equipped with shock absorbers, which can effectively absorb bumps from the road, and the riding posture of mountain bikes is more upright, which greatly improves the comfort of long-distance riding. The advantage of road bikes in terms of comfort is the drop handlebar, which allows you to change the position of the grip and adjust the riding position, which can prevent sore hands. Load A touring road bike designed entirely for long-distance riding, the frame can be fitted with various panniers. In this regard, road bikes are no worse than mountain bikes. It’s just that the road bikes that you usually come into contact with are mainly based on speed. You must know that there are road bikes first, and then mountain bikes. Many world tours use endurance road bikes. So if you want to go on a long-distance ride, what kind of car would you choose? You can check this Trifox Carbon Road bike X16
Wet road When the field is wet and slippery, drivers are especially reminded to avoid passing through white lines, gutter covers, zebra crossings, etc., otherwise heavy pedaling is easy to slip; in fact, once the ground is wet and slippery, even light brakes are likely to cause crashes It is a good policy to reduce the speed to 30-40 kilometers, and try to avoid the action of pressing the car and skidding when cornering. In addition, players should choose appropriate equipment before the game, especially when encountering mechanical failures. Carbon fiber wheels and aluminum alloy wheels use different brake blocks. Let the brake lose its proper braking ability. Considering the maintenance cost, the coach also recommends that the players use aluminum alloy wheels to play on rainy days, so as to avoid the carbon fiber wheels being worn by sand and stones and causing damage. In addition, after climbing to the summit, athletes should use gloves and windbreakers to assist them, and supplement with hot food to warm their bodies before going down the mountain. This prevents the hand stiffness caused by the low temperature and maintains the sensitivity of fingers when braking. If you are still affected by the low temperature on the top of the mountain and feel uncomfortable, the coach recommends using safe sections to do handshaking and stretching to help blood flow. Downhill section During the race, you only need to use the brakes when cornering and going downhill. Please refer to the cornering skills of road bikes when cornering. You should remain vigilant at all times on the slope section, and prepare in advance at about 100 meters when there is expected braking demand ahead. After climbing to the top, it is also recommended that players pay attention to their own safety when going downhill, and focus on low-speed skating. The training should focus on climbing. Respond quickly at 30-50 meters, but the average player should slow down at 80-100 meters in advance to test safety. If you are the first player to attack downhill, courage is the most important factor if you want to maximize the distance between you and the players behind you on the downhill; sit slightly backward, and use the strength of the back muscles and abdominal muscles to help support, do not put all the weight on the handlebars for more maneuverability. Roadblock, bumpy road Encountering predictable bumpy road sections, the driver should avoid excessive relaxation and pressure into “ostrich eggs” or potholes in the road. For people with poor eyesight and lowering their heads will is a taboo. Hold on to the handlebars or lower the handlebars to keep running in a straight line, and pass naturally after slowing down. In addition, don’t rely too much on following the car, especially in professional competitions, you may encounter situations where the line of sight is poor or the opponent’s player digs a hole for you to jump into, and some players even fail to dodge and directly hit the electric pole. Don’t be careless. Encountering obstacles on the road, whether it is small gravel or large stones, is quite dangerous for cyclists. It is also recommended to activate the rear brake first, then follow the front brake, and go around the outside. If you are really facing a crash, It is recommended to use Judo’s body protection method, shrinking the jaw to protect the head, looking at the situation of the crash, and rolling forward or sideways to consume the forward inertia and release the damage of the crash. If your reaction is fast enough, it is not too difficult for players to fly over obstacles after leveling the pedals and pulling the handlebars, which is also very common in international competitions. Pre-match site scouting If you are not a landlord or a seasoned veteran, you must prepare in advance when you go abroad or on an unfamiliar road section. Even if you line up in a downhill one-stop array, you will inevitably encounter a situation where good and bad players are mixed. Even if you follow the car, you must pay attention to the front and back, The left and right sides also have time to react, and slight changes in an instant may cause damage. Small reminder: When using the rear brake, you must grasp the key of “holding” and rubbing slowly, instead of stopping suddenly, so as to avoid slipping and even causing the car to roll over.

The fit of the bicycle is the most important thing. Choosing the right bicycle seat may only be the beginning of the fit. You also need to learn how to fine-tune the bicycle to make yourself more comfortable to ride. The bicycle handlebar is a key fine-tuning part. By adjusting the handlebar, you can put yourself in a more comfortable riding position. It will even improve your riding efficiency and help relieve back pain while riding, so it is important to learn how to adjust the height of the handlebar. Tools needed to adjust the handlebar height. Adjusting the handlebars is relatively simple, usually requiring only a multi-tool or a set of Allen keys, or a torque wrench is more suitable for carbon fiber handlebars. Method The easiest way to adjust the height is to add or remove spacers. 1. Loosen the nut. There will be two screws on either side of the stem, use an Allen key to loosen these two stems (it doesn’t have to be unscrewed completely). (If you have a carbon fiber bike, you may notice that the steerer tube has an expansion wedge. Called a plug, this is non-adjustable and has no effect on height) 2. Remove the bowl top cover. Use a hex wrench to unscrew the top cover and a 4 or 5-mm wrench is required for the bag cover (you can buy a good-looking top cover and replace it by the way). 3. Adjust the height of the handlebar. The height of the handlebar can be adjusted by adding or removing spacers, spacers are usually readily available in 20 or 30-mm sizes. 4. Install it back at your desired height. When installing, you should make sure there is a 3-5mm gap between the stem and the spacer/stem (this will make the stem stronger), and this will ensure that the top cap has enough room to tighten. 5. Install the headset top cover. Install the headset top first, then work on the alignment of the wheels to the handlebars, preferably checking the manufacturer’s recommended torque settings. 6. Tighten the screws on both sides. Once aligned, try turning the handlebar back and forth, left and right, if the handlebar does not turn smoothly, you can tighten the screws on both sides of the stem, usually around 5 to 8Nm. If the rotation is not smooth, continue to adjust the headset screws. 7. Simple detection. You can clamp the front wheel with your legs and shake the handlebars to adjust. If the handlebar is stable, it is a good fit.
All around are flat roads without slopes, but many cyclists prefer to climb hills. Why do you prefer to climb mountains? Satisfaction. There is an unexpected satisfaction in climbing a mountain. Anyone can ride a bicycle on Pinglu Mountain. Only when you climb the mountain can you show your true self. The more difficult the climb, the easier it is for you to show your true self. When you climb to the top of the hill, that feeling makes you more proud and satisfied. Comfortable environment. Relatively flat roads mean that there will be more means of transportation, and the vegetation is relatively monotonous. When you climb a mountain, you soak up the fresh air, sunshine, solitude, and sweeping views. These are mostly experiences that flat roads cannot bring you. Double the joy. Cycling releases mood-boosting substances like endorphins and dopamine, chemicals that make you feel happy. Mountain climbing represents a longer, longer-lasting exercise, which will release more substances that make you feel happy. Also helps avoid mood disorders such as depression. Build muscle. Biking uphill is a full-body workout that strengthens your legs, upper body, and core. Uphill cycling physically challenges your muscles. When you ride up hills you work your quads, glutes, and calves more than when you ride on flat terrain, and your legs get really strong and muscular. Up and down. “The world is flat”, when you climb to the top through hard work, you will be rewarded with a big downhill. Downhill for free is something every cyclist hates, isn’t it? Uphill Riding Tips Whether it is uphill or downhill is a “technical activity”. Know the length and size of the slope in advance and adjust your climbing plan. Pace yourself so that you don’t burn yourself out in the first place. The correct adjustment gear, which gear you should use when riding uphill depends on your preference, so explore different gears, determine the best gear for you, and adjust your gear to make it easier to Tackle those uphills. Take your time, don’t rush, or you’ll burn out. Instead, take your time. Set a rhythm and stick to it.
From an outsider’s perspective, frequent cyclists usually have a high seat, which is necessary for actual riding. Of course, this height may be an optical illusion. The handlebars of road bikes are very low. If there are two bicycles with the same height seat, the lower handlebar will obviously give people the illusion of a higher seat. The seat of ordinary riders looks relatively high, which is largely an optical illusion. The saddle of the same professional rider looks taller, often because their handlebars are lower and the body is more compact. After all, the height of the saddle is determined according to the length of the rider’s legs. Two people with the same leg length have the same height of the saddle, and a bicycle with a lower handlebar will appear to have a taller saddle. Bike Seat Height Matters When your knee is bent, your leg is weaker, and when it’s almost straight, your leg is stronger. A lower saddle lets you pedal with very bent knees, making it harder to ride at the same speed. And the taller saddle (within reason) keeps your legs in a stronger, more comfortable zone. Just like squatting, the further you squat, the more your legs bend and the more tired you will feel. Locked shoes and pedals also affect the height of the saddle The bike looks taller for a rider with clip-on shoes. Because the cleats of the lock shoes are often under the forefoot, they are connected to the lock pedals and fixed together. For casual riders, the position of the cleats of the lock shoes is generally a little further back, which also makes the saddle of the rider with the lock pedals look a little higher. NOTE: For real riding, you should keep your forefoot over the center of the pedals, even if you’re not using cleats. Set the correct seat height There are various professional and advanced technologies that can do a complete simulation test for you and customize a fully fitting height (accurate to millimeters). As an ordinary person, it is completely unnecessary, a simple setting will do. When you get on the bike, put the heel of your foot on the pedal and ride slowly. This is about the right height if your knees are fully straight and you have some pedaling strength on the pedals. If your knees are still bent, raise the saddle to adjust. If your heels aren’t working on the pedals, or you have to tilt your butt to keep pedaling, lower the saddle a little. Many people worry that the seat of the bicycle is too high and the feet cannot touch the ground when parking, so when actually riding, if you want to stop, you can park on the curb on the side of the road, or leave the car to sit (you can stand after sitting for a long time) Relieve pressure on soft tissue) Standing parking is a safe and reliable parking method.
Team members should pay attention to the notice before departure, understand the general route, destination, and contact information of the person in charge of the team, and maintain their own bicycles. Only qualified vehicles can participate in the activity. Comply with traffic regulations and other relevant laws and regulations. It is strictly forbidden to run a red light, drive in the wrong direction, and take the fast lane or sidewalk casually. Obey the command and act on time. Leaving the team must be reported to the team leader and agreed upon. If you leave the team while the team is riding, you should put the car in a conspicuous place by the side of the road so that the team leader behind will not miss it. The former team leader is the symbol of the team leader, and the rest of the team members ride in double rows. When the road is narrow and there are too many vehicles, it can be changed into a single row. Try to keep up with the team and line up neatly while riding. Do not exceed the previous team leader without the permission of the former team leader. When a general accident occurs, 1 to 4 team members will be left to deal with it according to the situation, and the rest of the team members will continue to follow the former team leader; if the former team leader encounters a breakdown and needs to stop, the team leader will decide to stay and wait or designate a temporary former team leader to continue moving forward. When riding in the team, if there are uneven roads or stones, or when the front team leader sends out single, double row, and avoidance change signals, they should promptly convey them to the teammates behind them. Take care of the teammates behind you in the riding action, and try to avoid sudden shaking, sudden braking, and other behaviors. When riding in the platoon, it is forbidden to leave the handlebars with both hands. When you need to leave the handle with one hand, you should actively distance yourself from the opponent in front, and try to use the handle that can control the rear brake. Pay attention to keeping the distance between vehicles moderate, the faster the speed, the farther the distance should be, generally between 20–150cm. When the wind resistance is large, you can get as close as possible, and the downhill is extra. Take the initiative to take care of teammates with poor physical strength. Female team members cannot be allowed to leave the team to ride alone. Climbing. When climbing the slope, the team rides separately and in groups, and the speed is determined by each person’s physical strength, but it is not allowed for female team members to ride alone. After reaching the top of the slope, the team leader assembles the team according to the situation and counts the number of people. Downhill. Before going downhill, you must gather first, and ride in a single file when going downhill, with a distance of 5 to 10 meters between the front and rear. The speed of the team is controlled by the first person on the team. It is strictly forbidden to overtake when going downhill in the queue. After reaching the bottom of the slope, the team leader assembles the team according to the situation and counts the number of people. Night road. If there are no motor vehicles on the road, the team will advance along the middle line of the road. The former team leader is responsible for turning on the lights and leading the team to avoid dangerous sections. Be sure to keep the formation tight, and inform the front team members in time before falling behind. If you have been separated from the brigade if you encounter a fork in the road and cannot distinguish the direction, the team members who must wait for the rear flag or recognize the road should not walk indiscriminately. For the provisions of these regulations, the participants in the training activities should try their best to consciously abide by them. For the occurrence of violations, the persons in charge of the activities will dissuade and correct them, and deal with them within the scope of their powers.
How do make you’re pedaling more efficient? Never assume that you can get the best pedaling effect just by pedaling hard. Today, riders can briefly understand the key points through three aspects, and finally, find the cadence that suits them. Pedaling habits Just step down! Many people think that in order to speed up the cadence during cycling, the rear foot should also help to lift when the front foot is stepping down. But in fact, instead of improving efficiency, this approach makes you more tired and slows you down. Even dead fly riding requires no rear foot lift to increase power. So, after giving up the lifting action, when is the most effective time for the front foot to exert force? From the direction of 10 o’clock to the direction of 1 o’clock, start to step down hard, until the direction of 3 o’clock can obtain the maximum pedaling power. In addition, keeping the feet and calves at a fixed angle as much as possible during the process of stepping down is also a habit of pedaling to maintain high efficiency. Strength Training The strength of your glutes, thighs, and abs is key to determining your cadence. Therefore, after correcting the pedaling habit, perform various strength training (squats) appropriately to improve the strength of key muscles. Bike Fit The height and fore-aft position of the saddle, and the angle of the cleats of the shoes can all affect the pedaling effect and comfort. Although many modern bike fit methods have emerged, the following traditional measurement methods can still fit most people’s bodies. The height and fore-aft position of the saddle, and the angle of the cleats of the shoes can all affect the pedaling effect and comfort. Although many modern bike fit methods have emerged, the following traditional measurement methods can still fit most people’s bodies.
Tire pressure is a rather technical issue, and it’s one of the most important factors in your mountain bike. There is a lot of discussion about tire pressure. “Tire pressure is of course a very serious issue! If a tire exceeds the maximum tire pressure, it will not explode like a balloon, but the rim will not be able to withstand it first. Not every rim is exactly the same as the factory, some can handle high tire pressure, and some can’t. Manufacturers have no way of knowing what kind of rim you’re getting. Therefore, the maximum tire pressure records of their rims are generally conservative. For mountain bike enthusiasts, the maximum tire pressure is not a problem that bothers them. Because they will generally use a lower tire pressure than this value, and the ride will be smooth, especially with a tubeless system. Below we will summarize 6 factors that we think affect tire pressure: Rider’s Weight: The performance of a tire depends a lot on the rider’s weight. For example, a 66KG driver using 26X2.2 tires may find that the tire pressure of 35PSI is too hard and lacks grip. Conversely, a 113KG rider riding the same bike will find that the tire pressure is too low. Tire volume: The volume of the tire is closely related to the tire pressure. The size of a tire will determine how well it will perform. 35PSI will feel very flat on a 700X25MM tire, but it will be very flat on a 26X3.8 tire, and the driver will directly feel the existence of stones. Fat people and thin people must have different atmospheres! Terrain: What is the terrain you usually ride on? Is it ooze land? Or is it full of rocks? If it is the latter, you should consider increasing the tire pressure to prevent rim damage and blowout. Hit the rock formation? Properly increase the tire pressure to prevent rim injuries and blowouts RIDING STYLE: The harder you play, the more you will find that you need higher tire pressure. If you ride softly it’s different. Will you pick a route to avoid the rock formations? Do you keep your tires on the road or do you prefer to take the leap? Rim Width: Rim width is an important factor, a wider rim will of course support the tire better as it will allow you to use lower tire pressure and prevent the tire from coming off. Tire structure: The composition of a tire will determine its performance of the tire. This involves the TPI value of the tire. TPI is simply the density of the tire. A high TPI tire will be softer than a low TPI tire. At this point, you will find that you need to increase the tire pressure and you have to consider the TPI factor. It is worth mentioning that the tire pressure of the tubeless system is usually lower to ensure similar performance to the tubed system. To find the tire pressure that suits you, please keep in mind the above 6 factors and experiment more. Remember, bring an air pump, bring your friends, and feel the difference in tire pressure when you go wild in the mountains, and you will find the correct tire pressure.


