


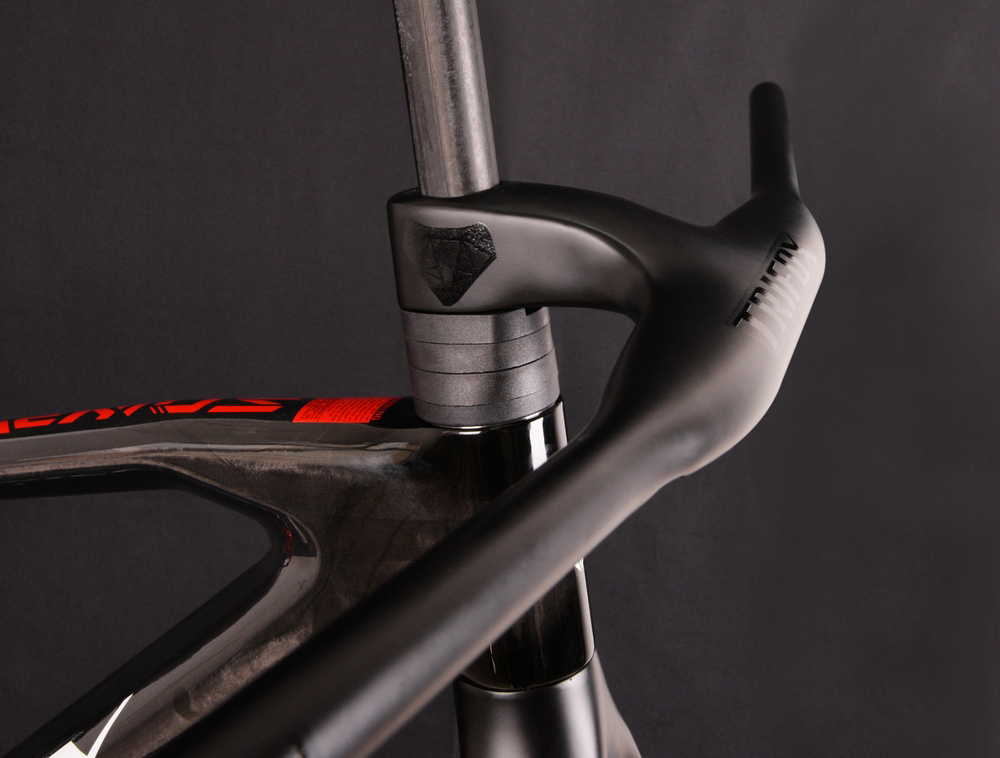
Cycling is all about efficiency, speed, and comfort, and one of the best ways to enhance all three is by upgrading to aero bars. Whether you're a competitive triathlete, a long-distance rider, or simply looking to improve your performance, aero bars can transform your cycling experience.
Trifoxbike.com offers a range of high-quality carbon bike handlebars, including aero bars, designed to help you ride faster and smarter. Here’s why you should consider making the switch.
What Are Aero Bars?
Aero bars, or triathlon bars, are handlebar extensions that allow riders to adopt a more aerodynamic position. By positioning your arms closer together and lowering your torso, aero bars reduce wind resistance, which is one of the biggest obstacles to speed. This streamlined posture can significantly improve your efficiency, especially during long rides or races.
Benefits of Aero Bars
1. Increased Speed: The primary advantage of aero bars is their ability to cut through the wind. By reducing drag, you can maintain higher speeds with less effort, making them a game-changer for time trials and triathlons.
2. Improved Comfort: Aero bars provide an additional hand position, reducing strain on your wrists, shoulders, and back during long rides. This can help prevent fatigue and keep you riding longer.
3. Better Power Transfer: The forward-leaning position engages your core muscles, allowing for more efficient power transfer from your legs to the pedals.
Why Choose Carbon Aero Bars?
Carbon fiber aero bars, like those available at Trifoxbike.com, offer the perfect balance of strength, stiffness, and lightweight performance. Carbon’s natural vibration-dampening properties also enhance comfort, making it an ideal material for long-distance cycling. Plus, the sleek design of carbon aero bars adds a professional touch to your bike's aesthetics.
If you're ready to take your cycling to the next level, investing in aero bars is a smart move. Visit [Trifoxbike.com]to explore their selection of carbon bike handlebars and find the perfect fit for your ride. With improved speed, comfort, and efficiency, aero bars are the upgrade your cycling experience deserves. Don’t let wind resistance hold you back—embrace the aero advantage today!
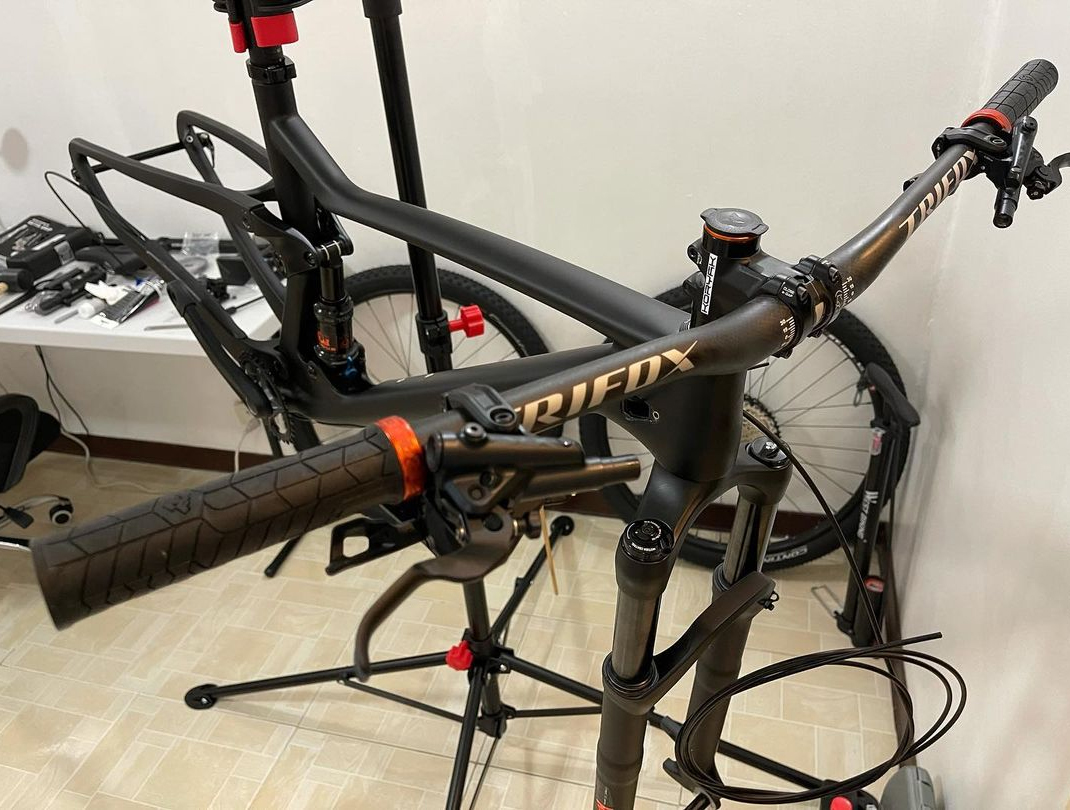
Choosing the right handlebar size is crucial for comfort, control, and performance on your bike. Whether you’re upgrading your current handlebars or building a new bike, knowing the correct size ensures a perfect fit. Here’s a guide to help you determine your bike handlebar size and why it matters.
Why Handlebar Size Matters
Handlebar size affects your riding posture, steering precision, and overall comfort. A handlebar that’s too wide or narrow can lead to discomfort, reduced control, and even fatigue during long rides. Finding the right size ensures optimal handling and a more enjoyable cycling experience.
Key Measurements to Consider
1. Width: Handlebar width is measured from end to end. Road bike handlebars typically range from 38cm to 46cm, while mountain bike handlebars are wider, usually between 680mm and 800mm. The ideal width depends on your shoulder width and riding style.
2. Diameter: Handlebars come in different diameters, with the most common being 31.8mm (oversized) and 25.4mm (standard). Ensure your handlebar diameter matches your stem clamp size.
3. Reach and Drop: For drop handlebars (common on road bikes), reach refers to the horizontal distance from the center of the bar to the brake hoods, while drop is the vertical distance from the top to the bottom of the bars. These measurements affect your riding position and comfort.
How to Measure Your Handlebar Size
1. Check the Current Handlebar: Look for markings or labels on your existing handlebar that indicate its size. If there are no markings, use a tape measure to determine the width and diameter.
2. Measure Your Shoulders: A simple way to estimate the ideal handlebar width is to measure the distance between the bony protrusions on the front of your shoulders. This measurement often correlates with the optimal handlebar width.
3. Consult Your Bike's Manual: If you're unsure, refer to your bike's manual or contact the manufacturer for specifications.
Choosing the Right Handlebar
When selecting a handlebar, consider your riding discipline and preferences. For example, wider handlebars provide more control on mountain bikes, while narrower bars improve aerodynamics on road bikes. Carbon handlebars, like those from Trifox Bike, offer a lightweight and durable option for performance-focused riders.
Knowing your bike handlebar size is essential for a comfortable and efficient ride. By measuring your current handlebar, considering your shoulder width, and understanding key dimensions, you can find the perfect fit. If you’re looking to upgrade, explore high-quality options like Trifox Bike’s carbon handlebars, which combine performance and style. With the right handlebar, you’ll enjoy better control, comfort, and confidence on every ride. Happy cycling!
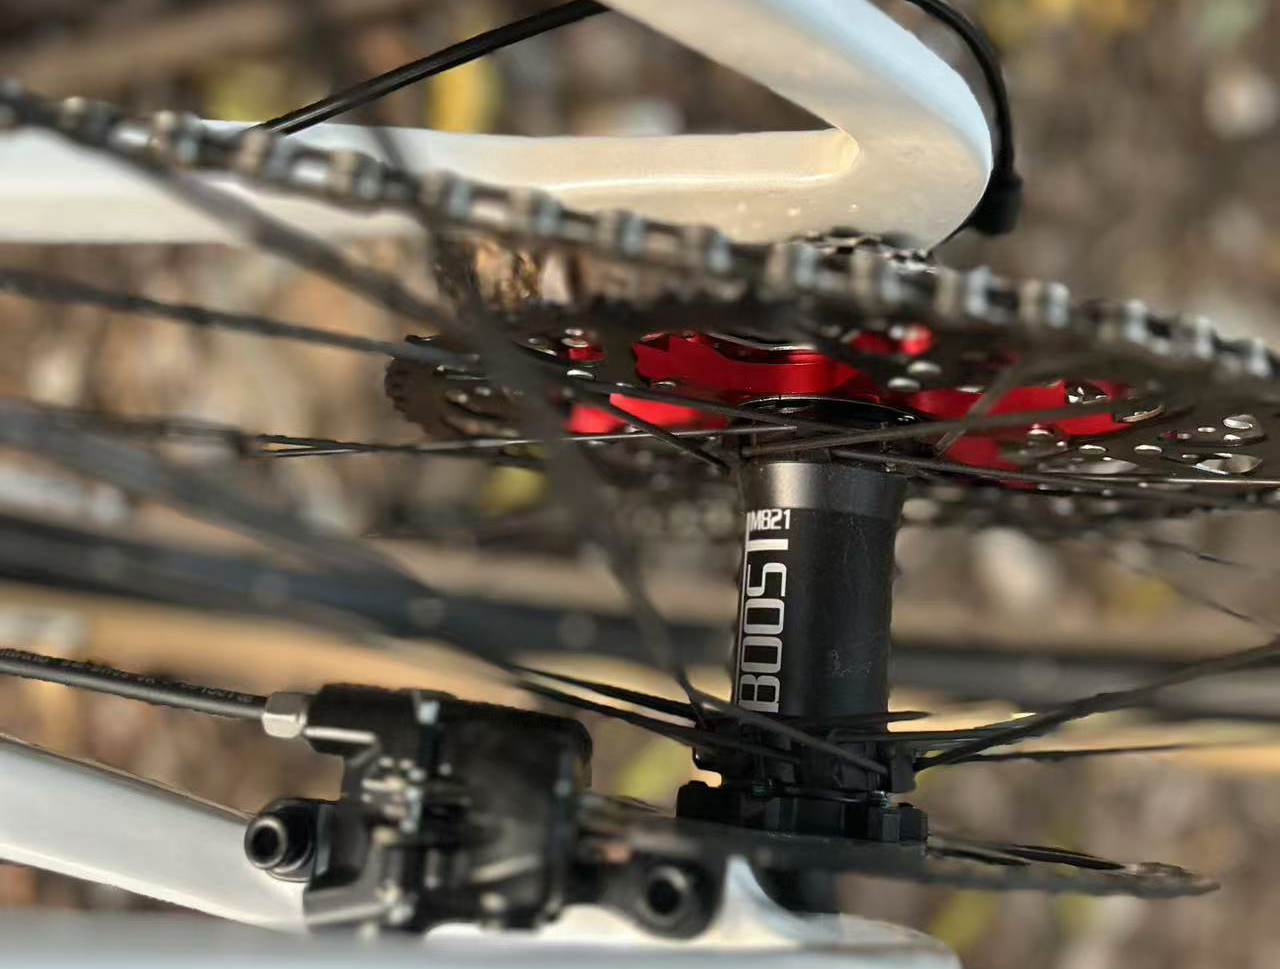
The Basics of a Bike Hub
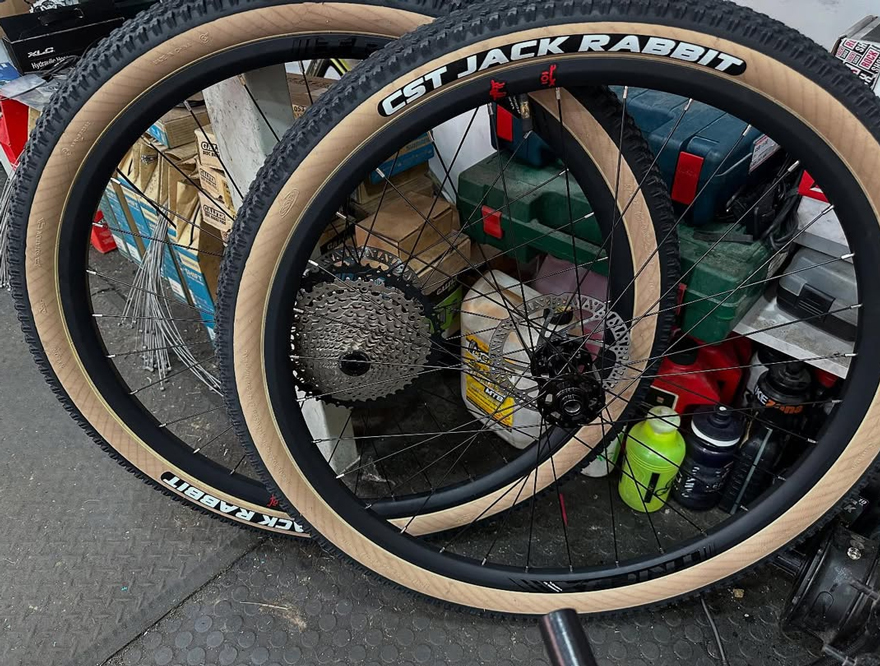
A hub is the core part of a bicycle wheel, located at the center where the spokes connect. It houses the axle, bearings, and other mechanisms that allow the wheel to rotate freely. Hubs come in various types, including front hubs, rear hubs, and those designed for specific disciplines like road biking, mountain biking, or commuting.
Key Components of a Hub
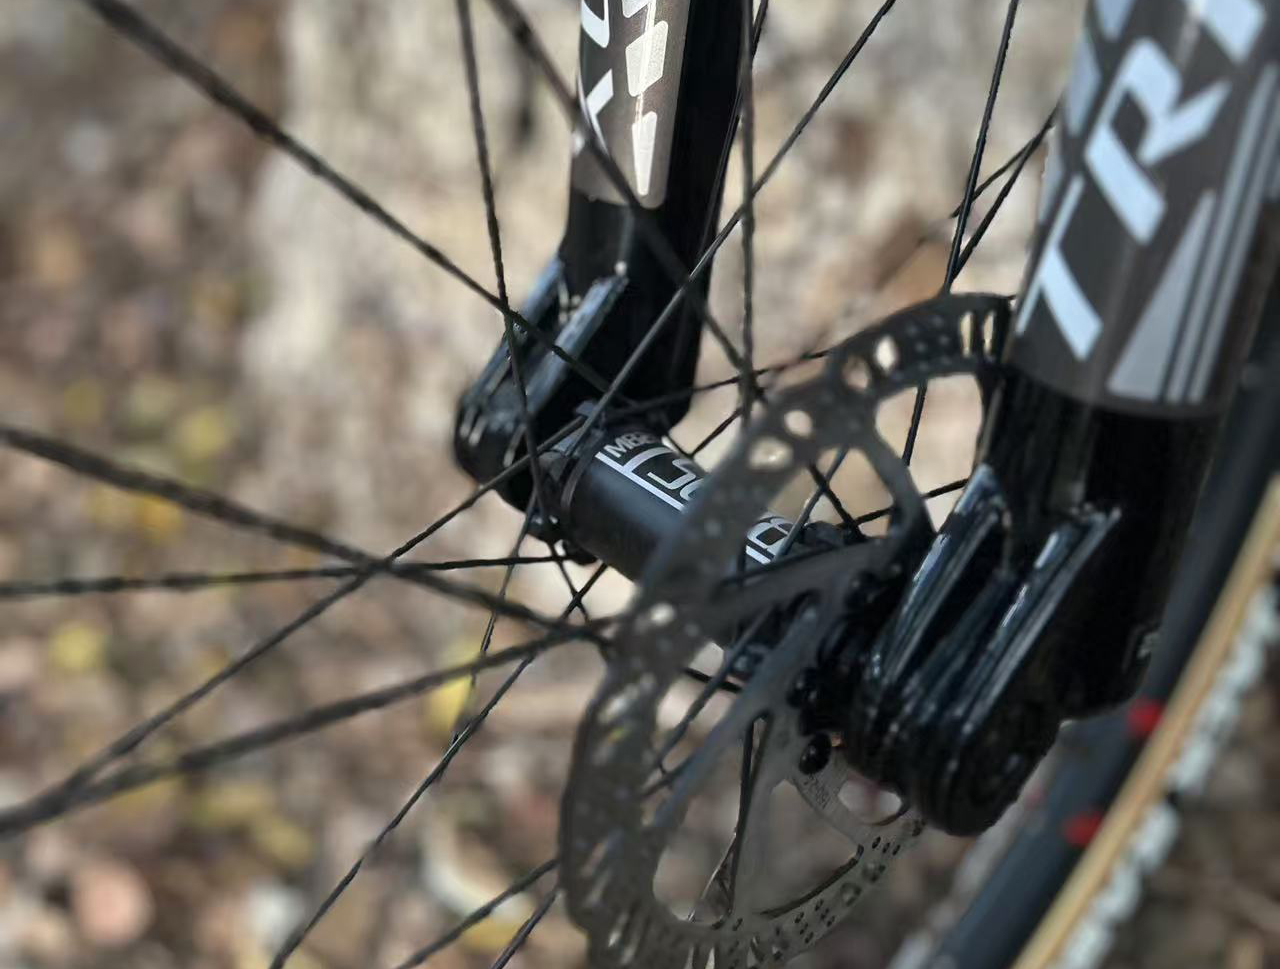
1. Axle: The axle is the rod that runs through the hub, connecting it to the bike's frame or fork. It can be quick-release, thru-axle, or bolt-on, depending on the bike’s design.
2. Bearings: Bearings reduce friction between the hub and axle, enabling smooth rotation. They can be either loose ball bearings or sealed cartridge bearings.
3. Hub Shell: The outer shell is the part of the hub where the spokes attach. It’s typically made from lightweight materials like aluminum or carbon fiber.
4. Freehub or Freewheel: Found on the rear hub, this mechanism allows the wheel to spin independently of the pedals when coasting. Modern bikes usually feature a freehub, which integrates with the cassette.
Types of Hubs
- Front Hub: Simpler in design, the front hub connects to the fork and focuses on smooth rotation.
- Rear Hub: More complex, the rear hub includes the freehub or freewheel and is responsible for transferring power from the pedals to the wheel.
- Disc Brake Hub: Designed for bikes with disc brakes, these hubs have mounts for brake rotors.
- Internal Gear Hub: Found on some commuter bikes, these hubs contain gears inside the hub shell, offering a low-maintenance alternative to derailleurs.
Why Hubs Matter
A well-functioning hub is essential for a smooth, efficient ride. High-quality hubs reduce friction, improve power transfer, and enhance durability. They also play a role in wheel stiffness and overall bike performance. Whether you’re climbing hills, sprinting on flat roads, or navigating rough trails, a reliable hub ensures your wheels spin effortlessly.
Maintenance Tips
To keep your hubs in top condition, regularly check for play or grinding noises, which may indicate worn-out bearings. Clean and lubricate the hubs periodically, and consider professional servicing if you’re unsure about maintenance.

The hub is a small but vital part of your bike, ensuring smooth rotation and efficient power transfer. Understanding its role and keeping it well-maintained can significantly enhance your riding experience. Whether you’re a casual rider or a seasoned cyclist, a reliable hub is key to keeping your wheels—and your adventures—rolling smoothly.

If you're considering diving into the world of road cycling, one of the first questions you’ll likely ask is, “How much does a good road bicycle cost?” The answer isn’t straightforward, as road bikes come in a wide range of prices depending on their components, materials, and intended use. Let’s break down the factors that influence the cost and help you determine what you can expect to pay for a quality road bike.
Entry-Level Road Bikes ($500 - $1,000)
For beginners or casual riders, entry-level road bikes are a great starting point. These bikes typically feature aluminum frames, basic components, and mechanical shifting systems. While they may lack the advanced features of higher-end models, they are reliable, lightweight, and perfect for commuting, fitness riding, or weekend adventures. Brands like Trifox Bike offer affordable options that deliver excellent value for money.
Mid-Range Road Bikes ($1,000 - $3,000)
Mid-range road bikes strike a balance between performance and affordability. These bikes often feature carbon fiber frames, which are lighter and more efficient than aluminum, along with better-quality components like hydraulic disc brakes and mid-tier drivetrains (e.g., Shimano 105 or SRAM Rival). If you’re serious about cycling and want a bike that can handle longer rides, faster speeds, and more varied terrain, this price range is a solid investment.
High-End Road Bikes ($3,000 - $7,000+)
High-end road bikes are designed for performance enthusiasts and competitive cyclists. They boast top-tier carbon frames, advanced aerodynamic designs, and premium components like electronic shifting (e.g., Shimano Dura-Ace or SRAM Red). These bikes are incredibly lightweight, stiff, and responsive, making them ideal for racing or high-intensity training. While the price tag is steep, the performance gains are undeniable.
Custom and Premium Options ($7,000+)
For those seeking the ultimate road bike, custom or premium models offer unparalleled craftsmanship and performance. These bikes often feature bespoke designs, cutting-edge materials, and the latest technological innovations. If you’re a professional rider or simply want the best of the best, this category is worth considering.
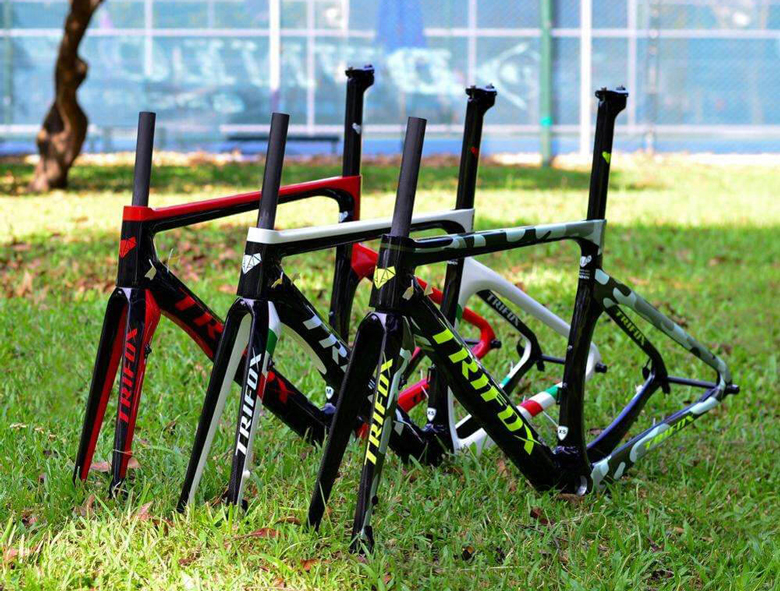
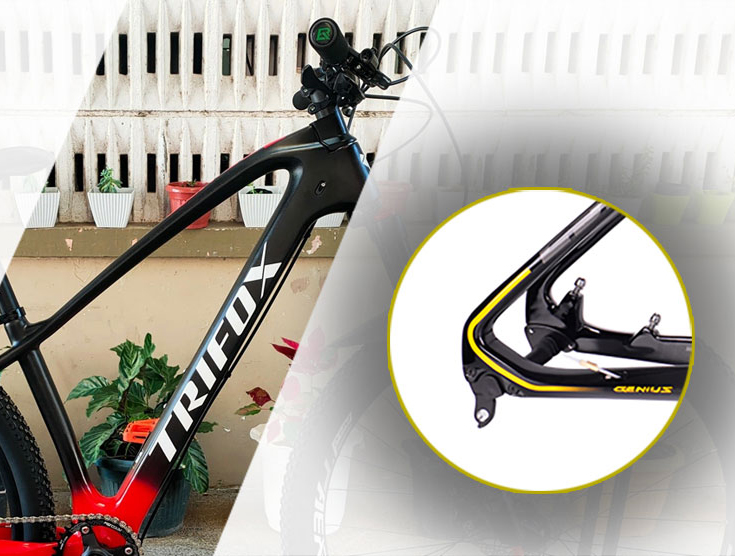
Why Choose a Carbon Road Bike?
Carbon fiber is the material of choice for high-performance road bikes due to its lightweight, stiffness, and vibration-damping properties. Trifox Bike offers a range of carbon road bike frames that combine affordability with top-tier performance, making them an excellent option for riders looking to upgrade without breaking the bank.
The cost of a good road bicycle depends on your needs, goals, and budget. Entry-level bikes are perfect for beginners, while mid-range and high-end models cater to more experienced riders. If you’re looking for a balance of performance and value, a carbon road bike from Trifox Bike is a fantastic choice. Whether you’re commuting, training, or racing, investing in the right road bike will enhance your riding experience and help you achieve your cycling goals. Happy pedaling!
When it comes to choosing the right bike rims, one of the key decisions you’ll face is whether to go with hooked or hookless designs. Both options have their pros and cons, and the best choice depends on your riding style, tire preferences, and performance goals. Let’s break down the differences to help you decide which rim type is right for you.
What Are Hooked Rims?
Hooked rims feature a small lip or "hook" on the inner edge of the rim bed. This hook helps secure the tire bead in place, preventing it from slipping off under high pressure or during aggressive cornering. Hooked rims are the traditional design and are compatible with a wide range of clincher tires, making them a versatile choice for most cyclists.
What Are Hookless Rims?
Hookless rims, as the name suggests, lack the hooked lip. Instead, they have a straight, flat rim bed. This design relies on a precise fit between the tire and rim to keep the tire securely in place. Hookless rims are often lighter and stronger due to their simpler construction, but they require specific tires that are designed to work with hookless systems.
Key Differences
1. Tire Compatibility: Hooked rims work with most clincher tires, while hookless rims require tubeless tires specifically designed for hookless use.
2. Weight: Hookless rims are typically lighter, which can be a significant advantage for weight-conscious riders.
3. Durability: Hookless rims are often stronger and less prone to damage because they lack the stress points created by the hook.
4. Ease of Use: Hooked rims are generally easier to set up and maintain, especially for riders who frequently switch tires.
Which Is Right for You?
-Hooked Rims: Ideal for riders who value versatility, use a variety of tires, or prefer a more traditional setup. They’re also a safer choice for high-pressure applications.
-Hookless Rims: Best for performance-oriented cyclists who prioritize weight savings and strength. They’re particularly popular in mountain biking and gravel riding, where tubeless setups are common.
Ultimately, the choice between hooked and hookless rims comes down to your specific needs and preferences. If you’re unsure, consult with a bike specialist or consider the type of riding you do most often. Both designs have their place in the cycling world, and choosing the right one can enhance your ride quality and overall experience.
If you're serious about cycling, you've probably heard the term "FTP" thrown around. But what exactly is FTP, and why is it such a big deal for your training? Let’s break it down.
FTP stands for Functional Threshold Power, and it’s a measure of the highest average power (in watts) you can sustain for one hour. Think of it as your cycling fitness benchmark—it tells you how much power you can produce over a sustained effort without fatiguing too quickly. FTP is a key metric for cyclists because it helps you understand your current fitness level, set training zones, and track progress over time.
Why FTP Matters
1. Personalized Training Zones: Your FTP is the foundation for determining your training zones, which are critical for structuring effective workouts. Whether you're doing endurance rides, interval training, or recovery sessions, knowing your FTP ensures you're training at the right intensity to meet your goals.
2. Track Progress: By regularly testing your FTP, you can see how your fitness improves over time. An increase in FTP means you’re getting stronger and more efficient on the bike.
3. Race Strategy: For competitive cyclists, knowing your FTP helps you pace yourself during races or long rides. Pushing too hard above your threshold can lead to burnout, while staying below it ensures you can maintain a steady effort.
How to Test Your FTP
The most common way to test your FTP is with a 20-minute test. After a proper warm-up, ride at your maximum sustainable effort for 20 minutes, then take 95% of your average power from that effort to estimate your FTP. For example, if you average 200 watts during the test, your FTP would be around 190 watts.
How to Use FTP in Training
Once you know your FTP, you can tailor your workouts to target specific energy systems. For example:
Endurance: Ride at 55-75% of your FTP to build aerobic base fitness.
Tempo: Train at 76-90% of FTP to improve sustained power.
Threshold: Work at 91-105% of FTP to push your limits and increase your threshold power.
VO2 Max: Go above 106% of FTP for short, intense efforts to boost your anaerobic capacity.
Tips for Improving Your FTP
Consistency: Regular training is key. Incorporate a mix of endurance rides, intervals, and recovery sessions.
Progressive Overload: Gradually increase the intensity and duration of your workouts to challenge your body.
Recovery: Don't underestimate the importance of rest. Your body adapts and gets stronger during recovery.
In conclusion, FTP is more than just a number—it's a powerful tool to guide your training, measure your progress, and help you become a stronger, faster cyclist. Whether you're a beginner or a seasoned rider, understanding and improving your FTP can take your cycling performance to the next level. So, grab your bike, test your FTP, and start training smarter!

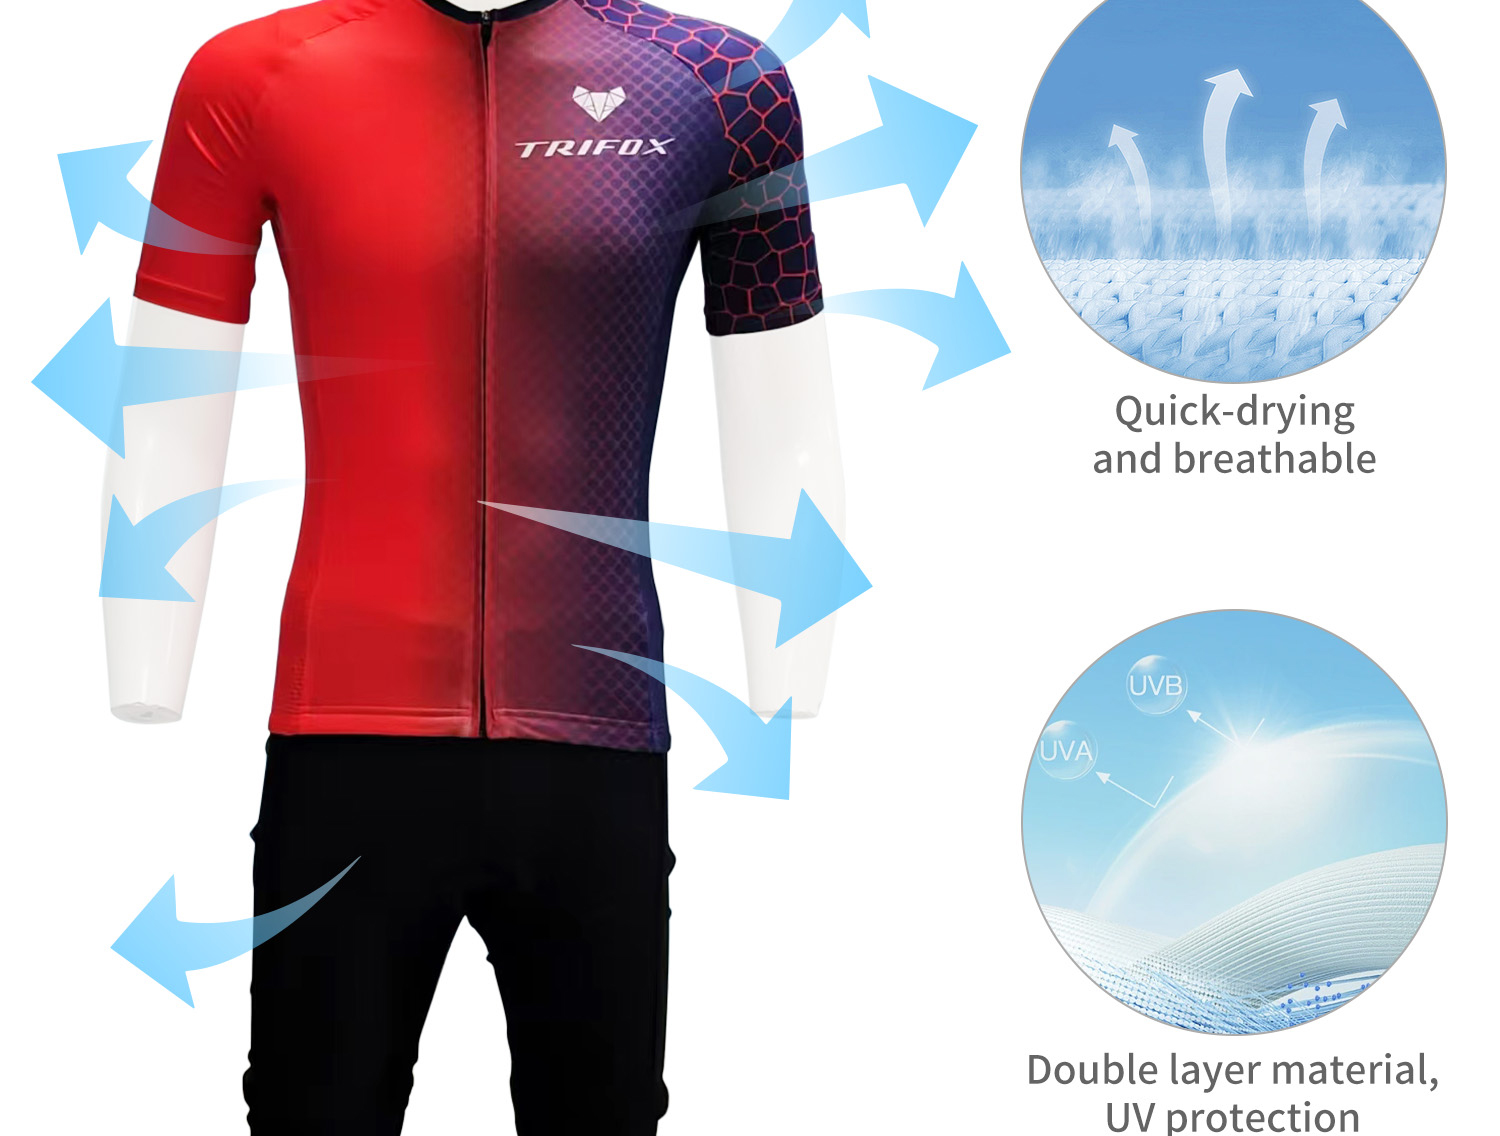
Wearing the right cycling clothing can make a huge difference in both comfort and performance. Whether you’re riding for fitness, commuting, or racing, proper gear enhances aerodynamics, temperature regulation, and overall ride quality.
1. Essential Cycling Apparel
Jersey: A breathable, moisture-wicking jersey keeps you cool and dry. Look for a snug fit to reduce wind resistance.
Bib Shorts: Padded bib shorts provide comfort by reducing saddle pressure and preventing chafing. Choose high-quality chamois for longer rides.
Base Layer: Helps regulate body temperature by wicking sweat away from your skin. Ideal for layering in cold weather.
Gloves & Socks: Cycling gloves improve grip and absorb shock, while moisture-wicking socks keep your feet dry.
2. Weather-Specific Gear
Summer: Lightweight, ventilated fabrics with UV protection.
Winter: Thermal jackets, arm warmers, and windproof gloves for insulation.
Rainy Days: Waterproof jackets and shoe covers to stay dry.
Upgrade your cycling apparel for a better ride!

Crank length is a critical but often overlooked factor in cycling performance. The cranks are the arms that connect the pedals to the bottom bracket, and their length affects power output, comfort, and overall efficiency. Choosing the right crank length can make a big difference in your riding experience.

1. How Crank Length Affects Cycling Efficiency
✔ Power Output & Cadence – Shorter cranks allow for a higher cadence (more pedal revolutions per minute), which can reduce strain on the knees and improve endurance. Longer cranks may provide more leverage, but they require greater force to turn, which can lead to fatigue.
✔ Aerodynamics & Positioning – Shorter cranks enable a more aerodynamic position by reducing knee height at the top of the pedal stroke, making them ideal for time trials and triathlons.
✔ Comfort & Injury Prevention – Riders with knee or hip pain often benefit from shorter cranks as they reduce joint strain and improve pedaling efficiency.
2. How to Choose the Right Crank Length
- Standard Crank Lengths: Typically range from 165mm to 175mm, with 170mm being the most common.
- Rider Height & Leg Length: Shorter riders often benefit from 165mm cranks, while taller riders may prefer 175mm cranks.
- Riding Style: Sprinters and climbers might prefer longer cranks for power, while endurance riders may opt for shorter cranks for better cadence.
3. Experiment & Optimize
There is no "one-size-fits-all" crank length. If you're looking to upgrade your crankset, check out high-performance bike components at Trifox Bike and optimize your efficiency today!
文字
Choosing the right rear derailleur is essential for smooth and precise shifting. With so many brands available, how do you decide which one is best for your bike? Let’s break down some top options, including Trifox Bike, a brand worth considering.
1. Shimano – Reliable and Versatile
A household name in cycling, Shimano offers a wide range of derailleurs for different riding styles:
✔ Tourney & Altus – Budget-friendly options for casual riders.
✔ Deore & SLX – Perfect for MTB enthusiasts.
✔ Ultegra & Dura-Ace – High-performance road cycling choices.
2. SRAM – Performance and Innovation
SRAM is known for lightweight, high-tech, and wireless shifting systems:
✔ NX & GX – Excellent for mountain bikers.
✔ Force & Red eTap AXS – Premium electronic shifting for road bikes.
3. Trifox Bike – A High-Value Alternative
If you're looking for a quality derailleur without breaking the bank, check out Trifox Bike. Trifox offers durable and lightweight components designed for both road and mountain bikes. Plus, they provide affordable derailleur hangers and mech dropouts for easy upgrades and replacements.

Final Thoughts
Your choice depends on budget, riding style, and performance needs. Looking for a reliable and cost-effective option? Explore Trifox Bike’s rear derailleur hangers and components at Trifox Bike and upgrade your ride today!


