Crushed seat tube? Slipping post? Using the wrong seat clamp size for your 27.2mm seatpost is a recipe for frustration and potential frame damage.
Get it right for secure, reliable height adjustment. Here’s the simple answer:Your clamp's Inner Diameter (ID) must match your seatpost's Outer Diameter (OD). For a 27.2mm seatpost, you need a clamp with a 27.2mm ID.
Why Size Matters:
Too Big (e.g., 28.6mm clamp on 27.2mm post): You'll crank the bolt excessively trying to grip. This risks crushing a lightweight frame's seat tube or still not preventing slippage.
Too Small (e.g., 27.2mm clamp on 30.9mm post): It simply won't fit over the post or seat tube collar.
Just Right (27.2mm clamp): Distributes clamping force evenly, preventing slippage without damaging your frame or post.
Finding Your Frame's Clamp Size:
Check Existing Clamp: Look for a size marking (e.g., "27.2", "⌀27.2") often stamped/engraved on the underside.
Measure the Seatpost: Use calipers! This is the most reliable method. Measure the smooth section that inserts into the frame – it must be 27.2mm.
Consult Frame Specs: Check the manufacturer's website or original documentation for the seatpost diameter (which dictates clamp ID).
Key Considerations:
Frame Material: Carbon frames are especially sensitive to overtightening. Use a correctly sized clamp and a torque wrench!
Clamp Material: Lightweight alloy clamps (like many from Trifox Bike) offer great strength and weight savings. Avoid overtightening cheap alloy.
Shims: If your frame's seat tube is larger (common on some steel/aluminum frames), you need a shim between the tube and the clamp. The clamp ID still matches your seatpost OD (27.2mm). The shim adapts the larger frame tube to the clamp.
Torque: Always follow manufacturer specs. Tighten gradually and evenly.
Ready for a Secure, Lightweight Upgrade?
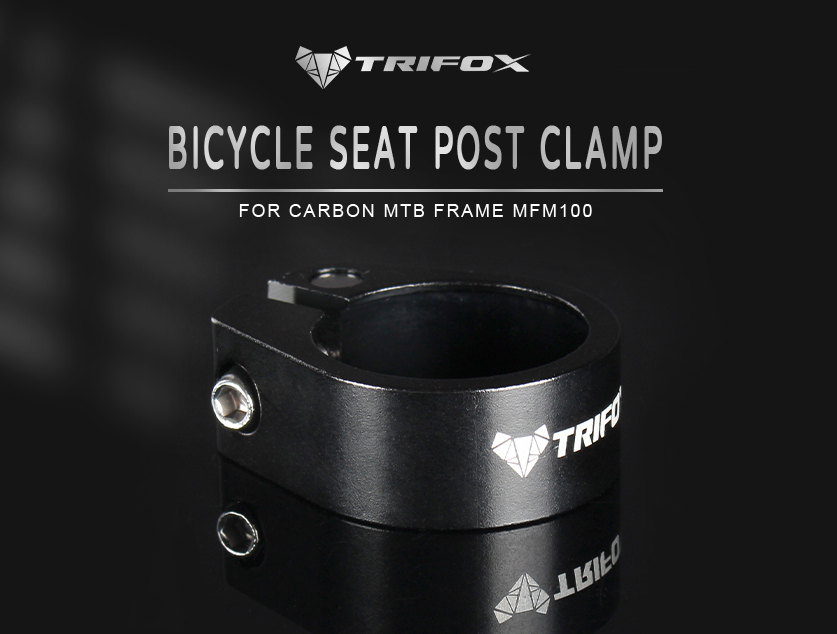
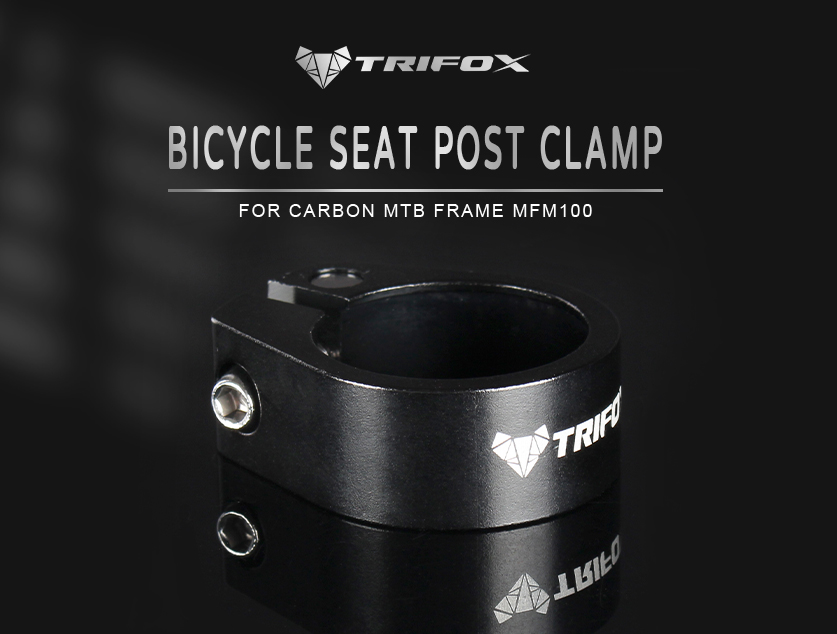
Ensure smooth, reliable saddle adjustments and protect your frame. If you're replacing a clamp or building up a bike, precise sizing is non-negotiable. For a quality, well-fitting 27.2mm seat clamp, check out the selection at Trifox Bike.
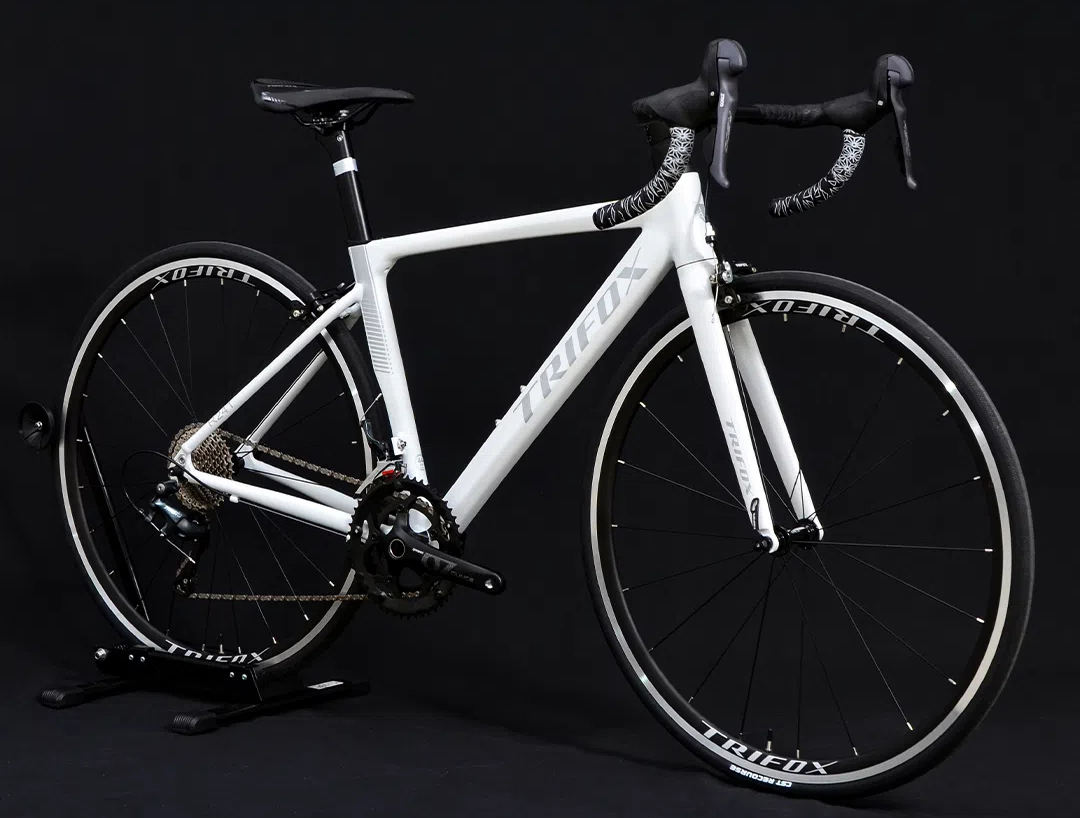
Close your eyes. Remember that first bike? Mine wasn't sleek or light. It was a clunker, a hand-me-down beast probably older than I was. Heavy steel frame, faded red paint chipped to reveal battleship grey primer underneath. Coaster brakes that screeched like a banshee if you dared pedal backwards too hard.
It had fat, knobby tires better suited for mud than pavement, and handlebars wide enough to feel like steering a bus. The seat? A vinyl-covered brick promising maximum discomfort after five minutes. It creaked, it rattled, and the chain guard was perpetually bent.
But oh, the magic. That first terrifying push off without training wheels – pure, unadulterated terror mixed with exhilarating freedom! The wobble felt catastrophic, the ground impossibly far away. Scraped knees? Guaranteed. Gravel embedded in palms? A rite of passage.
It wasn't about speed or style. It was about boundaries dissolving. Suddenly, the corner store wasn't a parental escort away. Friends' houses became independent destinations. The park felt like my kingdom. That heavy beast represented pure, unlicensed adventure. The smell of hot rubber and dusty chains, the wind (sort of) in my hair, the sheer joy of rolling downhill... it was my first taste of true autonomy. That clunky, imperfect machine wasn't just a bike; it was my first passport to freedom, grease stains and all.
What did yours look like? Maybe get your first bike at trifoxbike. Share the memory!
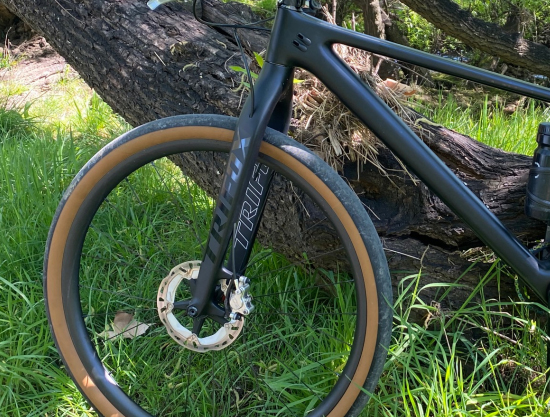
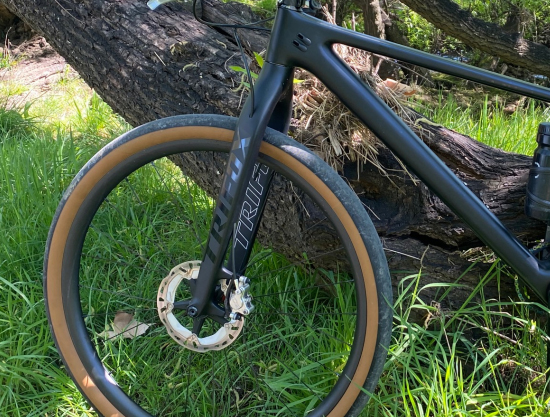
Does your front end feel vague or flex excessively when you really push it? That "noodle fork" sensation – steering wandering under hard cornering, brake shudder, or a general lack of precision – can be unnerving and slow you down. While some flex is inherent and even desirable for small bump compliance, excessive flex hurts control. Here's how to dial in more stiffness:
1. Increase Air Pressure (Air Forks Only): The simplest and most direct adjustment. Adding air pressure compresses the air spring more, requiring more force to initiate movement. This significantly increases the overall stiffness of the fork, especially resisting large impacts and big compressions that cause flex. Crucially: Stay within the manufacturer's recommended maximum pressure (usually printed on the fork leg). Exceeding it risks seal failure or even catastrophic damage. Start with 5-10 PSI increases, test ride, and repeat cautiously.
2. Add Volume Spacers (Air Forks Only): These small plastic tokens fit inside the air spring chamber. They reduce the air volume. Why does this help stiffness? With less volume, the air pressure ramps up much more aggressively deeper into the fork's travel. This primarily increases mid-to-end stroke support. While not directly stiffening the initial feel like pure pressure, it combats the deep dive that often feels like flex under heavy braking or big G-outs, making the fork feel more supportive and planted overall.
3. Adjust Compression Damping:
- Low-Speed Compression (LSC): Found on most mid-to-high-end forks. This controls the fork's resistance to slow, deliberate movements like braking, cornering, and pedaling forces. Increasing LSC adds significant resistance to these forces, directly combating brake dive and the flex/wander feeling during hard cornering. Turn the dial clockwise (usually) a click or two at a time and test.
- High-Speed Compression (HSC): Less common, controls resistance to sharp, fast impacts (rocks, roots). While primarily for tuning big-hit harshness, a slight increase might offer a subtle perception of firmness, but focus on LSC first for stiffness related to steering inputs.
4. Increase Oil Viscosity (Advanced): Fork oil lubricates and dampens. Thicker oil (higher viscosity, e.g., going from 5wt to 7.5wt or 10wt) creates more resistance inside the damper. This makes the damper cartridge stiffer, particularly the compression circuit, requiring more force to move the fork quickly. This is an advanced modification. Research your specific fork model thoroughly – using oil that's too thick can damage internals, make the fork harsh, and void warranties. Best done during a full service.
5. Service Your Fork: Worn bushings, contaminated oil, or degraded seals introduce slop and reduce the fork's ability to move smoothly in its intended path. This often manifests as play or a vague, "sticky" flex feeling. A full lower leg service (replacing oil, seals, and bushings if needed) restores the fork's tightness and responsiveness, eliminating unwanted movement that feels like flex.
Important Considerations:
- Trial & Error: Stiffness preferences are personal. Make one change at a time and test thoroughly on familiar terrain.
- Trade-offs: Increasing stiffness almost always reduces small-bump sensitivity and plushness. Find the right balance for your riding style and terrain.
- Fork Limits: Every fork has a design stiffness. Aggressive riders on lightweight XC forks will hit limits faster than someone on a burly enduro fork. If you've maxed out adjustments and servicing, a stiffer chassis might be the ultimate solution.
- Headset Check: Ensure your headset is properly preloaded. A loose headset feels like fork flex!
By methodically working through these adjustments – starting with air pressure/volume and compression damping – you can significantly reduce unwanted flex and gain the precise, confident front end your aggressive riding demands.
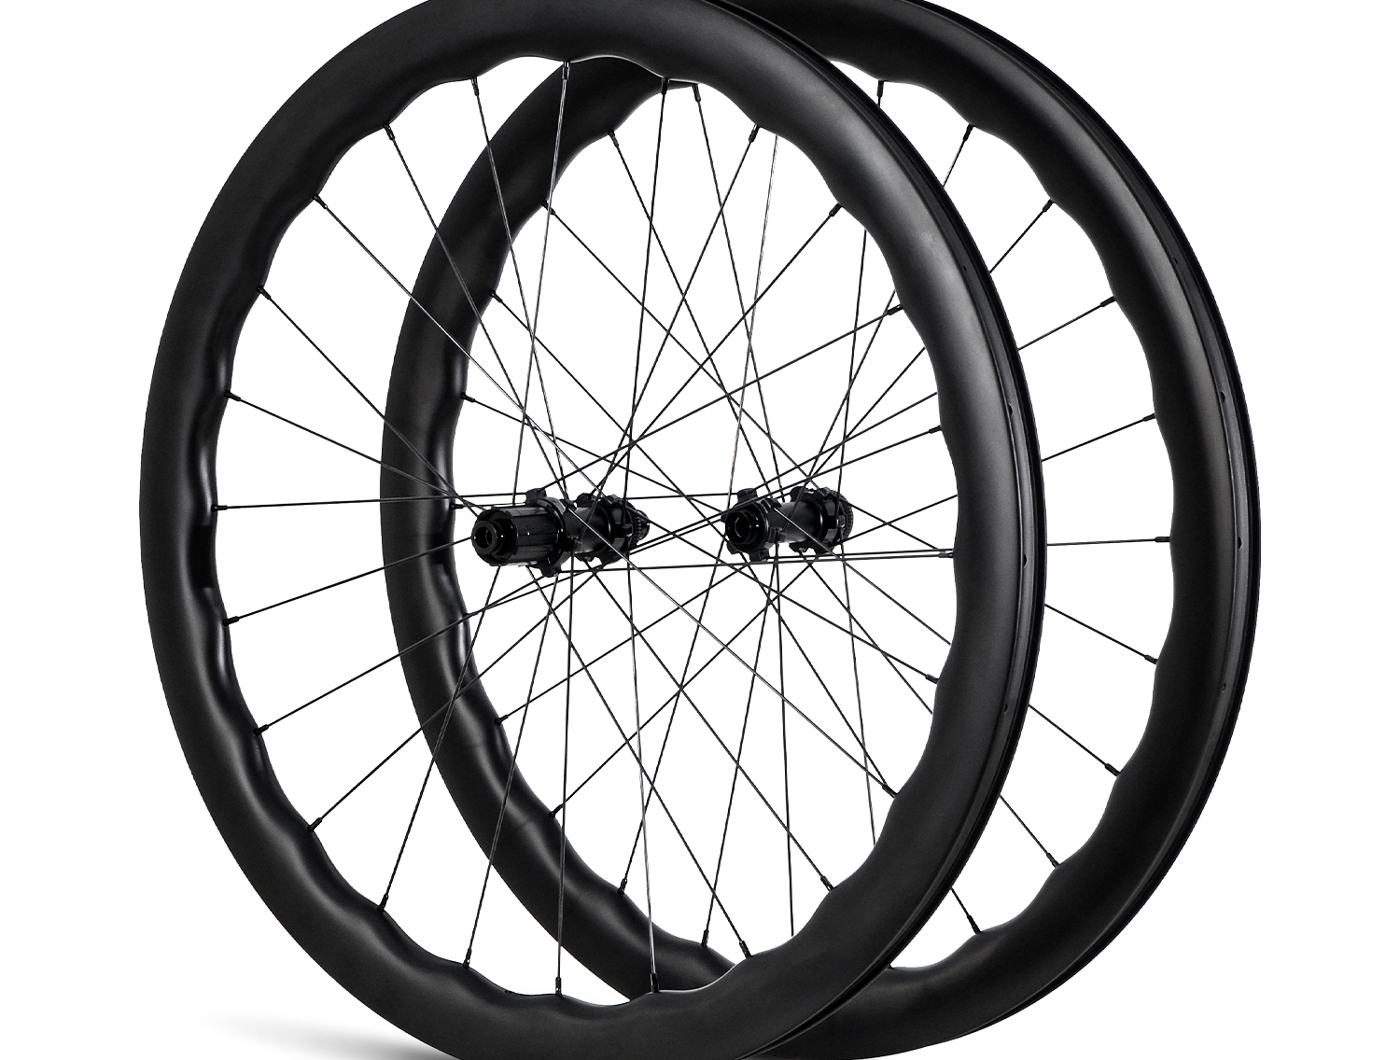
Upgrading to carbon wheels is a significant investment, but the performance gains are often transformative, not just incremental. Here’s how they change your ride:
1. Weight Savings = Acceleration & Climbing Magic:
Rotational Weight Matters Most: Shedding weight from the wheels (especially the rim) makes a HUGE difference. Lighter rims accelerate faster and climb easier because you're spinning mass, not just carrying it. You feel this instantly when sprinting or attacking hills.
2. Stiffness = Precision & Power Transfer:
Lateral Rigidity: Carbon rims resist flex under hard pedaling and cornering forces. This translates to:
Sharper steering response.
More direct power transfer (less energy lost to flex).
Increased confidence railing corners and pumping terrain.
3. Aerodynamics = Free Speed (Especially Cruising):
Smoother Airflow: Well-designed carbon rims slice through the air more efficiently than boxy aluminum counterparts. This reduces drag noticeably at sustained speeds above ~18-20mph, saving watts on flats and rolling terrain.
4. Vibration Damping = Smoother Ride & Reduced Fatigue:
Material Properties: High-quality carbon layups can absorb high-frequency trail buzz better than aluminum. This reduces hand, arm, and body fatigue on long, rough rides, improving comfort and control.
5. Strength & Durability (When Done Right):
Modern Engineering: Contrary to myths, properly built carbon wheels (from Trifox brands) are incredibly strong and impact-resistant. They excel at handling sharp hits and offer excellent fatigue resistance compared to aluminum.
The Caveats:
Braking Performance: Requires specific resin brake pads and proper bedding-in. Wet-weather performance can still lag slightly behind top aluminum.
Impact Sensitivity: While strong, massive, square-edge hits can cause damage aluminum might dent instead. Ride style and terrain matter.
Diminishing Returns for Casual Riders: The gains are most pronounced for fit, experienced riders pushing their bikes.
Who Feels the Biggest Difference?
- Climbers & Accelerators: Feel the weight savings instantly.
- Aggressive Trail/Enduro/DH Riders: Appreciate the stiffness and damping on rough descents.
- XC & Gravel Racers: Benefit from weight, aero, and stiffness efficiency.
- Riders Seeking "Ride Feel": The damped, lively, precise sensation is unique.
Carbon wheels make a substantial, multi-faceted difference. They are lighter, stiffer, often more aerodynamic, and can provide a smoother, more controlled ride. While expensive, they deliver tangible performance benefits that significantly alter how the bike feels, accelerates, climbs, and handles. For riders prioritizing performance and willing to invest, the upgrade is often considered one of the most impactful you can make.
Mounting tape – often double-sided foam tape or specific adhesive pads like 3M VHB – is the unsung hero of clean, secure, and vibration-resistant bike accessory installation. Forget messy zip ties rattling loose or bulky clamps slipping. Here’s why it's essential:
The Core Purpose: Secure, Vibration-Proof Bonding
Its primary job is to create a strong, permanent bond between accessories (lights, computers, bags, sensors) and your bike frame, handlebars, or helmet, while damping damaging vibrations.
Why It Matters for Bikes:
1. Vibration Damping: Foam tapes absorb trail chatter and bumps. This protects sensitive electronics (like bike computers, lights, action cameras) from internal damage caused by constant shaking. Zip ties alone transmit vibrations directly.
2. Rock-Solid Hold: High-quality mounting tape (e.g., 3M VHB) forms an incredibly strong adhesive bond when applied correctly to clean surfaces. It resists shear forces and won’t gradually loosen like straps or ties over rough terrain.
3. Clean, Low-Profile Look: Eliminates bulky clamps, straps, and zip tie tails. Provides a sleek, aerodynamic mounting solution, especially important for computers and lights.
4. Versatile Mounting: Works on curved surfaces (handlebars, seatposts, forks, helmets) and irregular shapes where clamps struggle. Enables precise positioning.
5. Water & Weather Resistance: Good quality tapes resist moisture, dirt, and UV degradation, maintaining their hold through all conditions.
Common Bike Uses:
- Cycling Computers: Securing the mount base to the stem or handlebars.
- Lights: Attaching front/rear light mounts to handlebars, seatposts, or helmets.
- Action Cameras: Mounting GoPro-style adhesive bases to helmets, frames, or handlebars.
- GPS Trackers: Discreetly attaching under saddles or within frames.
- Mini Pumps/Tools: Securing frame-mounted holders.
- Top Tube Bags: Adhering the base plate to the top tube (often combined with straps).
Key Considerations for Success:
1. Surface Prep is CRITICAL: Clean both surfaces thoroughly with isopropyl alcohol. Grease, dirt, or wax prevents adhesion.
2. Pressure Matters: Apply firm, even pressure for 30-60 seconds after placement to activate the adhesive bond.
3. Curing Time: Allow 24-72 hours for the bond to reach full strength before stressing it heavily (e.g., big rides).
4. Choose the Right Tape: Use tapes specifically designed for outdoor, high-vibration use (like Trifox). Avoid weak, thin tapes.
5. Removal: Can be difficult. Use dental floss or a plastic trim tool to slowly saw through the adhesive. Heat (hairdryer) can soften it. Residue requires adhesive removers.
The Verdict:
Mounting tape provides a vibration-damping, ultra-secure, and clean solution for attaching essential gear to your bike. When used correctly on properly prepped surfaces, it’s vastly superior to zip ties or loose clamps for protecting electronics and keeping accessories firmly in place mile after bumpy mile. It’s a simple tool with a powerful purpose!
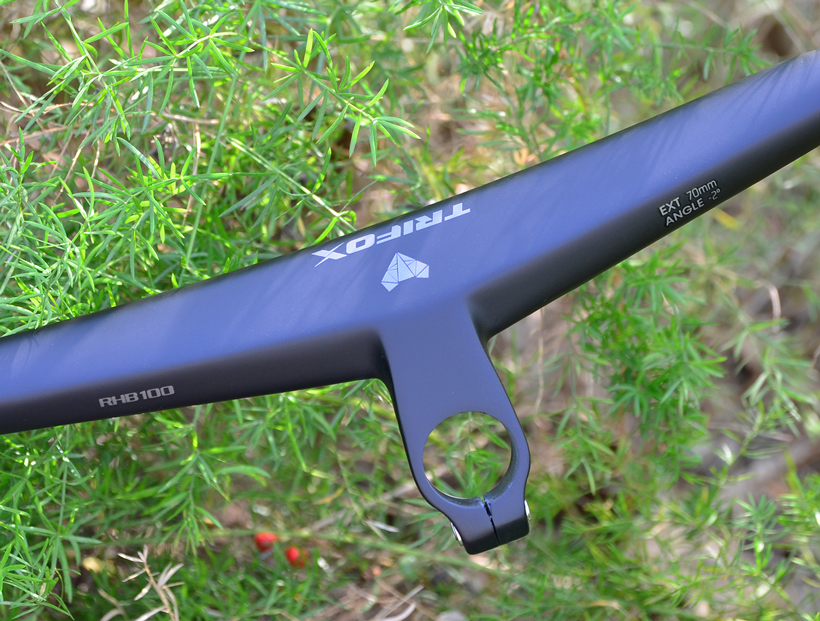
The trend is undeniable: mountain bike handlebars have gotten significantly wider over the last decade. But is wider always better? Like most bike setup choices, the answer isn't a simple yes or no. It depends on your riding style, body size, and the trails you tackle. Let's break down the pros and cons:
The Case FOR Wider Bars (Often 780mm+):
1. Increased Stability & Control: Wider bars provide greater leverage, making it easier to steer the bike precisely, especially at speed or on steep, rough descents. They offer more control over the front wheel.
2. Improved Climbing Traction: The extra leverage helps you weight the front wheel better during steep climbs, reducing wheel lift and improving traction.
3. More Open Chest Position: A wider grip can open up your chest, potentially improving breathing and core engagement, leading to better overall bike control.
4. Confidence Boost: Many riders simply feel more planted and confident with a wider stance, particularly going downhill.
The Case AGAINST Going Ultra-Wide (Potential Downsides):
1. Reduced Maneuverability: Very wide bars can make the bike feel slower to turn in tight, technical sections or dense trees. They increase the overall width you need to navigate.
2. Increased Strain: Excessively wide bars can strain shoulders, wrists, and neck, especially for riders with narrower shoulders or on long rides.
3. Weight Shift Impact: While good for weighting the front, ultra-wide bars can sometimes make it harder to shift your weight dramatically rearward for manuals or steep drops.
4. Snag Hazard: In super tight singletrack or between trees, wide bars increase the risk of clipping obstacles.
Finding YOUR Optimal Width: Key Factors
- Your Height & Shoulder Width: Taller riders with broad shoulders generally suit wider bars better than smaller riders.
- Riding Style & Discipline:
Downhill/Enduro: Benefit most from width (780mm-820mm common) for stability at speed.
Trail/All-Mountain: A balanced width (760mm-800mm) offers versatility.
XC: Prioritize maneuverability and weight (often 720mm-760mm).
- Local Terrain: Open, fast, steep trails favor width. Tight, twisty, wooded trails demand more consideration for maneuverability.
- Current Setup: Don't jump drastically! Make small changes.
How to Dial It In:
1. Measure Your Current Bars: Know your starting point.
2. Experiment Temporarily: Slide your grips and controls inboard by 10-20mm per side and test ride. Notice stability vs. maneuverability.
3. Cut Incrementally: If you have uncut bars (often 800mm+), you can trim them 5-10mm at a time per side. Ride after each cut! Use a pipe cutter.
4. Consider Backsweep: Bars with more backsweep (like 9°) can achieve a similar "effective width" feeling to a slightly wider bar with less sweep, potentially offering a more natural wrist angle.
The Verdict:
Wider bars often improve stability and confidence, especially for aggressive riding on open terrain, but there is a point of diminishing returns. "Better" means finding the width that offers maximum control without sacrificing maneuverability or causing discomfort for you. Don't blindly follow the widest trend – experiment thoughtfully to discover your personal control sweet spot!
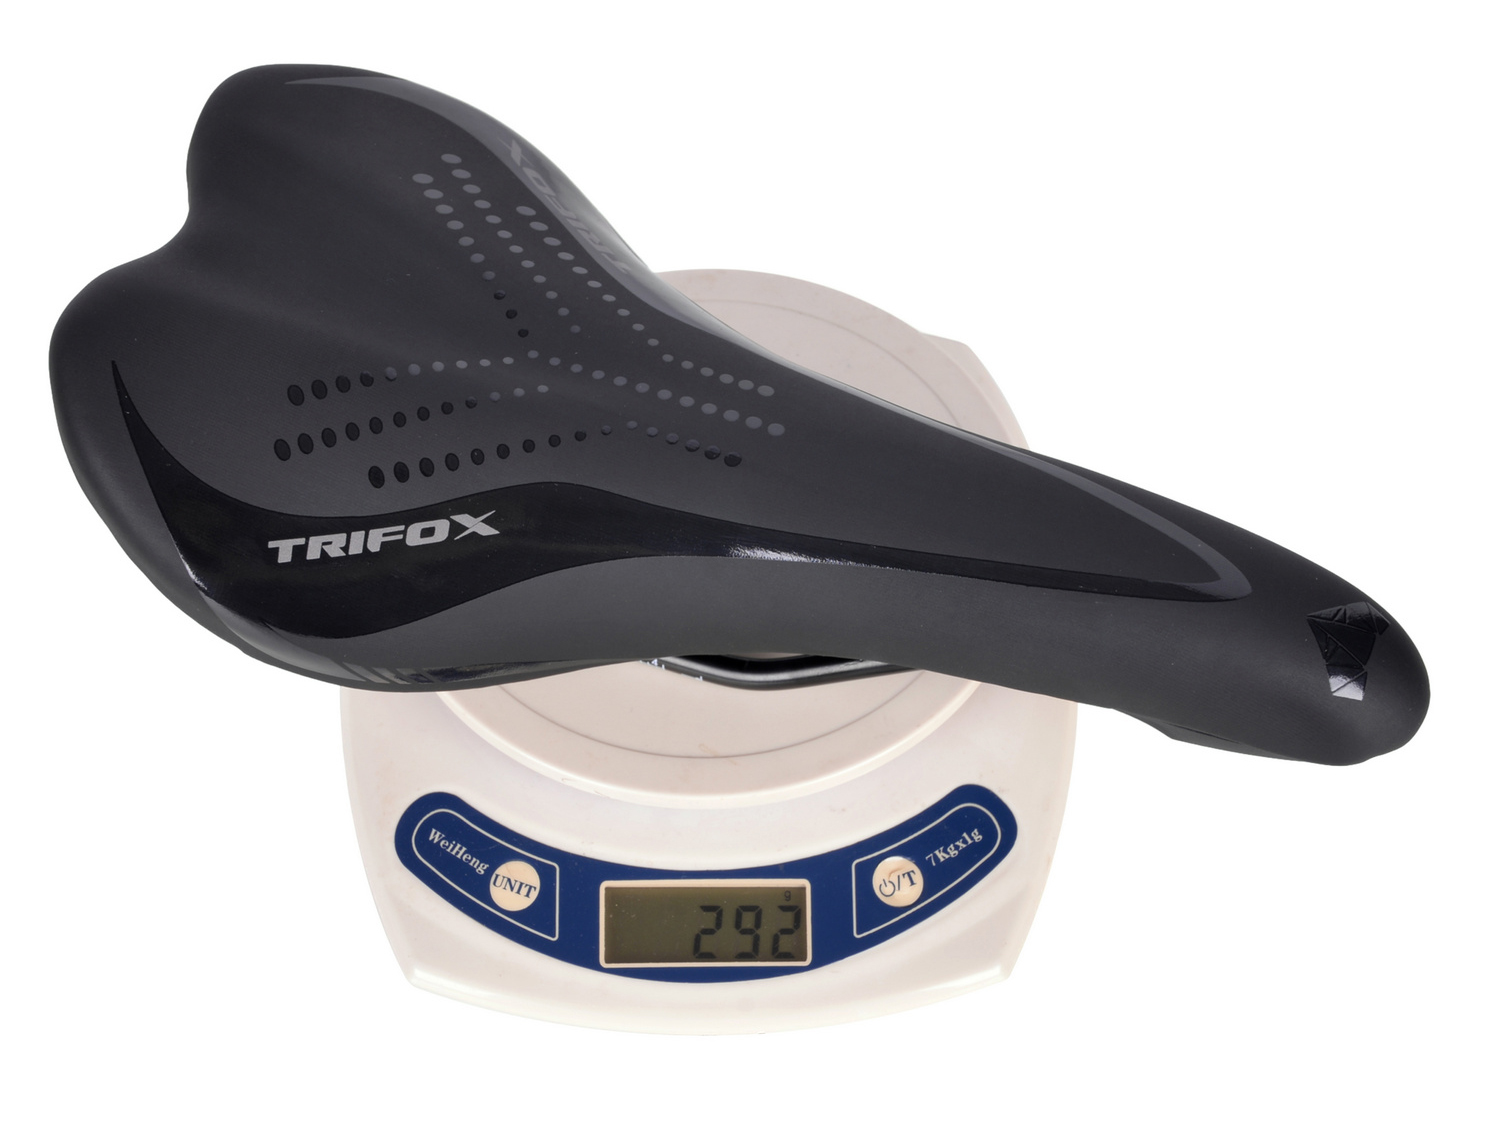
Searching for the "most comfortable" mountain bike saddle is like asking for the best shoe size – there's no single answer. Comfort is deeply personal, depending on your anatomy, riding style, and bike fit.
Why Comfort is Subjective:
1. Sit Bone Width: This is CRITICAL. Your sit bones need proper support. Saddles too narrow or too wide cause pain. Get measured at a shop or use the cardboard-at-home method.
2. Riding Style & Terrain: Aggressive downhillers need different support than long-distance XC riders. More technical terrain often benefits from a shorter nose.
3. Flexibility & Position: Your hip angle and how much you move on the bike influence pressure points.
4. Individual Sensitivity: Some riders need generous padding, others find minimalism better.
Key Features for MTB Comfort:
- Correct Width: Matches your sit bone measurement (usually 2-4cm wider).
- Appropriate Padding: Enough to dampen vibrations but not so much it causes chafing or restricts movement. Too much padding can compress nerves.
- Central Cutout/Relief Channel: Essential for most riders! Reduces soft tissue pressure and numbness on longer rides.
- Shell Flex: A slightly flexible shell absorbs trail buzz better than a completely rigid one.
- Shape: Flat profiles suit aggressive positions; more curved profiles can offer support for upright riding. Short noses improve maneuverability.
Where Do Carbon Saddles Fit In? (Like Trifox Bike's Range)
Carbon saddles (like those offered by Trifox Bike at trifoxbike.com/carbon-bike-saddles) excel in specific areas relevant to MTB comfort:
1. Targeted Flex: High-quality carbon shells can be engineered to flex strategically under your sit bones, absorbing impacts and vibrations from rough trails, while remaining supportive and efficient.
2. Lightweight & Efficient: Significant weight savings over traditional saddles, beneficial for climbing and overall bike feel.
3. Durability: Carbon is highly resistant to wear and tear from crashes and the elements.
4. Minimalist Design: Many carbon saddles feature smart padding placement (often just in the rear zone) combined with relief channels, hitting the sweet spot for riders who find bulky saddles uncomfortable.
Is Carbon Right for You?
Carbon saddles can be incredibly comfortable, especially if you value vibration damping, weight savings, and a direct connection to the bike. However, they often have less overall padding than heavily cushioned models. Riders preferring a very plush feel might initially find them firmer, though the flex often compensates brilliantly for trail chatter.
The Verdict & How to Find YOUR Most Comfortable Saddle:
1. Measure Your Sit Bones.
2. Prioritize a Relief Channel/Cutout.
3. Consider Your Riding Style: Aggressive? Look shorter/narrower. Enduro/Trail? Balance is key. XC? Efficiency and weight matter.
4. Consider Carbon (Like Trifox): If you value precise flex, vibration damping, low weight, and durability, explore quality carbon options.
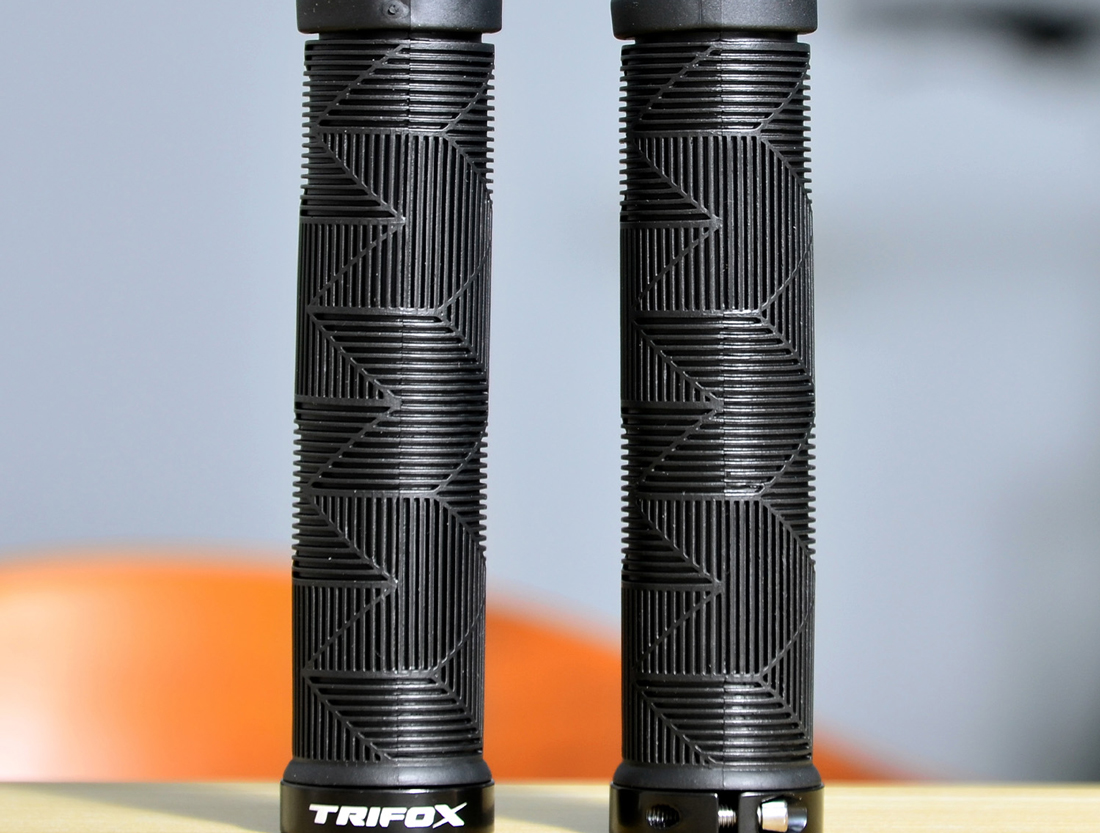
Choosing grips seems simple, but thickness dramatically impacts comfort and control on your mountain bike. There's no single "best" – it hinges on your riding style, hand size, and personal preference. Let's break down the contenders:
Thin Grips (Typically <30mm Diameter):
- Pros:
Precision & Feel: Offer direct bar feedback for precise steering inputs and technical maneuvering.
Less Arm Pump: Reduce forearm strain on long climbs or endurance rides by requiring less grip force.
Barend Friendly: Easier to pair with ergonomic barends for climbing positions.
Lighter: A minor, but real, weight saving.
- Cons:
Less Vibration Damping: Transmit more trail chatter, potentially causing fatigue and numbness on rough terrain.
Reduced Cushioning: Less material means less impact absorption for hard landings.
Can Feel Harsh: Especially for riders with larger hands or sensitivity issues.
Thick Grips (Typically >30mm Diameter):
- Pros:
Superior Comfort & Damping: Excel at absorbing vibrations and smoothing out bumps, reducing hand fatigue on chunky descents.
Enhanced Cushioning: Provide more padding for impacts and landings.
Better Fill for Larger Hands: Often feel more natural and secure for riders with bigger palms.
Increased Grip Surface: Can feel more planted, especially with gloves.
- Cons:
Reduced Bar Feel: Mute feedback, potentially making subtle steering adjustments harder.
Increased Arm Pump: Can require more grip strength to hold firmly, tiring forearms faster, especially on climbs.
Bulkier Feel: Some riders find them less precise or nimble.
The Verdict? It Depends!
- Downhill / Enduro / Park Riders: Prioritizing comfort and vibration damping? Thicker grips are usually the weapon of choice for surviving brutal descents.
- XC / Trail / Climbers: Valuing precision, low weight, and reduced arm pump on long efforts? Thinner grips often shine.
- Hand Size Matters: Smaller hands usually prefer thinner grips; larger hands often find thicker grips more comfortable.
- Lock-On is Key: Whichever you choose, lock-on grips (with metal clamps) are essential for security and no slippage.
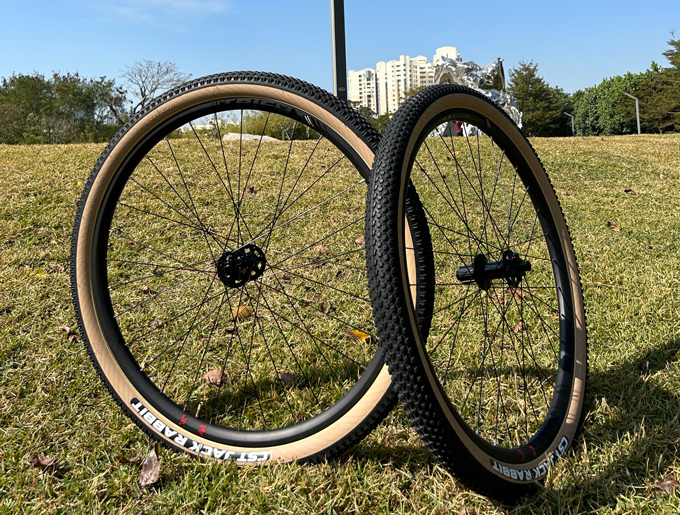
The allure of deep carbon wheels is undeniable, promising "free speed." But how much faster are popular 50mm wheels actually? Let's cut through the hype with real-world expectations.
The Core Advantage: Aerodynamics
The primary benefit is reduced aerodynamic drag. At speeds above 20-25 km/h (12-15 mph), overcoming air resistance consumes most of your power. A 50mm rim depth strikes a near-perfect balance:
- Significant Drag Reduction: Compared to standard alloy box-section rims (often 20-30mm deep), 50mm wheels offer a major aero improvement. They slice through the air more efficiently, especially in crosswinds where they remain stable.
- Sweet Spot: Deeper wheels (60-90mm) offer marginally better pure aero gains on dead-flat courses but become heavier and harder to handle in winds. 50mm provides excellent aero benefits while remaining versatile and manageable for most riders and conditions.
Quantifying the Gain: Seconds Matter
Studies and real-world testing consistently show meaningful time savings:
1. Over 40km (25 miles): Expect savings of 45 to 90 seconds compared to standard alloy wheels, depending on your speed, course profile (flatter = bigger gain), wind, and tire choice. At higher average speeds (e.g., 35-40 km/h), the gains are larger.
2. Per Hour: Roughly 1-2% faster average speed for the same power output. This translates to gaining 1-2 minutes per hour on flat to rolling terrain. On a 100km ride, that's 5-10 minutes saved without pedaling harder!
3. The "Free Speed" Factor: This is the magic. You go faster for the same effort. It feels easier to hold higher speeds, making group rides or solo efforts less taxing aerodynamically.
Beyond Pure Aero: Weight & Stiffness
- Weight: While not as light as ultra-shallow carbon or top alloy wheels, modern 50mm carbons are surprisingly light (often 1400-1600g/set). This minimizes the penalty on climbs compared to deeper sections. The weight savings over alloy plus the aero gain creates a net positive.
- Stiffness: Carbon rims are generally stiffer laterally than alloy, improving power transfer and handling precision, especially when sprinting or cornering hard.
Important Caveats
- Where the Gain Is: The biggest advantage is on flat or rolling terrain at sustained speeds above 25-30 km/h. In stop-start city riding or very steep climbs (>8%), pure weight becomes more critical, though the aero benefit still helps on descents and rolling sections.
- Tires & Tubes: Pair them with fast-rolling, quality tires (25-28mm often optimal) and latex tubes or tubeless for maximum benefit. Slow tires negate the aero advantage.
- Wind Handling: While manageable, 50mm wheels are more affected by strong crosswinds than shallow rims. Most riders adapt quickly.
The Verdict: A Worthy Speed Boost
50mm carbon wheels deliver a tangible, significant speed increase – typically 1-2 minutes saved per hour on flatter terrain compared to standard wheels. This translates to meaningful time savings over any distance where aerodynamics dominate. They offer the best blend of aero efficiency, manageable weight, versatility, and stability for most road cyclists seeking a performance upgrade. It's not magic, but it's the closest thing to "free speed" you can bolt onto your bike.


