When it comes to off-road cycling, enthusiasts have the option to choose from a range of bikes designed to tackle different terrains. One such option gaining popularity is the full suspension fatbike, which offers a unique combination of features to enhance the riding experience.
1. Enhanced Comfort and Control:
The integration of full suspension in fatbikes mitigates the impact of rough terrains. By utilizing a front and rear suspension system, these bikes efficiently absorb shocks, bumps, and vibrations, providing riders with a comfortable and stable ride. Suspension forks help in navigating uneven trails and obstacles by minimizing the impact on the rider's wrists, arms, and upper body. Similarly, rear suspensions enable riders to maintain control and traction, resulting in an improved overall biking experience.
2. Increased Traction and Stability:
The wider tires of fatbikes, ranging from 3.8 to 5 inches, coupled with lower tire pressure, offer enhanced traction on various surfaces, be it snow, sand, or rocky terrains. The addition of full suspension further improves stability on unpredictable surfaces, enabling cyclists to confidently tackle challenging landscapes. With an increased grip on the ground, riders can smoothly maneuver corners, descend steep slopes, and navigate tricky trails with reduced risk of slipping or losing control.
3. Handling Difficult Terrain:
Full suspension fatbikes excel in conquering challenging terrains. The combination of their wide tires, low pressure, and suspension system allows cyclists to effortlessly glide over obstacles, such as tree roots, rocks, and loose gravel. These bikes are specifically designed to ride in snow and sand, making them ideal choices for off-road adventurers seeking new trails and exploration. The unique design elements ensure optimal traction and keep riders in control, even in adverse conditions.
4. Improved Performance:
When it comes to achieving speed and efficiency, full suspension fatbikes are not to be underestimated. While the larger tires may pose challenges on paved surfaces, they excel in off-road situations. The suspension system aids in maintaining momentum by absorbing energy-draining impacts, ensuring a smoother and faster ride. As a result, riders can ride longer and tackle more demanding trails with less fatigue, ultimately enhancing their overall performance.
Conclusion:
Full suspension fatbikes offer unparalleled comfort, control, and versatility for off-road cycling enthusiasts. Their ability to handle difficult terrain, provide enhanced stability, and improve performance make them a superior option for those seeking an adventure-filled journey.
Whether you are tackling snowy trails, sandy dunes, or rocky routes, full suspension fatbikes' unique features will provide an enjoyable and invigorating ride. So, if you are considering investing in a fatbike, opting for one with full suspension could be a game-changer for your biking experience.
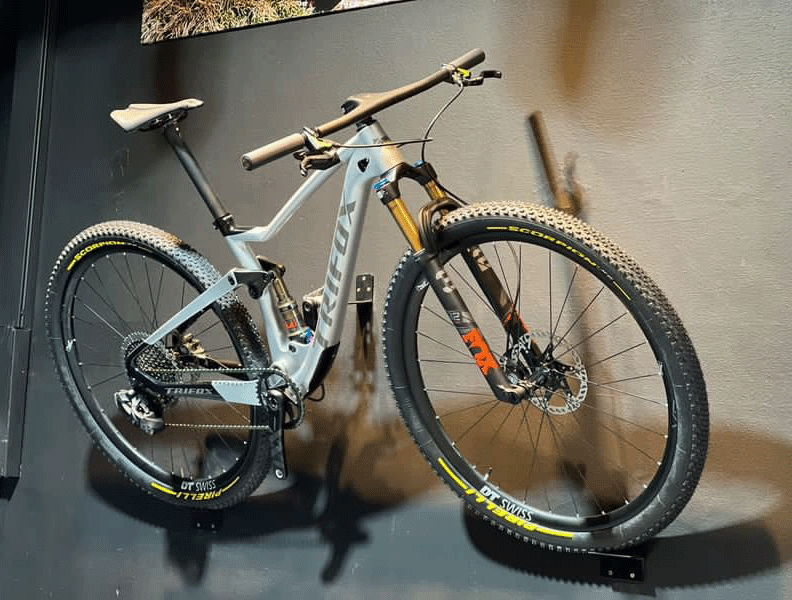
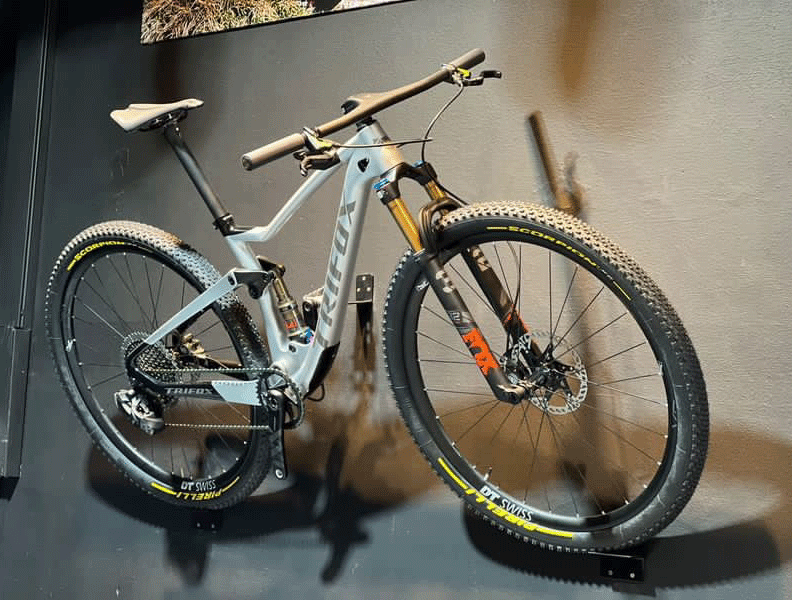
Mountain biking is a thrilling adventure sport that demands high-performance bikes to take on challenging terrain. When it comes to choosing the right mountain bike, there are many factors to consider, such as the frame, suspension, speed, and braking system. Currently, the trend is shifting towards disc brake bikes due to their superior stopping power and durability.
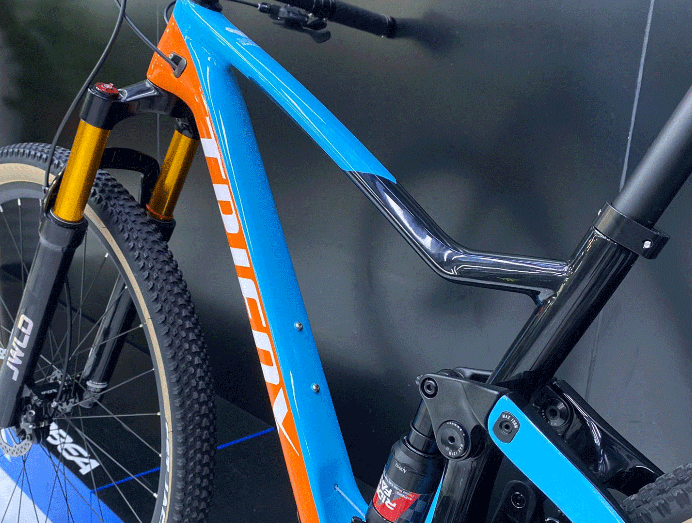
One of the best options in the market is Trifox Carbon Fiber Mountain PIONEER Bicycle, equipped with the latest technology, including high-quality disc brakes. Let's see why the Trifox Carbon Fiber Mountain PIONEER Bicycle is the best choice for disc brake mountain bikes.
1. Superior Stopping Power:
One of the major advantages of disc brakes is their superior stopping power compared to rim brakes. Disc brakes use calipers to grip a rotor instead of pressing against a rim, which increases the mechanical advantage and stopping power. Trifox Carbon Fiber Mountain PIONEER Bicycle has hydraulic disc brakes from Shimano, a leading brand in the biking industry. These brakes are easy to operate and offer responsive stopping power in all weather conditions.
2. Easy to Control:
Disc brakes offer better control and modulation than rim brakes. The rider can apply brakes with greater precision and finesse, enabling them to maintain speed and stability on challenging terrain. In contrast, rim brakes can overheat, warp, or fail in wet conditions. Trifox Carbon Fiber Mountain PIONEER Bicycle's Shimano hydraulic disc brakes provide excellent control, allowing riders to navigate steep descents confidently.
3. Low Maintenance:
Disc brakes are low maintenance compared to rim brakes. Rim brakes require frequent adjustment, replacement, and servicing due to wear and tear caused by road debris and weather conditions. Disc brakes, on the other hand, are self-adjusting and require minimal maintenance. They also offer consistent braking performance over a broader range of temperatures and terrain. Trifox Carbon Fiber Mountain PIONEER Bicycle's Shimano hydraulic disc brakes are durable and require little maintenance.
4. Durability:
Disc brakes offer exceptional durability compared to rim brakes. Rim brakes can wear down the sidewalls of the rim, leading to rim failure, especially on long descents. Disc brakes, on the other hand, don't wear out the rims, reducing the risk of rim failure. Trifox Carbon Fiber Mountain PIONEER Bicycle's Shimano hydraulic disc brakes are built to last, ensuring that riders can enjoy smooth and responsive stopping power for years to come.
5. Optimal Performance:
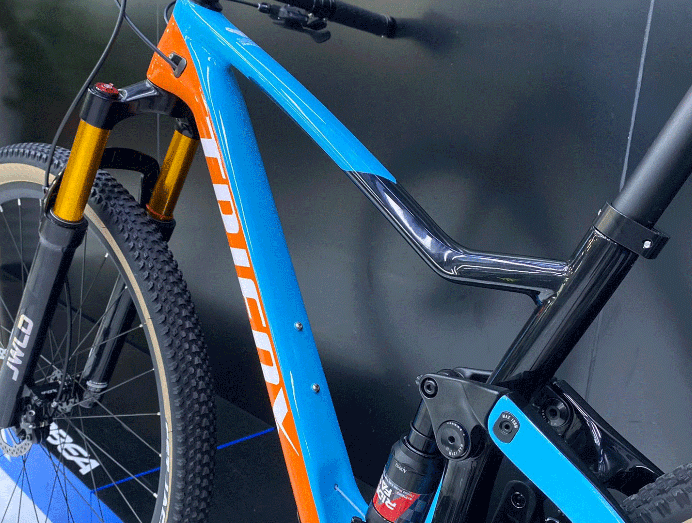
Disc brakes offer optimal performance on challenging terrain due to their superior stopping power and control. Trifox Carbon Fiber Mountain PIONEER Bicycle is built with a full suspension carbon frame that provides exceptional shock absorption, allowing riders to maintain speed and stability on the most challenging terrains. Along with the Shimano hydraulic disc brakes, the bike's SHIMANO M6100 12speeds and strong shock absorption make the Trifox Carbon Fiber Mountain PIONEER Bicycle the best choice for disc brake mountain bikes in the market.
Conclusion:
The Trifox Carbon Fiber Mountain PIONEER Bicycle is an exceptional mountain bike that offers superior performance and durability, especially in challenging terrains. Equipped with Shimano hydraulic disc brakes, the bike provides exceptional stopping power, control, and low maintenance. Along with the full suspension carbon frame, Shimano 12speeds, and strong shock absorption, the bike offers optimal performance for mountain bikers of all skill levels.
When it comes to choosing the best disc brake mountain bike, the Trifox Carbon Fiber Mountain PIONEER Bicycle is the perfect choice for those seeking adventure and high-performance biking.
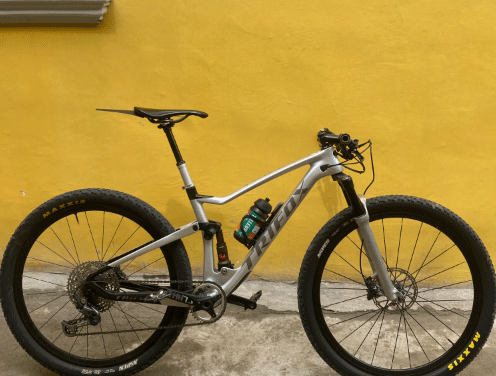
Are you ready to take your biking game to the next level with the Trifox new Pioneer Complete Bike? Before you make your purchase, it’s important to determine the correct bike frame size that suits your body type and riding style. A correctly sized bike frame will ensure that your ride is comfortable, efficient, and safe. In this blog post, we’ll guide you on How to Measure Bike Frame Size for Trifox New Pioneer Complete Bike
Step 1: Determine Your Height
The first step in measuring your bike frame size is to determine your height. Stand barefoot with your back against a wall and feet 6 inches apart. Use a tape measure to measure from the floor up to the top of your head. Note down your height in inches.
Step 2: Calculate the Inseam Measurement
The inseam measurement is the length from the crotch to the bottom of your feet. To measure your inseam, take off your shoes and stand against the wall with your feet 6 inches apart. Place a book between your legs, as if sitting on a chair. Measure from the top of the book to the floor and note down the measurement in inches.
Step 3: Find Your Bike Frame Size
Now, let’s find your ideal bike frame size for the Trifox new Pioneer Complete Bike. Use the measurements from Steps 1 and 2 to determine your suggested frame size using the chart provided by Trifox. Keep in mind that different bike styles, such as road bikes or MTBs, might require a slightly different frame size.
Step 4: Take a Test Ride
Once you have determined your suggested bike frame size, it’s important to take a test ride to ensure the fit is comfortable. Make adjustments to the seat and handlebars to ensure that your posture is correct. A comfortable bike fit will enhance your performance and enjoyment of riding.
Step 5: Seek Professional Help
If you’re still unsure about the correct bike frame size, pls feel free to contact us. We can take precise measurements and recommend the best Trifox bike frame size for your body type and riding style.
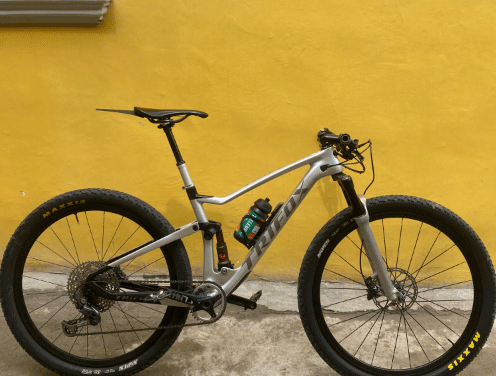
Finding the right bike frame size for the Trifox new Pioneer Complete Bike is essential for a comfortable and safe riding experience. By following these steps, you can determine the right frame size for your unique body type. Remember to take a proper test ride and seek professional help if necessary. With the perfect bike fit, you’ll be ready to conquer any trail with the Trifox new Pioneer Complete Bike!
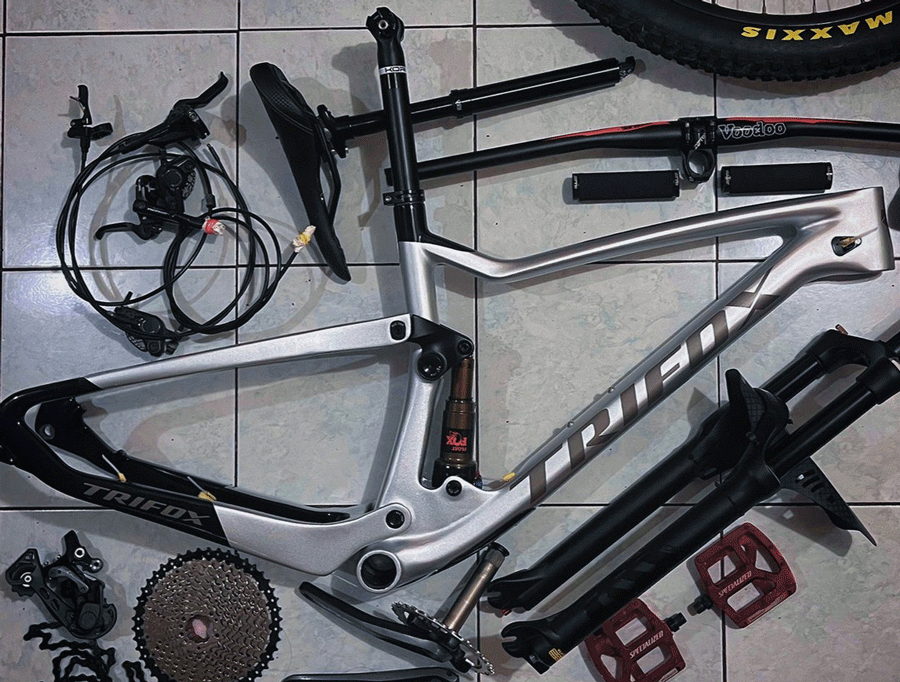
Mountain biking is an exciting and challenging sport, but it can also be an expensive one. If you’re building a bike from scratch or upgrading your current setup, the cost of a high-quality mountain bike frame can quickly add up. Luckily, there are numerous ways to find the best mountain bike frames for sale cheap.
The first step in finding an affordable mountain bike frame is to seek out sales and promotions. Many online retailers offer seasonal discounts or limited-time offers on last year's models, so keep an eye out for these sales. Furthermore, retailers often offer discount codes that can reduce the price even further.
Another excellent way to find affordable mountain bike frames is to shop second-hand. Craigslist, eBay, and Facebook Marketplace are all excellent resources for finding used frames at a fraction of their original cost. When shopping second-hand, be sure to inspect the frame thoroughly before making a purchase. Look for any signs of damage or wear that could compromise the frame's integrity. Additionally, it's essential to know your measurements so that you can find a frame that fits you well.
If you are willing to wait, another option to consider is buying last year's models. Retailers often discount older models to make room for their latest releases. These older models are still high-quality and offer excellent performance, but they are usually much cheaper than the latest models. Whether you're buying in-store or online, it pays to do some research before making your purchase. Visit a local bike shop or check out online forums to read reviews and learn more about the frame's performance.
Before making a final decision on a mountain bike frame, it's crucial to consider your riding style. Different types of frames are designed for different types of riding, so it's important to choose a frame that suits your needs. Consider factors such as the terrain you'll be riding on, the distance you'll be covering, and your level of experience. For example, cross-country riders will usually want a lightweight frame made from carbon fiber, while downhill riders benefit from a heavier, more robust frame made from aluminum.
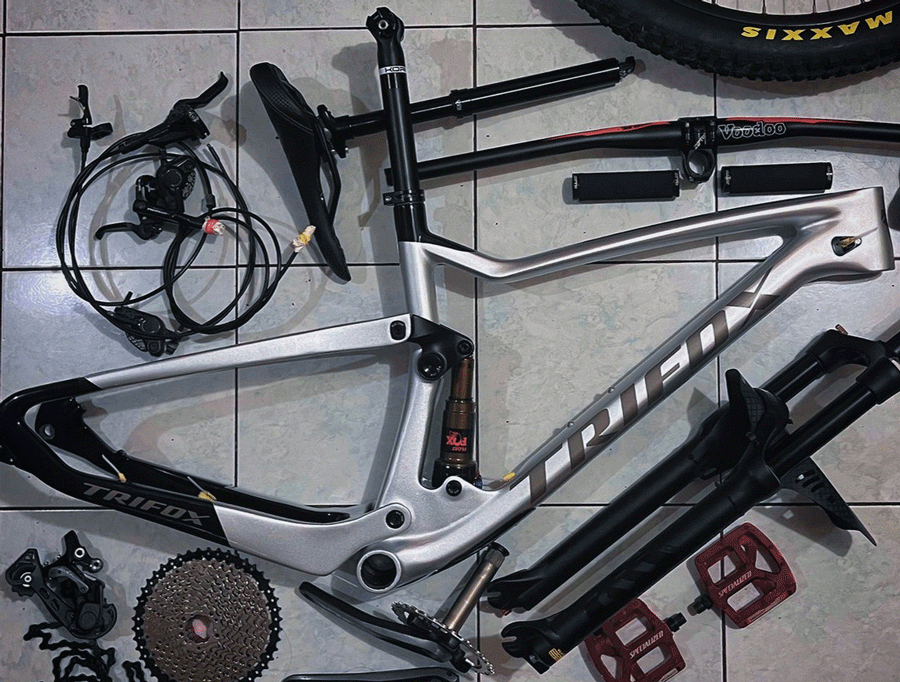
Finally, it's worth considering how much money you're willing to spend. While it's essential to find an affordable frame, you must be willing to spend enough money to purchase a frame that gives you the performance you need. Don't compromise quality over cost, as it will ultimately cost you more in the long run. Aim to find the best balance between value and cost for your budget.
Whether you're looking for a frame for a new bike build or upgrading your current setup, there are numerous ways to find affordable mountain bike frames. By seeking out sales and promotions, shopping second-hand, buying last year's models, considering your riding style, and setting a budget, you can find a high-quality frame that fits your needs without breaking the bank. Do your research, take your time, and you'll be sure to find the best mountain bike frame for sale cheap.
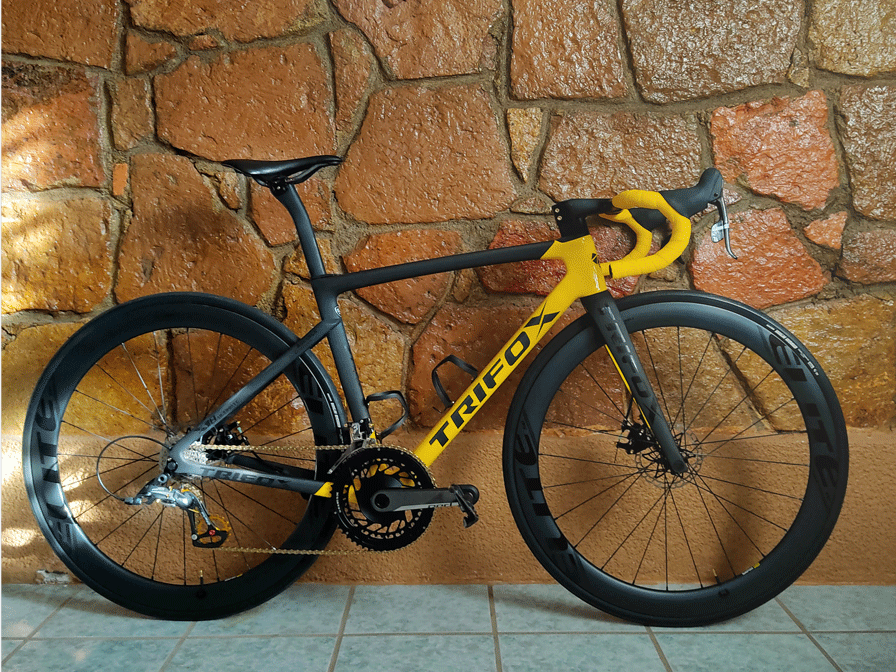
This adventure of seeking to get a new bicycle began around 2019, I had been using it for around 10 years. the same bike and it was time for a change, so I started looking for different models of bike brands, some I liked them and others not so much, until in one of my searches I came across the Trifox bikes website, while I was looking at the models available at that time was the one that caught my attention, it was the X16 model, I really like it and its range of colors I loved it, I liked the blue chameleon color, so that model was the one I chose to be my new bicycle, I began to think in how I was going to assemble it, one option was to use the same parts that the bike I was using already had or put all the new components. This is how time passed and little by little I was looking for components to put on it and I began to make a budget to save.
This is how time passed and little by little I was looking for components to put on it and I began to make a budget to save.
At a certain point, I was about to buy the X16 frame but by chance I had to wait a little longer, not knowing what that wait would be to choose my dream bike.
Sometime later, when I entered the Trifox Bike page, I saw that they had added a new road frame model, the X18, and when I saw it, I knew that this would actually be the chosen one, although they only had matte black and black with silver. This is how time passed and sometimes I forgot the project of a new bicycle and other times I went back to the Trifox page to see the X18 and see the options it had and imagine what kinds o components to build it with.
It was not until 2021 that I took my project for a new bicycle seriously, I knew that the model that I really wanted over other brands was the X18, I analyzed the pros and cons, from the components that my bike had only some would be compatible to the reality that the wheels would necessarily have to be new since now they would have to be for disc brakes.
Once all the possibilities were analyzed, I began to look for the components with which I would assemble it, throughout 2021, I dedicated myself to searching what brake discs would I put on it, what gear group and what brand would they be, the seat, the handlebars and especially the rims, the latter were the ones that I focus on looking for the most since I knew that they would be an important part for the assembly of the bicycle.
It was by February 2022 that I finally decided to take the step that would start it all, if I'm not mistaken I made my purchase on February 7 of 2022, I was undecided between the matte black color or the black with silver and in the end I ordered the black with silver.
I remember that a week passed and I did not have an email confirming any movement of the shipment of the package or that it was in preparation, so I sent an email to ask what was happening, the treatment I received was very kind and they notified me that the package was already ready to be sent, but there was a small problem with the airline since flights to Mexico were suspended, so they gave me the option to cancel the purchase and return the money or the other would be to send it by ship but it would take 40 days to arrive, I decided that there was no problem waiting 40 days to receive it, I had already been planning this for a few years, there was no problem in waiting another 40 days.
During this waiting time, I dedicated myself to looking for the handlebars and the brake calipers, I looked for the handlebars were integrated handlebars, and I already had in mind that the wiring of the X18 would be internal, so I looked for the handlebar to make it compatible with the internal wiring, so I found one that I loved, a Ryet Aero, it was just what I was looking for, it was an integrated handlebar and could be used for external or internal wiring, I decided that the brake calipers were by cable, since I had no intention of getting an electronic and hydraulic group since my goal was to make the bike as light as possible.
By April 2022 it was a Wednesday that my X18 finally arrived, I was super happy, and I took it out of the box and began to assemble it with what came in the box, my surprise was when I put the metal ring that goes on the fork bearings and placed the base of the spacers, the base was very high, above the curve of the frame and I thought I had put it together wrong, but I kept trying but if the problem was with the metal ring, it was very high, contact the Trifox service and send photos of what was happening and indeed, the ring was very high, they told me that it should be 6.5 millimeters high so I measured it and the height was 8 millimeters, really because of the distance between China and Mexico it was really difficult to make a change of part, at that time the only option was to look for someone who could get the part down and for a while I searched without success, the bike was beautiful and I wouldn't give up to leave it like that after waiting so long.
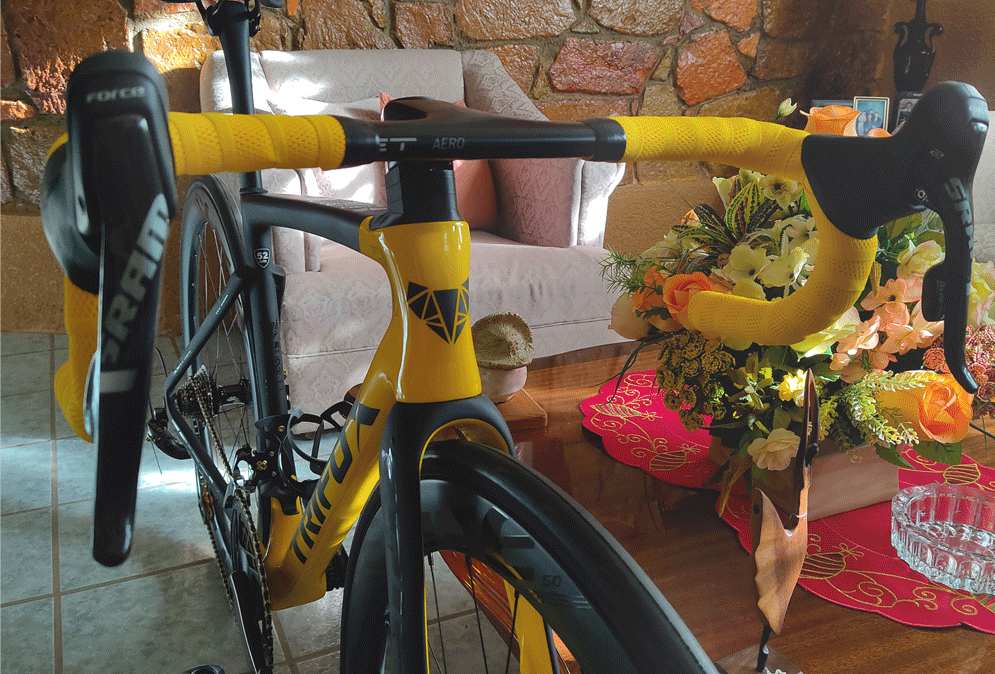
After about 15 days, and not finding someone who could lower the piece, I had a moment of enlightenment, I told myself -what am I doing? If I could create the piece myself, there was no one to look for, I was capable of creating it through 3D printing, so I got to work, I took measurements of the piece and made the plans directly on the computer, once the correct specifications of the piece were obtained, I made the 3D model and proceeded to look for someone to do the printing, luckily I found someone who was dedicated to 3D printing right here where I live in Fresnillo Zacatecas and he recommended me the material with which the piece could be printed and so it was done, once with the printed piece in my hands I did the test and it was perfect, it was returned in this project and with renewed spirits and create a new version of the ring with the largest space for the cables and to be able to pass the cables with greater ease.
A few days later the handlebars and brake calipers arrived, so I mounted them on the bike to get another surprise that the handlebars were not compatible with the spacers that came from the factory with the x18, they were big, but I did not worry since that opened new doors to more ideas and now the objective was to create spacers completely customized to fit the frame and handlebars, I worked using the spacers that came from the factory and the ones that came with the new handlebar as a base to create new ones, create the plans on the computer with their corresponding measurements and they were ordered to be printed, they were a success, they fit perfectly and they managed to make the handlebars completely compatible with the frame, from there I generated another 4 more prototypes of spacers to improve the design until reaching the final model.
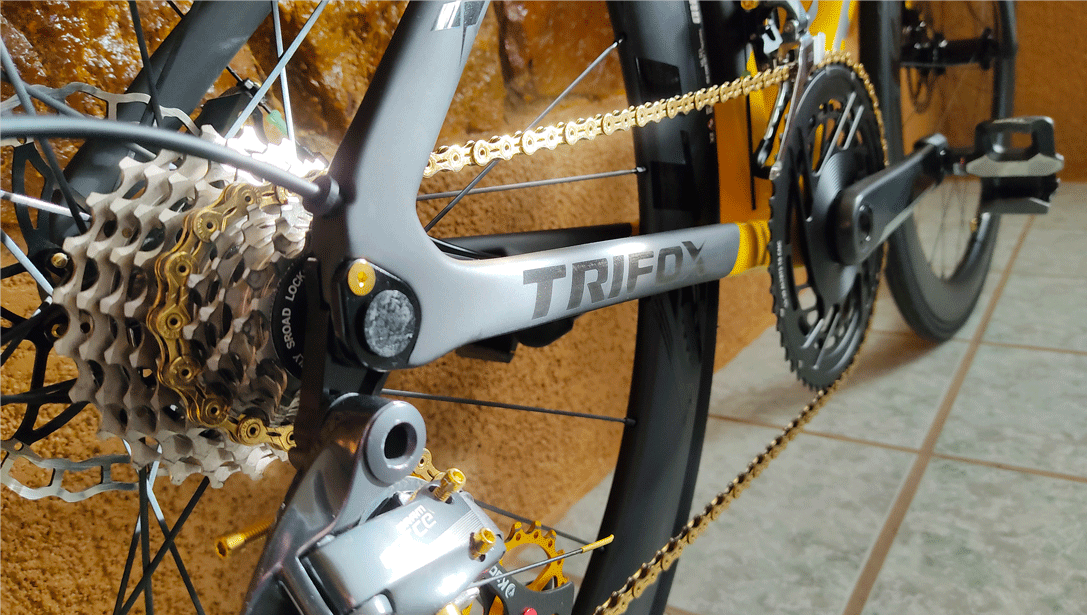
Since then, throughout the year 2022 I was working on this project, I knew what I wanted and how I wanted it, I wanted a bicycle that nobody had, a single model, something that had never been seen before that shined by itself, I started to make a new design in the painting for the painting, I made several designs with different colors, until reaching the yellow and black color, it was the chosen one, it fulfilled what I was looking for, it was elegant, it emitted a lot of presence and it shone by itself, with the selected colors I made some design proposals for the painting, but I wanted to see it applied to the bike to be able to observe it in more detail and have a clear idea of how it would look in the end, so I made a model in 3D of the bicycle frame and I placed the designs, until reaching the final design, bright yellow with matte black and letters in glossy black, this final design I knew would be unique and with the modifications I had made to the handlebar system it made it a unique bike that no one would really have, this led me to name my bike the X18 Ultimate. Given that there would be no one like it and it would be the culmination of all my efforts in this project, my Dream Build.
During the year 2022 each month I bought parts that I previously selected for the bicycle, the changes select the Sram brand and opt for Sram Force 22 mechanical since that I could no longer find Sram red, another month the seat was ordered, the chain in gold color and the sprocket in 11/25 configuration, for another month the tires were ordered, the brake discs in 140 mm, shift and brake cables with Teflon coating and all the hardware of the components in gold, including the handlebar tape in yellow, and after comparing several rim models, choose to buy ones from the EliteWheels brand of 50 mm for 6-bolt disc brake.
The year flew by and by September 2022 the only thing I needed was the crankset and to have the bike painted, I started looking first for who could do the paint job and after an arduous investigation I found who could make my vision come true, a carbon fiber bicycle repair business located in Puebla, Mexico, I contacted them and told them about the idea I had and they told me that it was possible to achieve it, and by the end of October, I sent the bicycle to Puebla in the same box in which it had arrived.
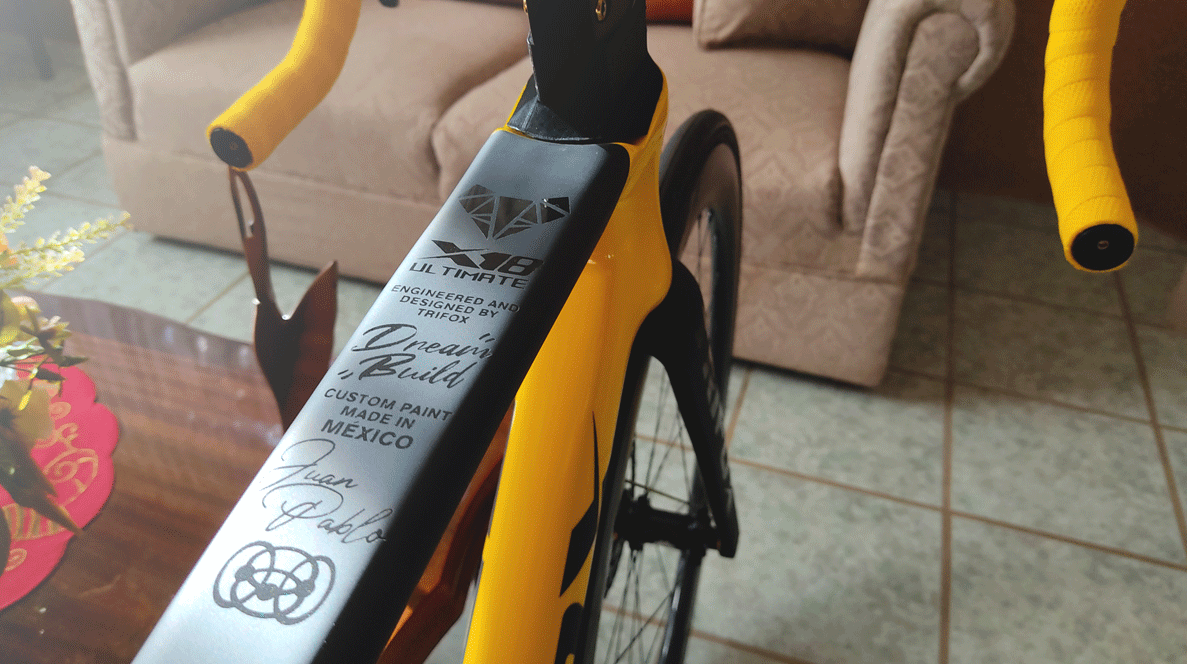
During the wait I dedicated myself to looking for the crankset, this time I wanted it to be from the Sram Red range and I was able to get it with a 53/39 chainring configuration and it came from Spain for By mid-November, everything was ready and all that remained was for the bike to return with new paint.
By mid-December the bicycle returned, with the paint design as I had imagined it, now everything was complete to start assembling it, for days I carried out assembly tests to see how it would look, and until the beginning of January 2023 I proceeded to assemble it.
During its assembly I discovered another small detail, this time in the hole of the fork tube through which the cable sheath passes, which was that the bevels of the hole did not allow it to slide well the cable sheath since they did not have a profile for it to slide well, but I took care of that myself using a drill bit wrapped in sandpaper I did the profiling and it was perfect the cable sheath slid smoothly.
It was my first time running wires inside a bike frame so I had to do a method to hold the handlebars with a broomstick and a chair to get the wires through. without problems, until it was complete and functional, resulting in a Trifox X18 bike like no other in the world.
It was an adventure that I enjoyed month by month, acquiring each component and visualizing how it would look at the end, the whole year 2022 until reaching a dream come true, In the short time that I've been using it, I can say that the bike is great, I haven't had any problems, it's completely safe and extremely light for a disc brake bike.
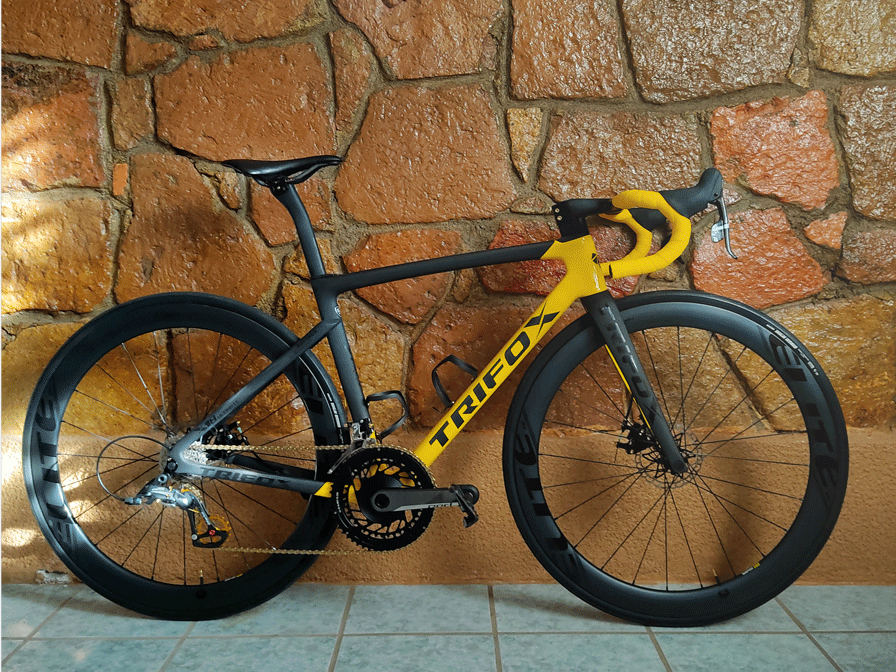
I am very happy and pleased with her and with the quality offered by her entire Trifox team, from her customer service to her products, I know that during the process there were small details but that did not affect my experience at all, in fact they motivated me to solve and improve them and it serves as a tool for you to improve the products even more, I am very grateful that you liked it the result I achieve with a model of their bikes, maybe in the future someone else can achieve what I did and build the dream bike.
Achieving a smooth and efficient ride on your bike requires careful consideration of each component, including the hub. One essential factor to consider when selecting a hub is its compatibility with your bike's other components. In this article, we will discuss the concept of hub compatibility and its role in finding the ideal hub for your bike.
What is Hub Compatibility?
Hub compatibility refers to the ability of a bike hub to work seamlessly with other components of your bike, such as the axle, frame, and drivetrain. Factors that determine hub compatibility include:
Axle type: Hubs are designed to work with specific axle types, such as quick release or thru-axle. It's important to choose a hub compatible with your bike's axle system.
Axle dimensions: The length and diameter of the axle must match the hub's specifications. Common axle dimensions for mountain bikes include 100x9mm (front) and 135x10mm (rear) for quick-release systems, and various sizes for thru-axles, such as 100x15mm (front) and 142x12mm (rear).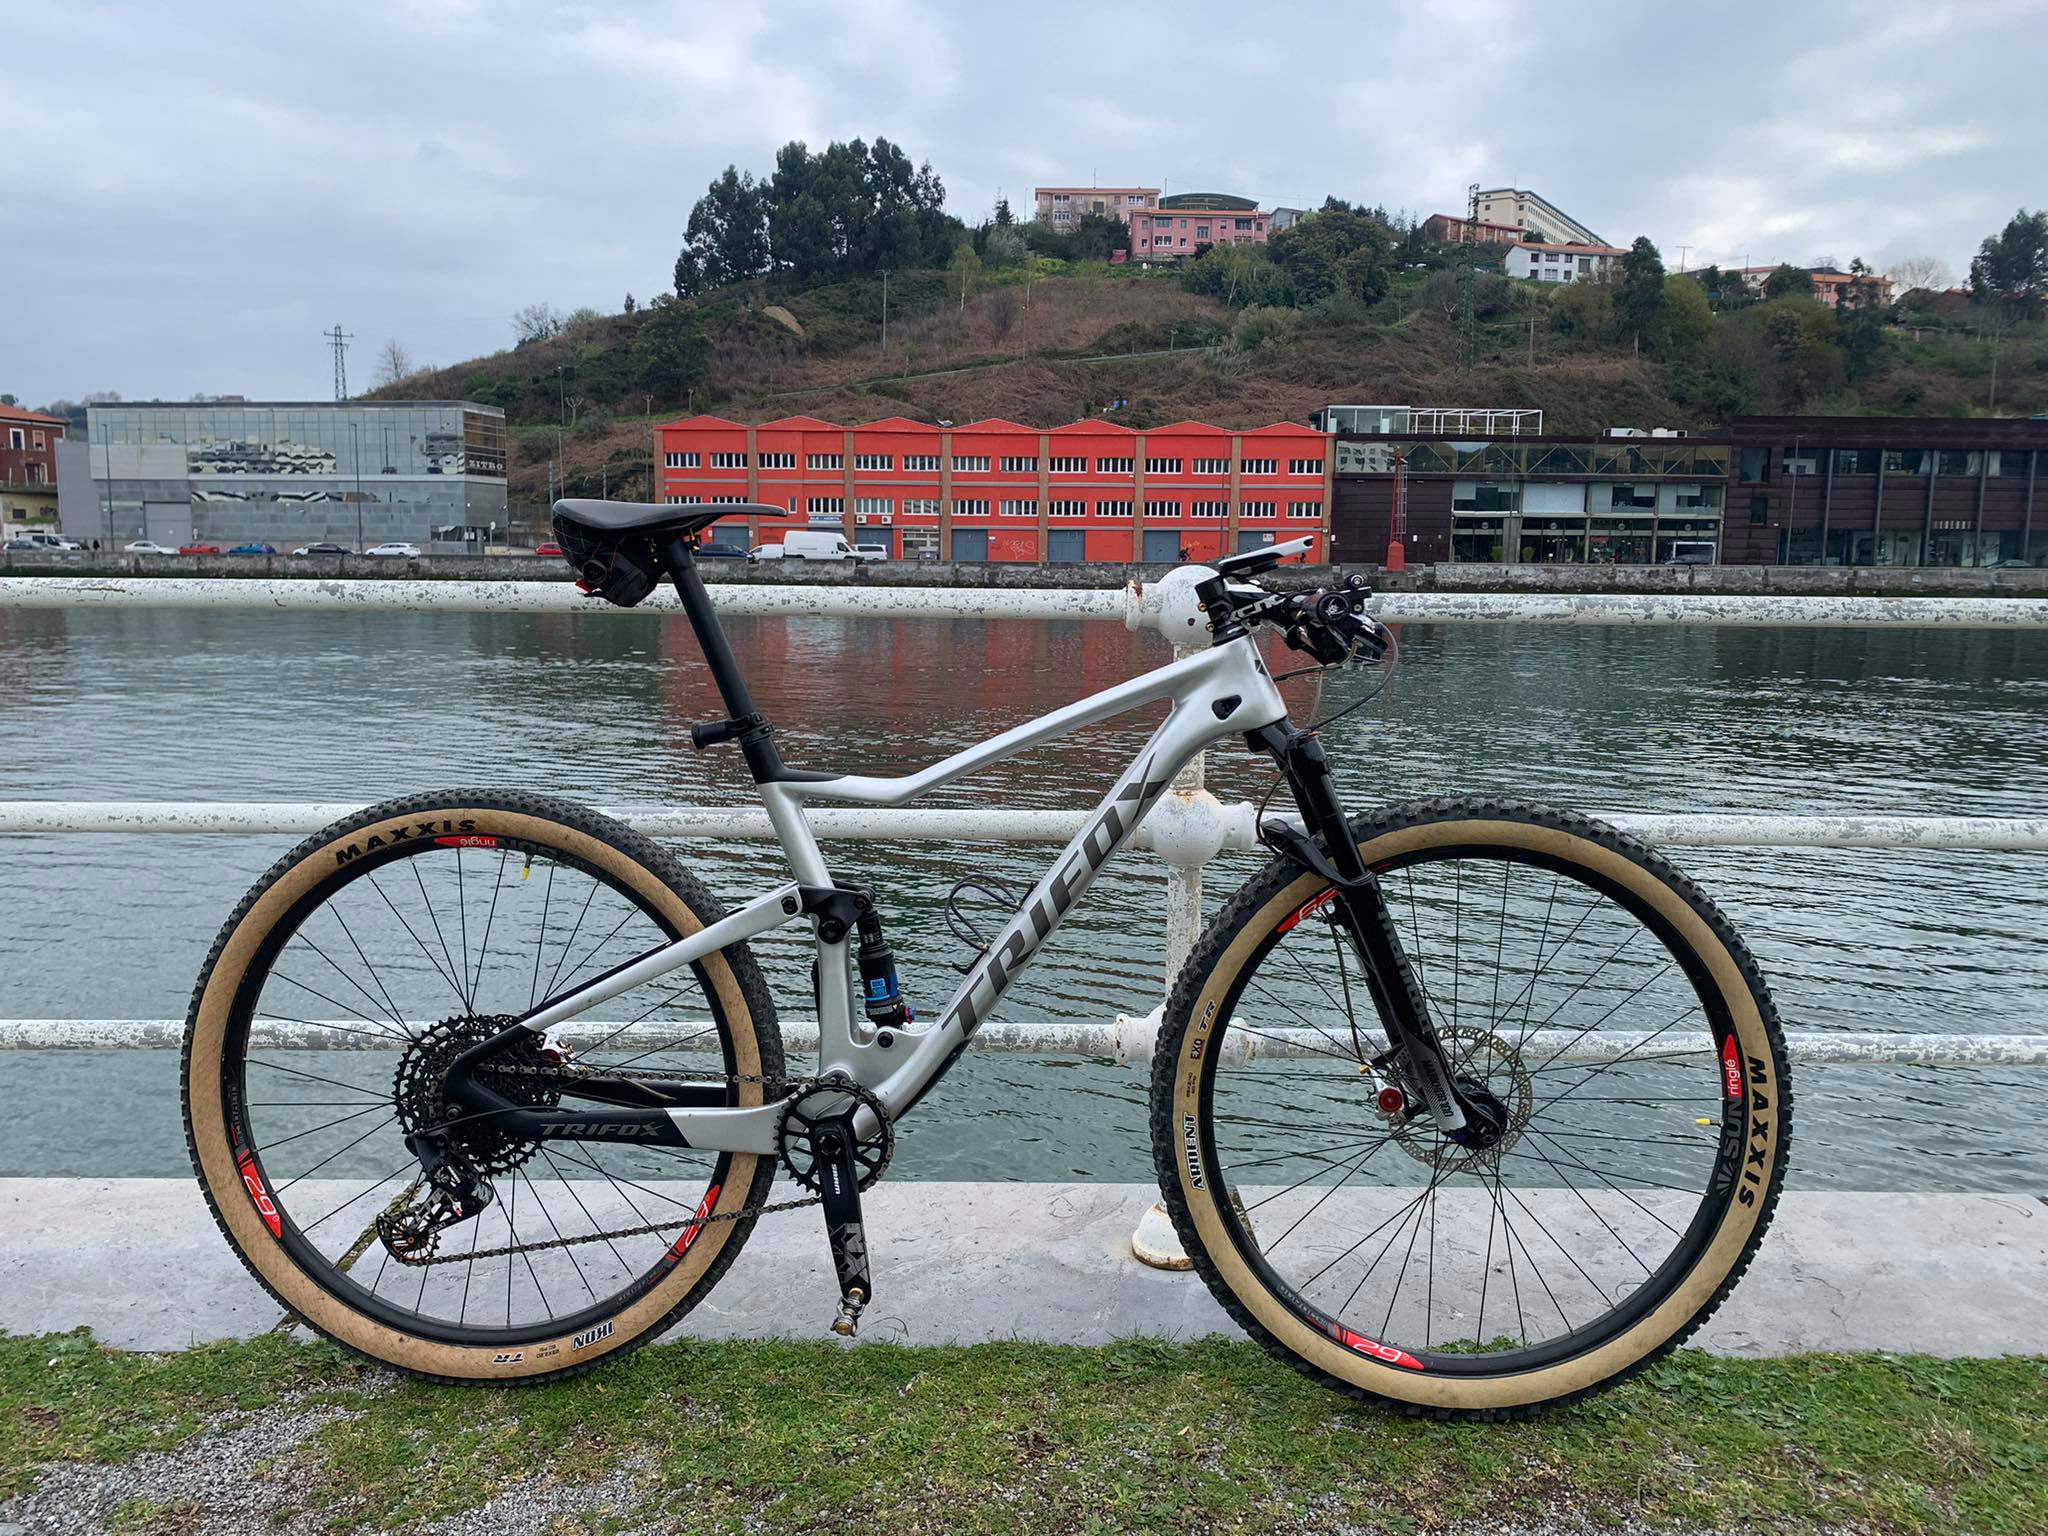
Brake system: Hubs are designed to accommodate either rim brakes or disc brakes. Make sure to select a hub that works with your bike's brake system.
Drivetrain compatibility: Hubs have different freehub bodies to accommodate various drivetrain systems, such as Shimano, SRAM, or Campagnolo.
By mastering hub compatibility, you can unlock the full potential of your bike and ensure a smooth, enjoyable ride. Happy biking!
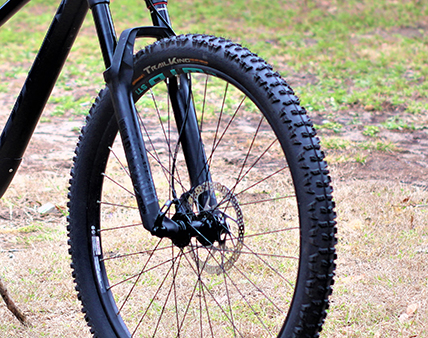
Are you looking to upgrade or replace your mountain bike hub but unsure how to install it properly? Worry not! We will provide a step-by-step guide to help you install your mountain bike hub and achieve a smooth, efficient ride.
Step 1: Gather the Necessary Tools and Materials
Before you begin, make sure you have the following tools and materials handy:
A new mountain bike hub
A spoke wrench
A truing stand (optional, but helpful for wheel alignment)
Grease and lubricant
Rim tape (if applicable)
Step 2: Remove the Old Hub
Start by removing the wheel from your bike and taking off the tire, tube, and rim tape (if present). Carefully remove the spokes connecting the old hub to the rim, taking note of the lacing pattern for future reference.
Step 3: Prepare the New Hub
Apply grease to the new hub's bearings and axle, ensuring smooth operation and reducing friction. If you've chosen a versatile hub like the Trifox M827 bicycle hub, make sure to select and install the appropriate end caps for your desired axle type (quick release or thru-axle).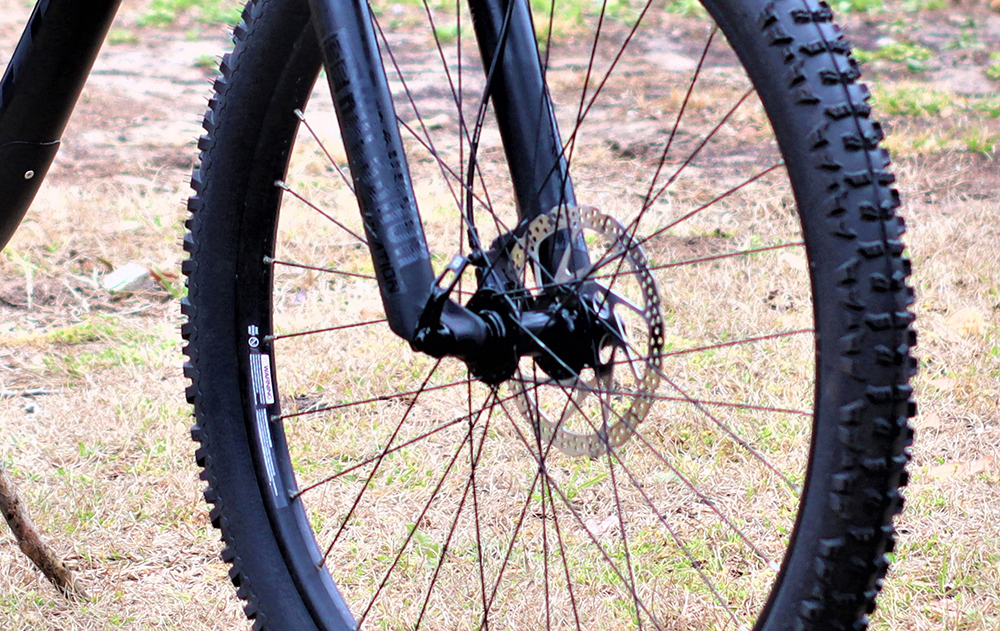
Step 4: Lace the Spokes
Following the lacing pattern you observed earlier, connect the new hub to the rim using the spokes. Make sure to tighten the spokes evenly and securely. A truing stand can be helpful during this process to ensure proper wheel alignment.
Step 5: Align and True the Wheel
Once the spokes are laced, check the alignment of your wheel. Adjust the spoke tension as needed to achieve a straight, true wheel. This process may require patience and precision, but it's essential for a smooth ride.
Step 6: Reinstall the Rim Tape, Tube, and Tire
With the new hub installed and the wheel aligned, reinstall the rim tape (if applicable), followed by the tube and tire. Inflate the tire to the recommended pressure.
Step 7: Mount the Wheel on Your Bike
Finally, mount the wheel back onto your bike, ensuring the axle is correctly seated in the dropouts. For hubs like the Trifox M827, make sure the end caps match your bike's axle type for a secure fit. Reattach any brake components and give your bike a thorough inspection before taking it for a test ride.
Trifox M827 hub installation can be a straightforward process when you follow these steps and pay attention to details. Choosing a high-quality, versatile hub can further enhance your biking experience by providing a smooth ride and easy adaptability to different axle types. Happy riding!


