


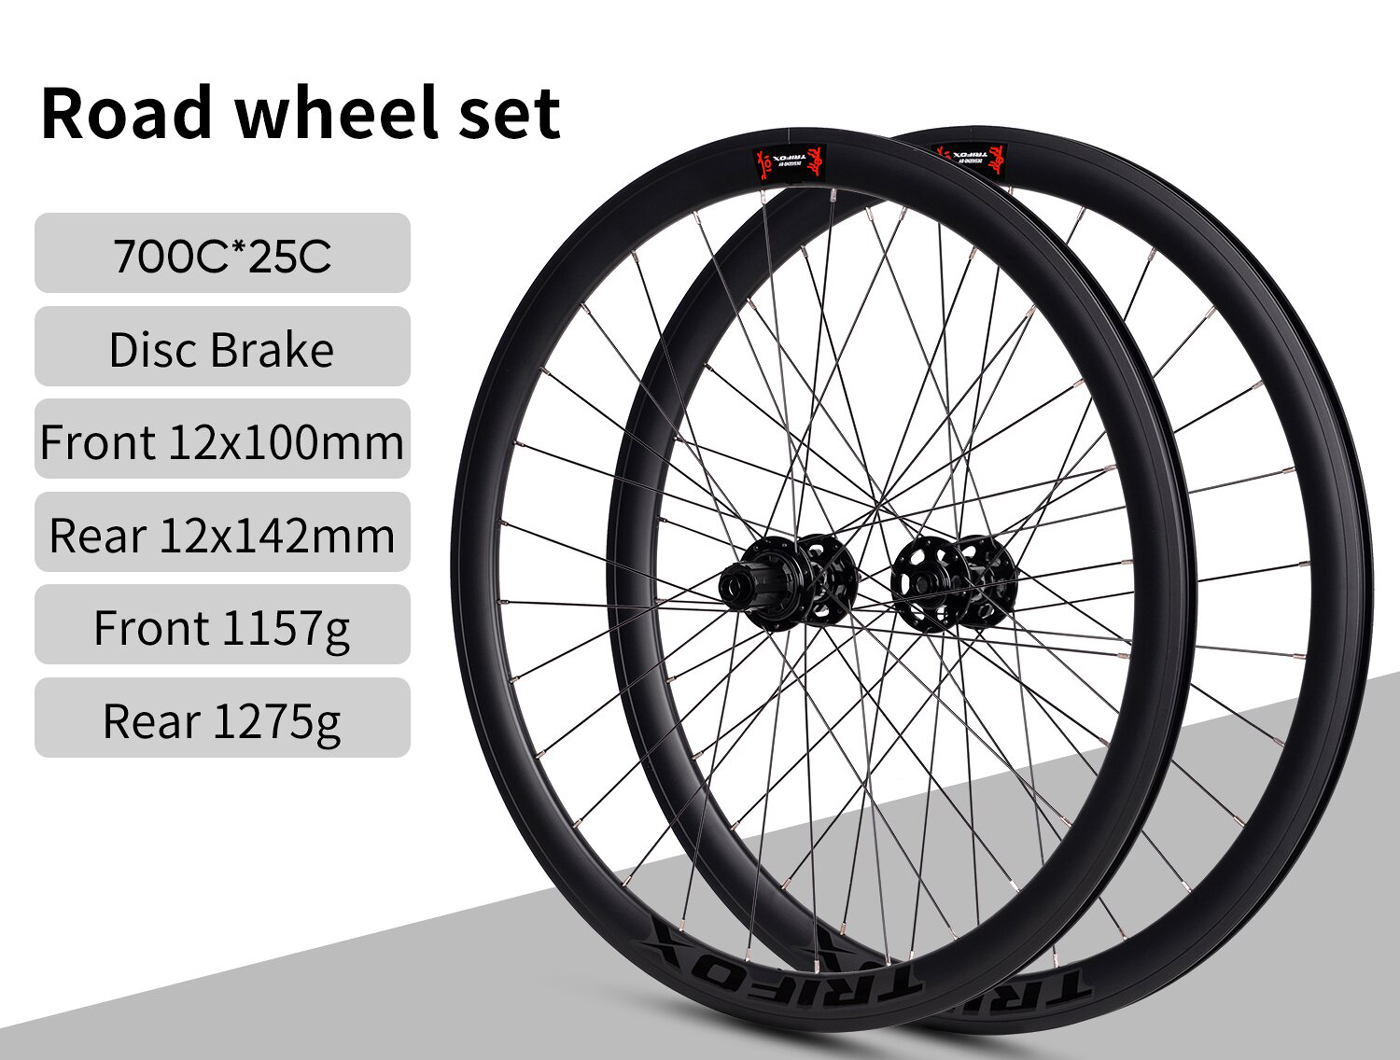
Choosing the right wheelset is crucial for enhancing your cycling experience, and Trifox's carbon road bike wheels offer options tailored to various cycling styles. Whether you're into racing, touring, or commuting, the wheelset you choose can significantly impact your performance and comfort. For racers, lightweight and aerodynamic wheelsets like the Trifox Carbon Road Bike Wheels WT11 are ideal. These wheels reduce drag and enhance speed, crucial for competitive cycling. The carbon construction ensures a light yet strong build, allowing for quick accelerations and efficient climbing. Touring cyclists benefit from wheelsets that balance durability with comfort. The WT17 model, with its robust carbon fiber construction, offers the reliability needed for long distances. Its disc brake compatibility provides superior stopping power in varied conditions, essential for navigating diverse terrains safely. Commuters, on the other hand, might prioritize durability and ease of maintenance. A wheelset like the WT18, compatible with both disc and V brakes, offers versatility and reliability for daily use. Its strength ensures it withstands the rigors of everyday commuting while providing comfortable rides. When selecting a wheelset, consider factors like material, weight, and brake compatibility. Carbon wheels are lighter and more aerodynamic, offering performance benefits but may require more care. Compatibility with your bike's braking system is also essential to ensure seamless integration. Ultimately, understanding how these features align with your cycling style will help you make an informed decision that enhances your riding experience. By choosing a wheelset that complements your needs, you can enjoy better performance, increased comfort, and more enjoyable rides.
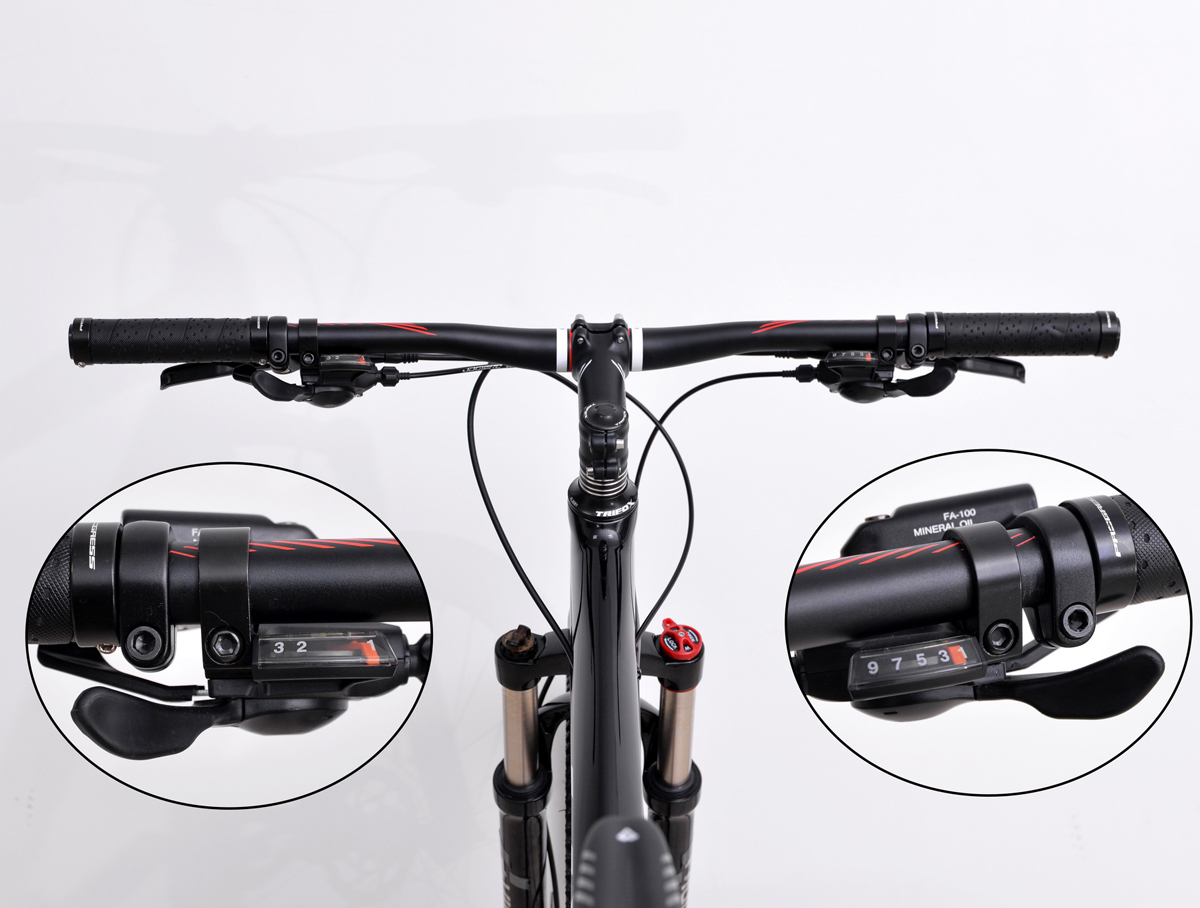
Mastering off-road trails requires more than just skill, it demands the right equipment, particularly handlebars that provide superior grip and control. At Trifox, a tailored selection of mountain bike handlebars ensures that riders can find the perfect match for their off-road adventures. Choosing the right handlebars is crucial for off-road biking. Superior grip is essential for maintaining control on rugged terrains. Trifox offers a variety of handlebar designs, each contributing uniquely to the riding experience. Riser handlebars elevate the hand position, offering more control and comfort on steep descents. This design is ideal for absorbing shocks and providing stability in bumpy conditions. Flat bars, on the other hand, offer a more aggressive riding position, which is beneficial for speed and maneuverability. They allow the rider to maintain a low center of gravity, which is crucial for stability on uneven trails. This design also facilitates better weight distribution, enhancing handling precision. High-quality materials like carbon are pivotal in enhancing performance. Trifox's carbon handlebars are lightweight yet robust, reducing the overall weight of the bike while ensuring durability and flexibility. This combination is essential for tackling rough trails with confidence and ease. Moreover, carbon's vibration-damping properties provide a smoother ride, minimizing hand fatigue and allowing for longer, more comfortable rides. With Trifox’s range, cyclists can choose the handlebars that best suit their style and terrain, ensuring they’re equipped to handle any off-road challenge with superior grip and control. Whether you're tackling steep descents or navigating tight trails, the right handlebars are key to mastering off-road biking.
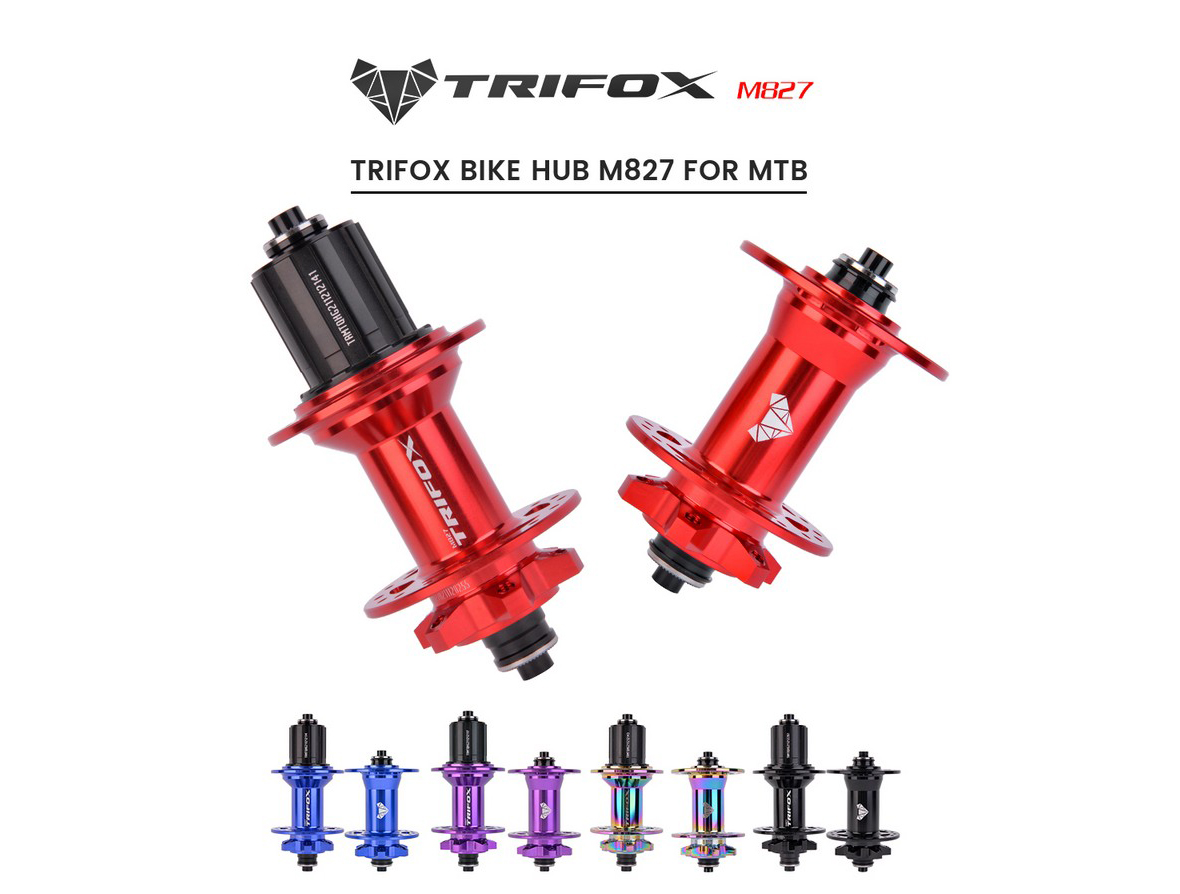
Enhancing your bike's performance can often be as simple as upgrading to straight spokes hubs, a choice that significantly impacts your cycling experience. Trifox's range of bicycle hubs offers the perfect blend of durability and performance, ideal for those looking to replace or upgrade their current setup. Straight spokes hubs are a popular choice among cyclists for several reasons. Firstly, they provide improved wheel strength. Unlike traditional J-bend spokes, straight spokes experience less stress and are less likely to break under pressure, ensuring more resilience and a longer lifespan for your wheels. This design enhances the overall robustness of the wheel, making it suitable for both road and off-road cycling. Another advantage is the improved aerodynamics offered by straight spokes hubs. With fewer protruding elements, these hubs reduce air resistance, allowing for smoother and faster rides. This is particularly beneficial for competitive cyclists aiming to shave seconds off their time. Maintenance is also easier with straight spokes hubs. Their simple design reduces the need for frequent adjustments and repairs, allowing you more time on the road and less in the workshop. Trifox's hubs, made from durable aluminum, are compatible with most standard bikes, making them a versatile choice for various cycling styles. Choosing the right hub is crucial for maximizing performance. Consider factors such as the type of cycling you engage in and the compatibility of the hub with your bike. By selecting the appropriate hub, you can ensure a seamless fit and optimal performance tailored to your specific needs. Overall, upgrading to straight spokes hubs is a smart investment in your cycling experience, offering enhanced strength, better aerodynamics, and reduced maintenance, all contributing to a more enjoyable and efficient ride.
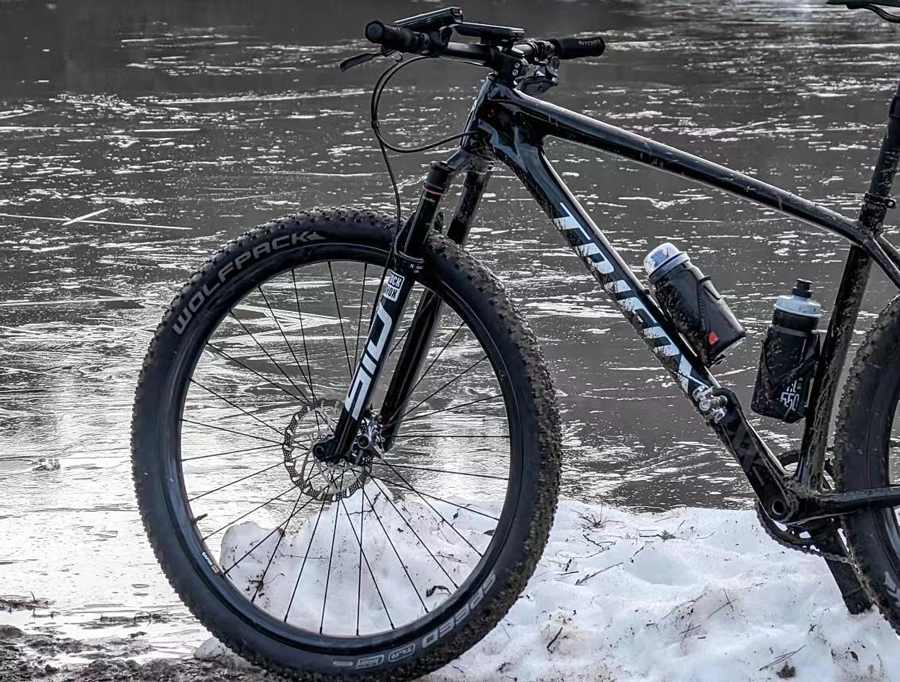
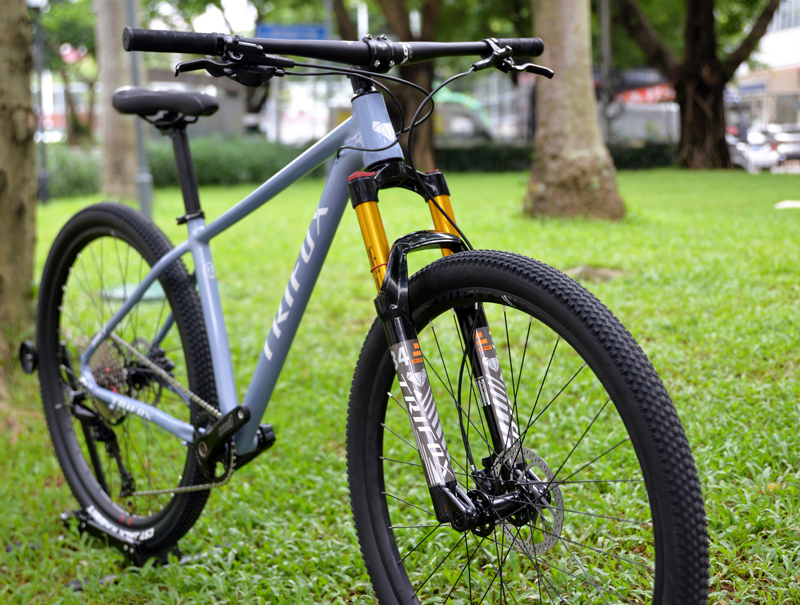
Upgrading to a lightness frame can be a game-changer for cyclists aiming to enhance their performance. The Ultra Light 29er Carbon Hardtail MTB Frame SDY20 by Trifox is a prime example of how a lightweight frame can elevate your riding experience. One of the standout features of the SDY20 is its construction using T1000 carbon fiber, renowned for its strength-to-weight ratio. This material ensures the frame is both robust and remarkably light, with weights starting at just 930g. Such a reduction in weight not only boosts speed but also enhances maneuverability, making climbs and sprints more efficient. The frame’s internal cable routing is another feature that contributes to a superior cycling experience. This design not only offers a sleek aesthetic but also reduces wind resistance and protects cables from external elements, ensuring consistent performance and easier maintenance. Additionally, the frame's compatibility with tires up to 29" x 2.4" allows for smoother rides over rough terrains, absorbing shocks and providing better traction. This adaptability means cyclists can tackle a variety of landscapes with confidence. The SDY20 also features a Boost 148mm rear axle for increased stiffness, which enhances handling and stability, especially during sharp turns or high-speed descents. Whether you’re navigating rocky trails or cruising on smoother paths, this frame’s geometry is optimized for comfort and performance. Incorporating these advanced features, the SDY20 frame ensures that cyclists not only ride faster but also experience improved control and reduced fatigue, making it an excellent choice for those looking to enhance their cycling performance.

A stylish bike frame does more than just turn heads; it can significantly enhance both the aesthetic and functional aspects of your ride. When you invest in a frame that looks great and performs well, you not only elevate the visual appeal of your bike but also enjoy a superior cycling experience. Here's how a stylish frame can make a difference in both your bike's look and your ride. First and foremost, the design of a bike frame plays a crucial role in aerodynamics. A well-designed frame reduces air resistance, allowing for smoother and faster rides. The sleek lines and innovative shapes commonly found in stylish frames are not just for show—they are engineered to cut through the wind with minimal drag. This aerodynamic advantage can translate into improved speed and efficiency, which is particularly beneficial for competitive cyclists or anyone looking to enhance their performance on the road. Weight is another critical factor where frame design makes a significant impact. Stylish frames, especially those made from carbon fiber, are typically lighter than their traditional counterparts. Carbon fiber offers a high strength-to-weight ratio, meaning you get a robust frame that doesn't weigh you down. This weight reduction is crucial for climbing hills and accelerating quickly, making every ride more enjoyable and less strenuous. Handling is also improved with a well-designed frame. A stylish frame often incorporates geometry that enhances stability and control, allowing for more precise maneuvering. Whether you're navigating tight corners or descending at high speeds, the right frame design can provide the confidence and control needed to tackle various terrains with ease. Trifox Bike's carbon frames perfectly exemplify how style and functionality can coexist. Their frames are not only visually appealing but are also crafted with the latest technology to ensure top-tier performance. Carbon frames from Trifox are designed to not only catch the eye but also optimize aerodynamics, weight, and handling. This combination of style and substance makes them an excellent choice for cyclists looking to upgrade their rides. One of the standout features of Trifox's carbon frames is their lightweight construction. These frames are meticulously engineered to reduce weight without sacrificing strength, making them ideal for both long-distance rides and quick sprints. Additionally, the frames' sleek and modern design enhances aerodynamics, helping riders maintain higher speeds with less effort. Moreover, Trifox frames incorporate advanced carbon layup techniques to improve stiffness and responsiveness. This ensures that every pedal stroke is efficiently transferred into forward motion, providing a dynamic and exhilarating riding experience. The durability of these frames also means that they can withstand the rigors of different cycling environments, from smooth city streets to rugged trails. For those interested in combining style with performance, Trifox Bike offers a range of carbon frames that cater to various cycling needs. Whether you're a road cyclist, a mountain biker, or someone who enjoys leisurely rides, Trifox has a stylish frame that can enhance your cycling experience. Explore Trifox Bike's selection of carbon frames at the official store to find the perfect blend of aesthetics and performance for your bike. Investing in a stylish frame not only improves the look of your bike but also elevates your ride to new levels of enjoyment and efficiency. With the right frame, your bike becomes an extension of your personality and your passion for cycling, ensuring that you ride in style and comfort.

Choosing the right seatpost tube can significantly enhance your riding experience, whether you're tackling rugged mountain trails or cruising on smooth tarmac. A seatpost is more than just a connector between your saddle and bike frame—it plays a crucial role in your bike's comfort, control, and overall performance. Let's explore how selecting the right seatpost tube can transform your ride and what options are available to suit various cycling needs. For mountain bikers, the terrain's unpredictable nature demands a seatpost that can adapt quickly. This is where dropper seatposts shine. A dropper seatpost allows you to adjust your seat height on-the-fly, offering the flexibility to lower your saddle for technical descents and raise it again for efficient pedaling on flats or climbs. Imagine bombing down a steep trail—by lowering your seatpost, you can shift your center of gravity and maintain better control, enhancing your safety and confidence. Trifox Bike's AP316 and AP309 Dropper Seatposts are excellent examples, designed to provide seamless transitions and reliable performance on challenging trails. On the road cycling front, the choice of material and design becomes paramount. Carbon seatposts are popular among road cyclists due to their lightweight and vibration-damping properties. The material helps absorb road buzz, reducing fatigue on long rides and contributing to a more comfortable experience. Additionally, the stiffness of a carbon seatpost ensures efficient power transfer, allowing you to maximize your effort during sprints or climbs. Adjustability is another key factor to consider. A seatpost with micro-adjustability features can help you fine-tune your saddle position, ensuring optimal comfort and pedaling efficiency. This is crucial for maintaining proper biomechanics and preventing discomfort or injuries over long distances. Whether you're a casual rider or a competitive cyclist, the ability to adjust your setup for the perfect fit cannot be overstated. Design innovations in seatposts also contribute to a better riding experience. Some seatposts feature aerodynamic designs that reduce drag, a critical consideration for time-trial cyclists and racers seeking every possible advantage. Others may include suspension mechanisms to further enhance comfort on rough surfaces. Trifox Bike offers a range of seatposts catering to different cycling disciplines. Their dropper seatposts, such as the AP316 and AP309, provide exceptional performance for mountain bikers, while their carbon seatposts are ideal for road cyclists looking to minimize weight and maximize comfort. Each product is crafted with precision, ensuring durability and reliability under various riding conditions. To explore Trifox Bike's seatpost offerings, visit their dropper seatpost page. Whether you're upgrading to tackle more challenging trails or seeking comfort on endurance rides, the right seatpost tube can make all the difference in your cycling experience. Embrace the benefits of a well-chosen seatpost and elevate your ride to new heights.
Maximizing performance in cycling often comes down to the components you choose for your bike, and lightweight carbon components can make a significant difference. Whether you're a competitive cyclist pushing for personal bests or a recreational rider seeking improved efficiency, carbon components can elevate your ride. Let's explore how these components can enhance your cycling experience. One of the primary benefits of carbon components is their weight reduction. Carbon fiber is known for its exceptional strength-to-weight ratio, which means you can enjoy a lighter bike without compromising durability. A lighter bike is easier to power up hills, accelerates more quickly, and makes long rides less fatiguing. For racers, every gram counts, and shaving weight from your bike can translate to faster times and less energy expenditure. Carbon components also offer increased stiffness, which improves power transfer and handling. When you push on the pedals, a stiff carbon frame or crankset ensures that more of your energy is directed towards propelling the bike forward, rather than being absorbed by flex in the components. This efficiency is crucial in competitive settings, where maximizing the energy from each pedal stroke can be the difference between winning and losing. Additionally, a stiffer bike is more responsive and agile, enhancing your control on the road or trail. Aerodynamics is another area where carbon components shine. Carbon can be molded into shapes that are not only structurally sound but also aerodynamic. This is particularly beneficial in components like wheels and handlebars, where reducing drag can significantly improve speed. Carbon wheels, with their deep rim profiles, slice through the air, allowing you to maintain higher speeds with less effort. Similarly, aerodynamic handlebars can reduce wind resistance, keeping you streamlined and efficient. Trifox Bike offers an impressive range of carbon components designed to help cyclists achieve their performance goals. Their carbon frames provide a solid foundation for any bike build, combining lightweight properties with robust strength. Trifox's carbon wheels are engineered to offer superior aerodynamics and responsiveness, making them an excellent choice for serious cyclists. Moreover, their carbon handlebars enhance control and comfort, further optimizing your ride. For those interested in upgrading their bike, exploring Trifox Bike's offerings is a great start. They provide high-quality carbon frames, wheels, and other components that are crafted to meet the needs of both competitive and leisure cyclists. With a commitment to top-notch quality and performance, Trifox ensures that every cyclist can experience the benefits of carbon technology. To discover more about Trifox Bike's carbon components, visit their official website. Whether you're looking to shave seconds off your race time or simply enjoy a more efficient ride, upgrading to lightweight carbon components can be a transformative decision. Embrace the advantages of carbon and take your cycling performance to the next level.
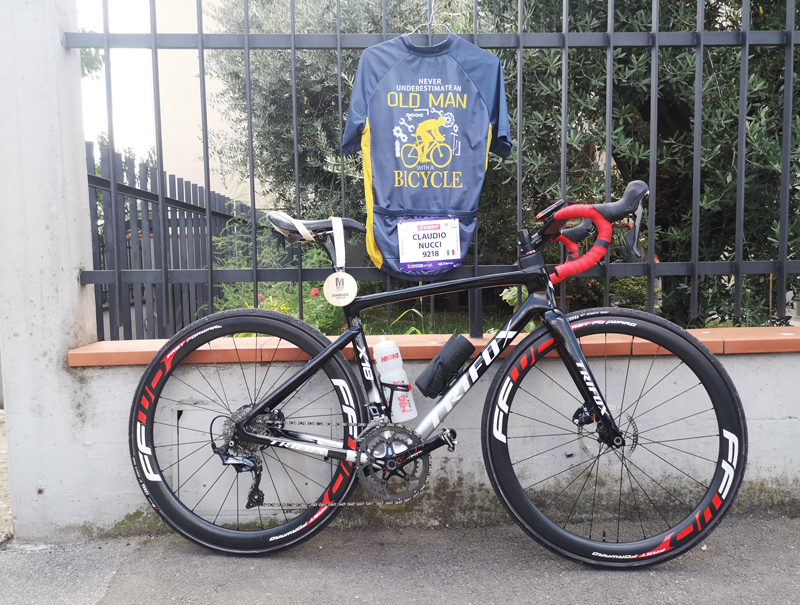
When it comes to cycling performance, the size of your bike frame can play a significant role. While many factors contribute to a cyclist's speed and efficiency, smaller frames are often touted as a secret weapon for enhanced cycling performance. But what makes them so effective? Firstly, smaller frames contribute to improved aerodynamics. By reducing the frontal area exposed to wind resistance, a smaller frame allows cyclists to maintain higher speeds with less effort. This advantage is especially crucial for road cyclists and racers, where every second counts. The compact geometry of a smaller frame helps the rider adopt a more aerodynamic position, minimizing drag and allowing for more efficient energy use. Moreover, smaller frames offer better handling and increased agility. The reduced frame size allows for quicker maneuverability, which is vital on winding roads or in competitive settings where precise control is necessary. This agility can be particularly beneficial during sudden turns or when navigating through tight spaces, giving the rider a distinct advantage over those on larger frames. Enhanced cycling performance also stems from the increased stiffness often found in smaller frames. A stiffer frame translates to more direct power transfer from the pedals to the wheels, maximizing the cyclist's effort and improving overall speed. This stiffness is particularly advantageous when sprinting or climbing, where efficient energy transfer is paramount. For those considering an upgrade, Trifox Bike offers an impressive range of carbon road bike frames designed to enhance performance. Known for their lightweight and durable construction, these frames provide the perfect balance of speed and comfort. The carbon material not only reduces weight but also offers superior vibration damping, making rides smoother and more enjoyable. Explore Trifox Bike's selection of discovered frames that can elevate your cycling experience. Whether you're a seasoned racer or a weekend warrior, a smaller frame might just be the key to unlocking your full potential on the road. Embrace the benefits of a smaller frame and experience the thrill of enhanced cycling performance.
Upgrading your seatpost can be a game-changer for both comfort and performance on your bike. Whether you're a mountain biking enthusiast, a road cyclist, or a gravel grinder, a high-quality seatpost can significantly enhance your riding experience. Let's dive into the key benefits of making this upgrade. Firstly, let's explore the types of seatposts available. Rigid seatposts are a simpler option that provide a stable connection between the saddle and the bike frame. These are ideal for cyclists who prioritize direct power transfer and are riding on smooth terrains. Carbon seatposts, on the other hand, offer a lightweight and vibration-damping alternative, reducing road buzz and improving comfort on longer rides. They are particularly beneficial for road cyclists looking to shave off some weight from their setup. Dropper seatposts, like the AP316 Dropper Seatpost from Trifox, add versatility to your ride. With the ability to adjust saddle height on-the-fly, these are perfect for tackling varied terrains without stopping. Whether you're descending a steep trail or climbing uphill, a dropper post allows you to position your body optimally for control and power. Upgrading to a high-quality seatpost, such as the SLS21 Bike Seatpost, can result in enhanced handling, improved comfort, and even better bike performance. Trifox Bike offers a range of seatposts that cater to different riding styles and needs. Their products are designed with precision and quality in mind, ensuring you get the best out of your cycling adventures. For more details on their seatpost offerings, check out Trifox's official store. Embrace the benefits of a superior seatpost and elevate your ride today!


