Replacing a freehub might seem daunting, but with the right tools and a bit of guidance, it’s a task any cyclist can handle. A well-functioning freehub ensures smooth shifting and efficient power transfer, making your rides more enjoyable.
1. Gather Your Tools
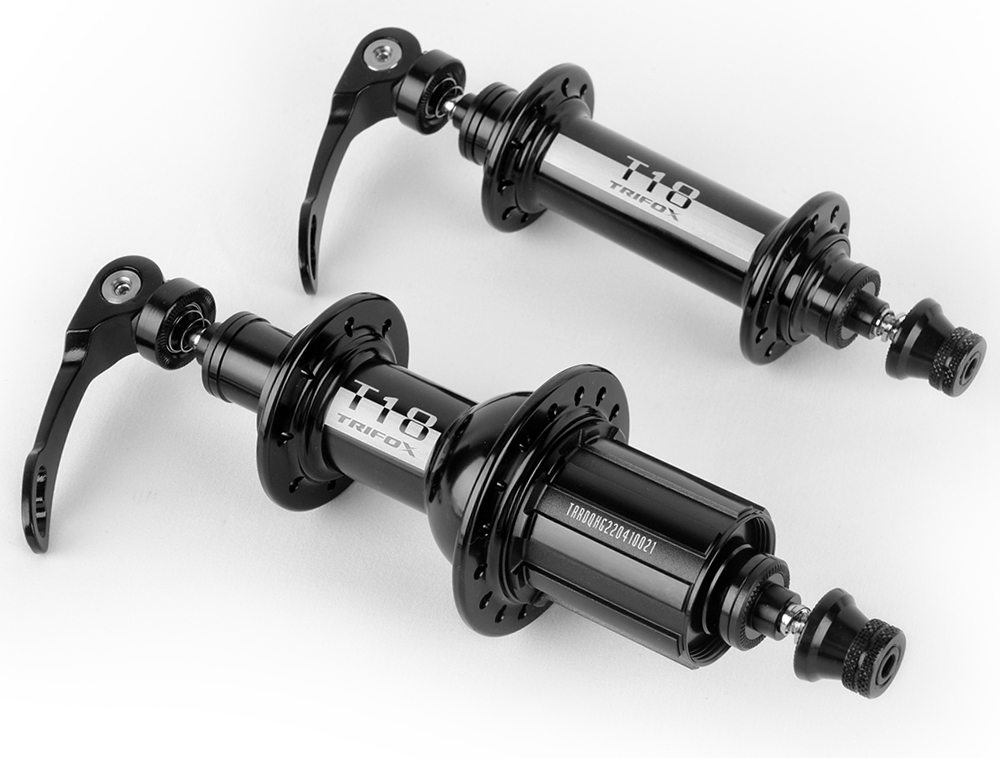
Before you start, ensure you have the necessary tools: a cassette removal tool, chain whip, hex keys (typically 10mm), a rubber mallet, and grease. Additionally, you'll need your new freehub, like the Trifox Freehub Body.
2. Remove the Rear Wheel
First, shift your chain onto the smallest cog to ease wheel removal. Release the quick-release lever or loosen the axle nuts, then carefully remove the rear wheel from the bike frame.
3. Remove the Cassette
Secure the cassette using the chain whip to prevent it from rotating. Insert the cassette removal tool into the lockring and turn it counterclockwise to loosen and remove the lockring. Carefully slide off the cassette cogs and spacers, keeping them in order for reassembly.
4. Remove the Old Freehub
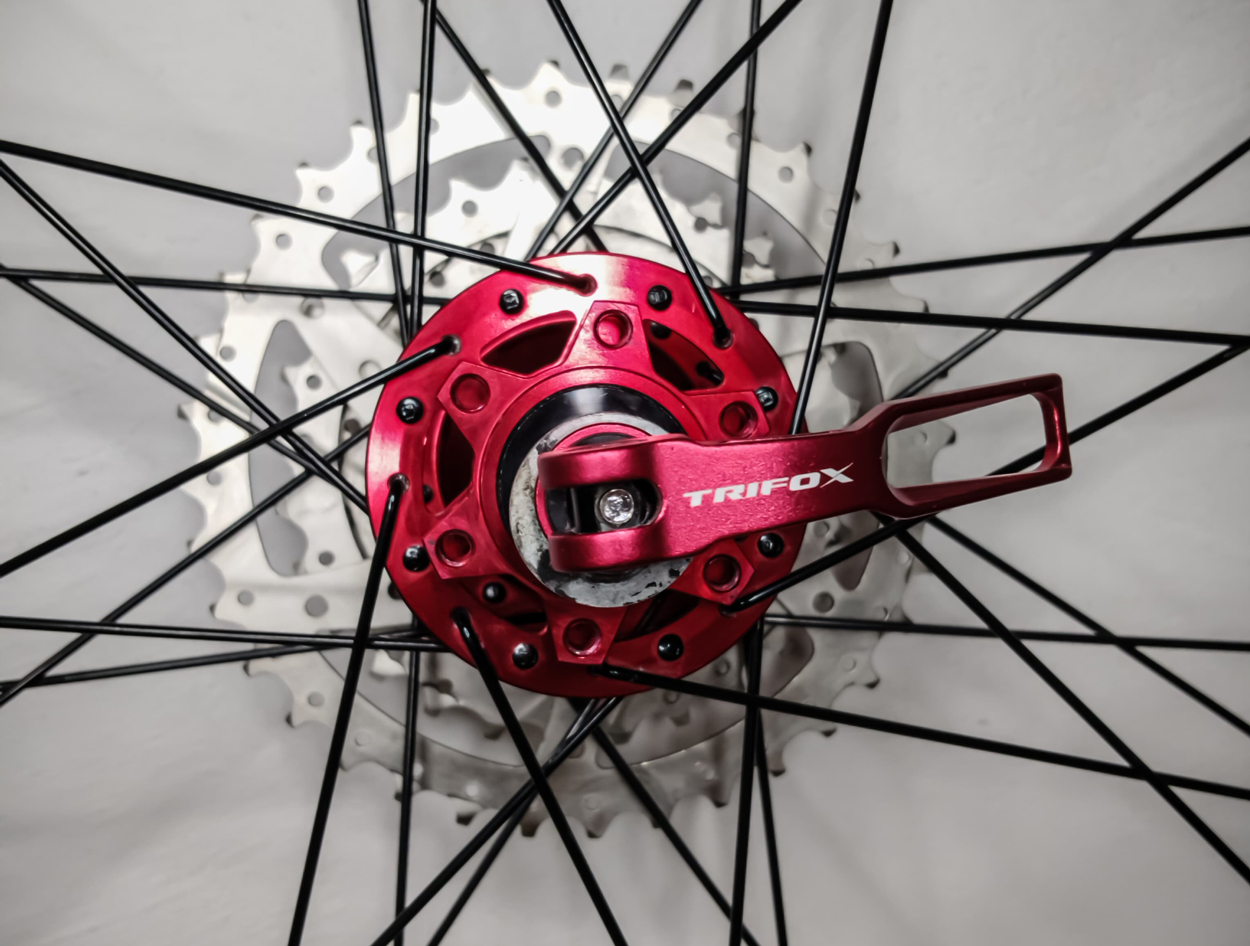
With the cassette removed, locate the bolt that secures the freehub to the hub shell, typically accessible through the center of the hub. Insert the hex key or appropriate tool and turn counterclockwise to unscrew the bolt. Once loosened, gently tap the freehub with a rubber mallet if needed and slide it off the hub shell.
5. Prepare the Hub Shell
Clean the hub shell thoroughly to remove any dirt or debris. Apply a thin layer of grease to the interface where the new freehub will sit. This prevents corrosion and ensures a smooth installation.
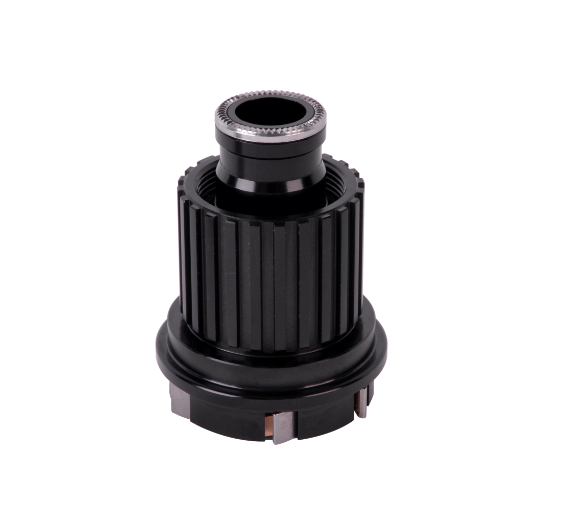
6. Install the New Freehub
Align the new Trifox freehub with the hub shell and slide it into place. Secure it by tightening the fixing bolt clockwise using the hex key. Ensure it's snug, but avoid over-tightening as it can damage the freehub or hub shell.
7. Reinstall the Cassette
Slide the cassette cogs and spacers back onto the freehub body in the correct order. Tighten the lockring clockwise using the cassette removal tool until secure.
8. Reinstall the Rear Wheel
Place the rear wheel back into the bike frame. Tighten the quick-release lever or axle nuts securely. Check that the wheel is properly aligned and spins freely without rubbing against the brake pads or frame.
9. Final Check
Shift through all the gears to ensure smooth operation. Listen for any unusual noises and check that the freehub engages and disengages properly. If everything feels smooth, your replacement is successful.
Replacing a freehub, such as the Trifox Freehub Body, is a straightforward process that can significantly enhance your bike's performance. With a few tools and some careful steps, you can ensure your bike is running smoothly and efficiently, ready for your next adventure. Happy riding!
2024-07-18
Trifox
SHARE:


Comments