Disc wheels are popular among cyclists for their aerodynamic advantages and improved braking performance. Whether you're a seasoned rider or a cycling enthusiast looking to upgrade, understanding how to install and maintain a disc wheel is essential for optimal performance and longevity.
Why Choose a Disc Wheel?
Before diving into the technical details, it’s worth highlighting why disc wheels are a favored choice:
Aerodynamics: The solid design reduces air drag, making them ideal for time trials and triathlons;Stability: Disc wheels offer greater stability in crosswinds;Braking Performance: When paired with disc brakes, they provide consistent braking in various weather conditions.
Tools and Materials Needed
Disc Wheel: Ensure it's compatible with your bike;Allen Wrench Set: For tightening bolts;Torque Wrench: For precise tightening;Grease: To prevent seizing and ensure smooth operation;Bike Stand: Optional but helpful for stability during installation;Rags and Cleaning Supplies: For maintenance.
Step-by-Step Installation Guide
Step 1: Prepare Your Work Area
Find a clean, flat surface to work on and gather all necessary tools and materials. A bike stand can make the process easier by keeping your bike stable.
Step 2: Remove the Old Wheel
Release the Brakes: If you have rim brakes, release them to free the wheel. For disc brakes, this step isn’t necessary;Loosen the Axle: Use an Allen wrench to loosen the axle bolts or quick-release skewer;Remove the Wheel: Carefully pull the wheel out of the dropouts.
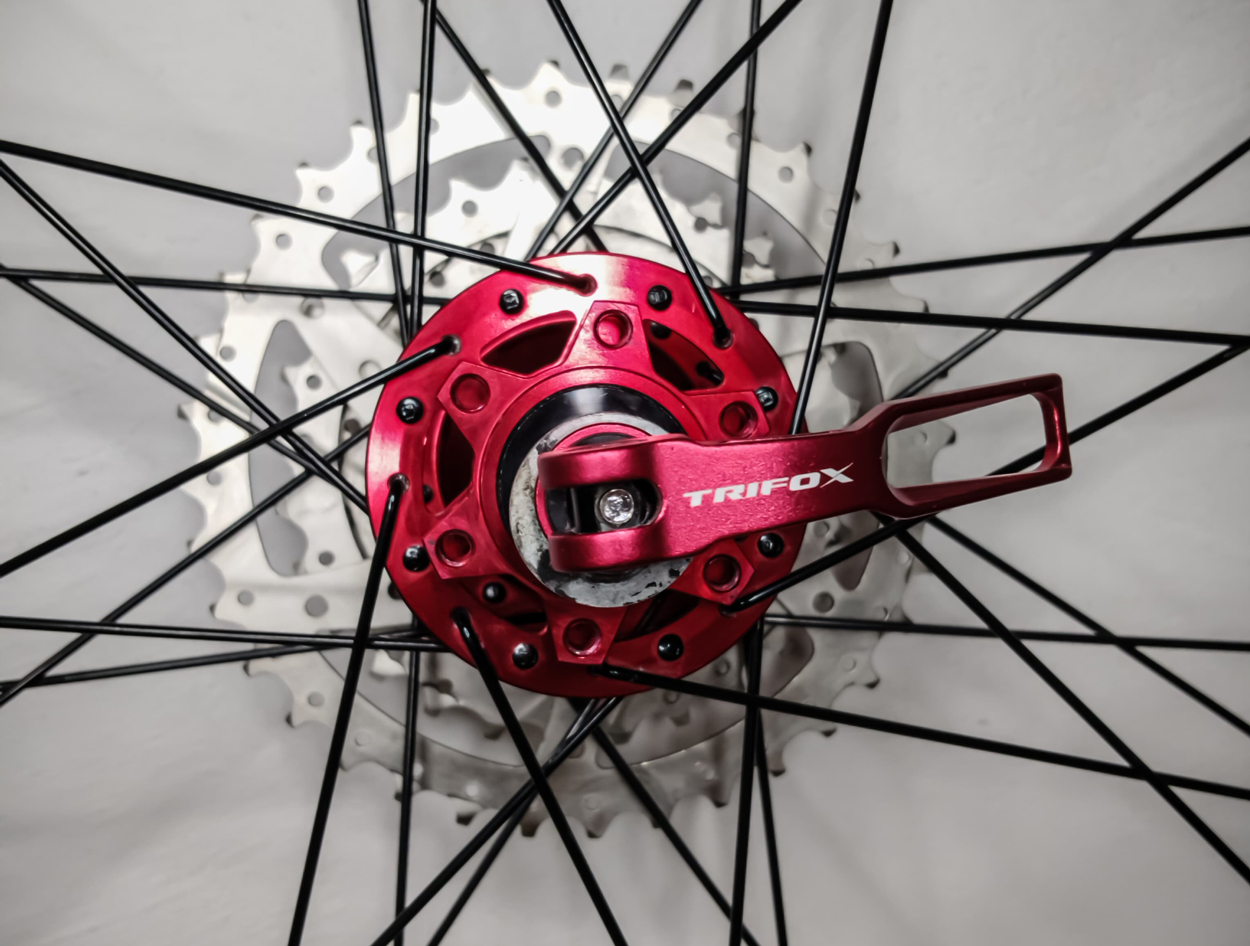
Step 3: Install the Disc Rotor (if not pre-installed)
Attach the Rotor: Align the rotor holes with the wheel hub;Insert Bolts: Thread the bolts through the rotor holes and into the hub;Tighten Bolts: Use a torque wrench to tighten the bolts to the manufacturer’s specifications, typically around 6 Nm (Newton meters).
Step 4: Install the Disc Wheel
Align the Axle: Position the disc wheel so that the axle aligns with the dropouts;Insert the Wheel: Gently slide the wheel into the dropouts, ensuring the rotor fits between the brake pads without rubbing;Secure the Axle: Tighten the axle bolts or quick-release skewer using an Allen wrench or your hands. Use a torque wrench for precise tightening if specified by the manufacturer.
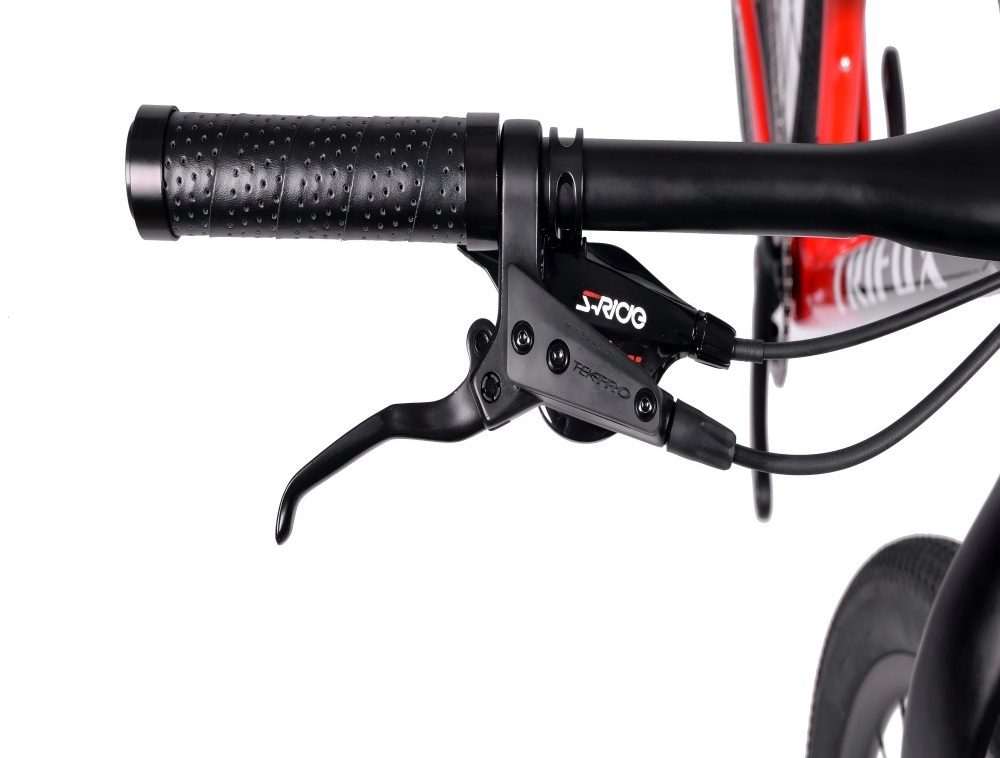
Step 5: Adjust the Brakes
Check Alignment: Spin the wheel to ensure the rotor doesn’t rub against the brake pads. If it does, adjust the caliper alignment;Align Caliper: Loosen the caliper mounting bolts, squeeze the brake lever, and retighten the bolts to center the caliper over the rotor.
Maintenance Tips for Disc Wheels
Regular Cleaning
Wipe Down the Wheel: Use a damp cloth to clean the wheel surface and remove dirt and grime;Clean the Rotor: Use isopropyl alcohol and a clean rag to wipe down the rotor, ensuring no contaminants affect braking performance.
Inspect for Damage
Check for Cracks: Regularly inspect the disc wheel for any signs of cracks or structural damage;Examine the Rotor: Look for warping or excessive wear on the rotor. Replace it if necessary.
Lubrication
Lubricate the Axle: Apply a small amount of grease to the axle to prevent seizing and ensure smooth operation;Avoid Rotor Contamination: Be careful not to get any lubricant on the rotor or brake pads, as this can severely impact braking performance.
Brake Pad Replacement
Monitor Pad Wear: Check the brake pads regularly and replace them when they become too thin;Bed-In New Pads: Follow the manufacturer's instructions to bed-in new brake pads, ensuring optimal braking performance.
Conclusion
Installing and maintaining a disc wheel on your bike can significantly enhance your riding experience, offering improved aerodynamics and braking performance. By following this guide, you can ensure a smooth installation and keep your disc wheel in top condition. Regular maintenance will not only extend the life of your wheel but also contribute to safer and more enjoyable rides. Happy cycling!
2024-06-06
Trifox
SHARE:


Comments