Installing an internally routed dropper post can seem intimidating, but with the right tools and patience, it’s a DIY project any mountain biker can tackle. Below, we’ll walk you through the process.
What You'll Need
- Dropper post and remote lever
- Internal cable routing kit (housing, cable, ferrules, and end caps)
- Allen keys (typically 4mm, 5mm)
- Cable cutters
- Grease or lubricant
- Electrical tape (optional)
Step 1: Prep the Frame
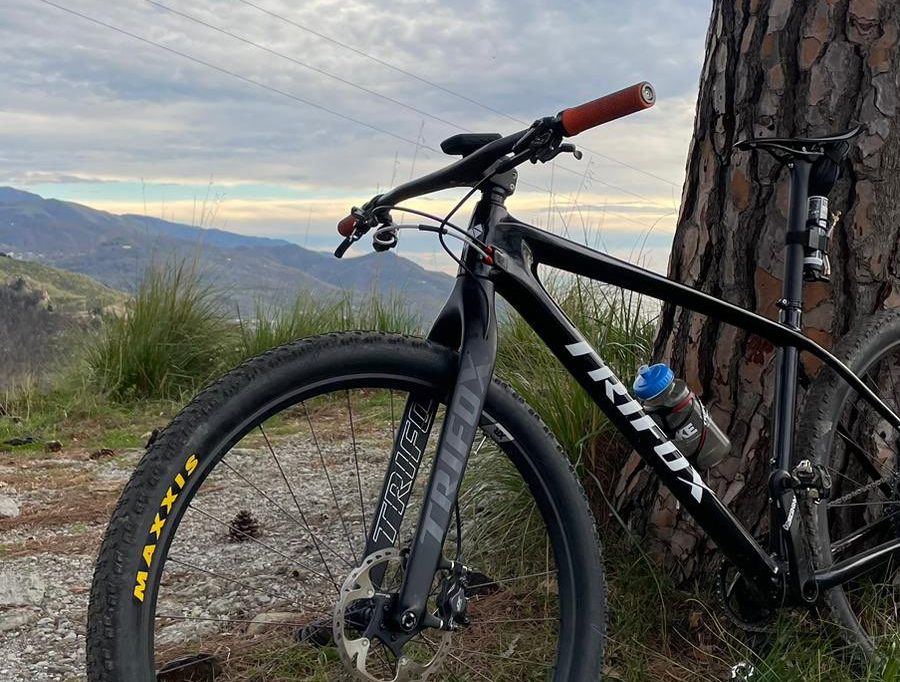
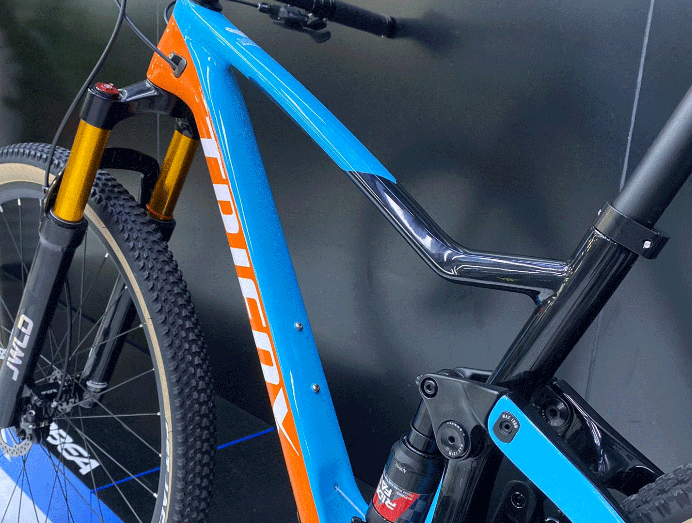
Start by removing the seat post and old cable (if applicable). Identify your frame’s internal routing ports—most modern mountain bikes have dedicated entry/exit points near the seat tube and downtube. Clean any debris from the ports to ensure smooth cable feeding.
Step 2: Thread the Housing
Cut the cable housing to length, allowing extra slack for adjustments. Feed the housing through the frame's internal channels, starting at the seat tube and working toward the downtube or handlebar area. Use a magnetic guide or a flexible fishing tool if the routing is tight. Pro tip: Wrap the housing end with electrical tape to prevent fraying.
Step 3: Attach the Dropper Post
Insert the dropper post into the seat tube, aligning the cable entry port with the housing. Secure the post loosely with the seat clamp bolt. Connect the housing to the post’s actuator mechanism, ensuring there's no binding.
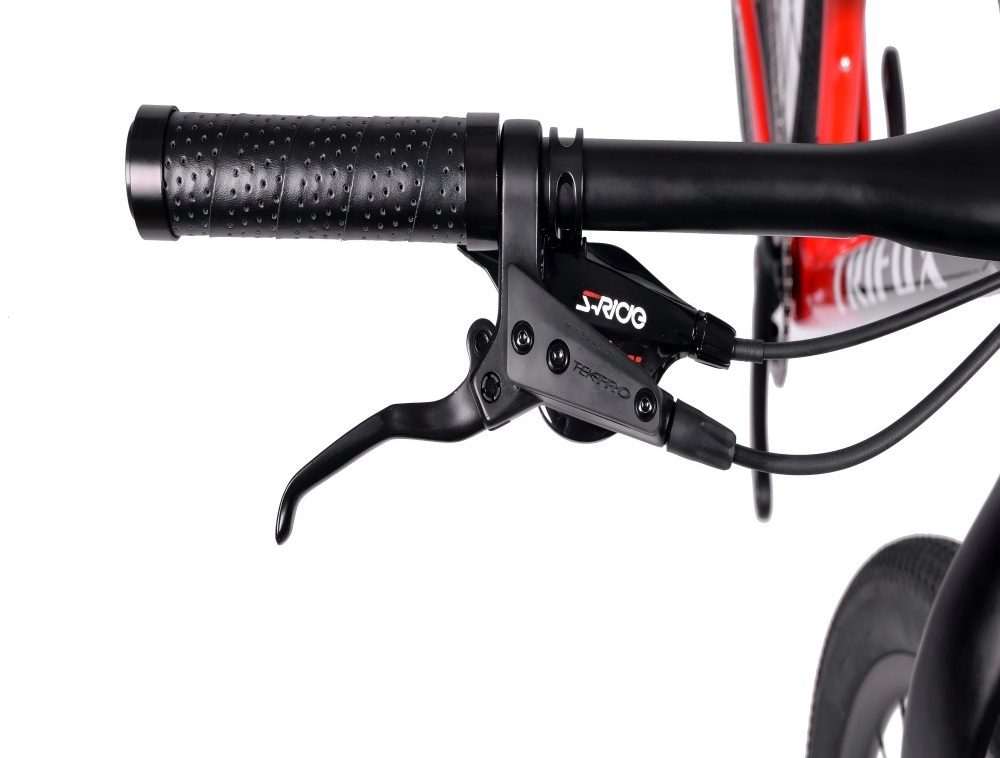
Step 4: Install the Remote Lever
Mount the remote lever on your handlebar (left side for most riders). Route the housing to the lever, trim excess, and secure the cable with the provided clamp. Tighten the lever bolt, but leave room for fine-tuning later.
Step 5: Tension and Test
Pull the cable taut at the dropper post end and tighten the anchor bolt. Test the post’s movement by pressing the remote—it should extend and retract smoothly. If there’s resistance, check for kinks in the housing or misalignment.
Final Adjustments
Adjust saddle height and lever position to your preference. Secure all bolts to manufacturer torque specs, and trim any excess cable. Finally, lube the cable and post mechanism to ensure longevity.
Can Watch the full video tutorial here
With your dropper post installed, you’re ready to enjoy faster descents and seamless transitions on the trail. Happy riding!
2025-03-25
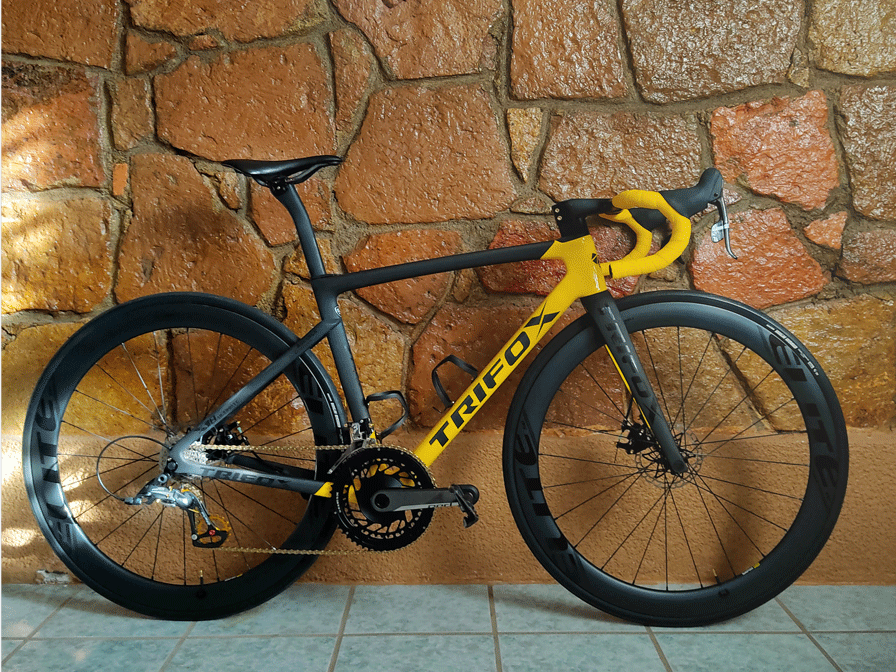
Trifox
SHARE:


Comments