The era of disc brake road bikes has officially arrived, and there are more and more road bikes using disc brake systems. At present, disc brake road bikes use hydraulic systems as the mainstream, but for road bikers, hydraulic systems can be said to be A completely new system. When you plan to join the ranks of disc brake road bikes, do you have a clear understanding of the characteristics of the hydraulic disc brake system?
The most common maintenance action of the hydraulic disc brake system is to replace the new oil and remove the air in the oil circuit. Because the fault tolerance rate of the hydraulic system is low, every action during maintenance must be quite focused. The oil change and maintenance actions of hydraulic disc brakes require the use of a variety of special tools and skilled operations. It is recommended that the oil change and maintenance work be carried out by a professional and trusted bike shop to ensure the hydraulic disc brake system of your bike. You can operate with peace of mind!
Preparation tools
The following tools are mostly used when performing oil change-related actions. Since the bike body needs to be able to adjust the angle flexibly, it is recommended to use a professional repair rack to fix it. In addition, if you want to install and adjust the tubing, you also need to prepare tubing cutting and oil needle installation tools.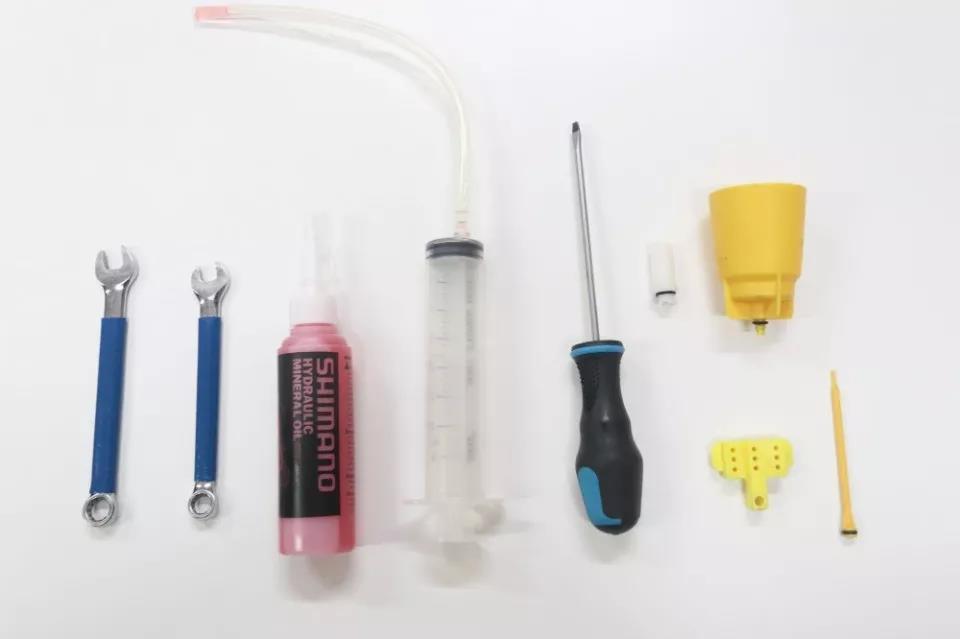
From left: open-end wrench, Shimano special mineral brake fluid, oil injection syringe, flat screwdriver, oil cup, oil cup adapter, piston stop, and oil cup stopper.
Start preparation for an oil change
1. Before the oil change action, please be sure to remove the wheelset and the brake pads first, because there may be oil leakage during the oil change action or even accidental splashing. If oil contaminates the brake discs on the wheel or the brake pads, the braking ability will be greatly reduced or invalid. Therefore, please pay attention to keeping the brake discs and the brake pads away from any oil.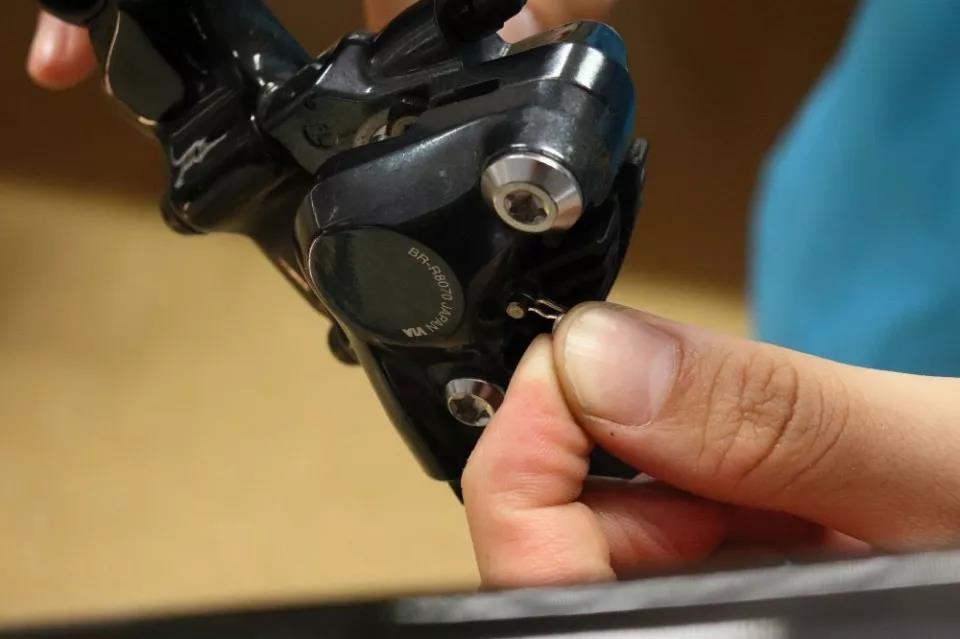
A. First remove the anti-loosening buckle on the fixing bolt of the reaming plate.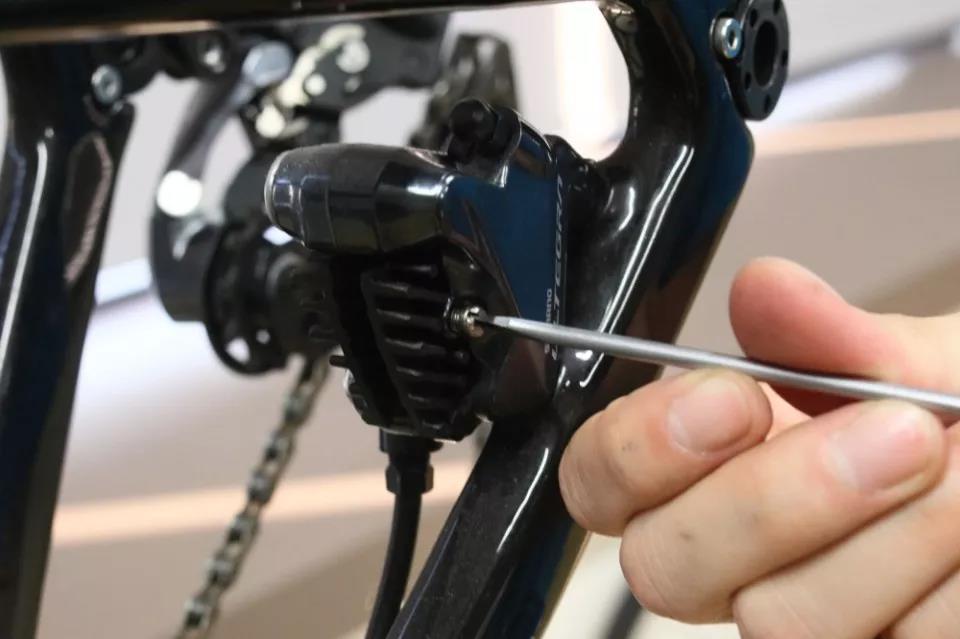
B. Use a flat-head screwdriver to remove the fixing bolts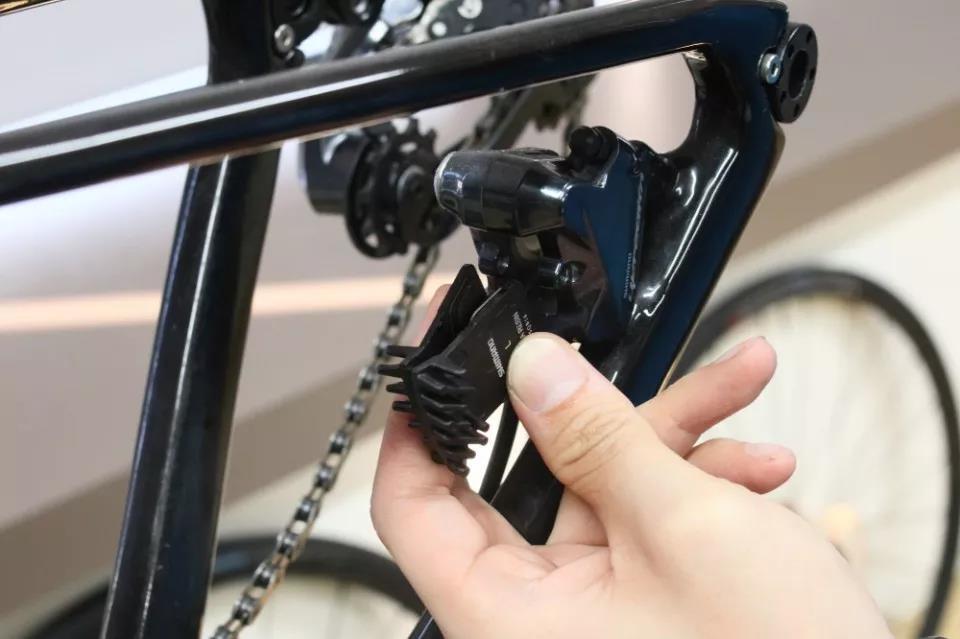
C. At this time, the film can be pulled up directly, don't lose the elastic film in it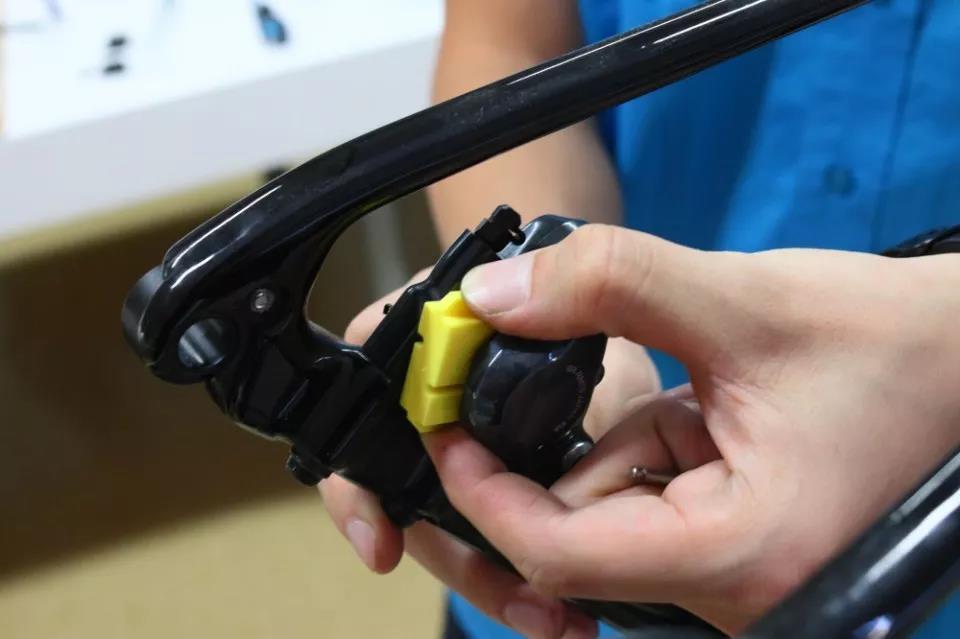
D. Insert the piston stopper and use it to fix the piece fixing bolts.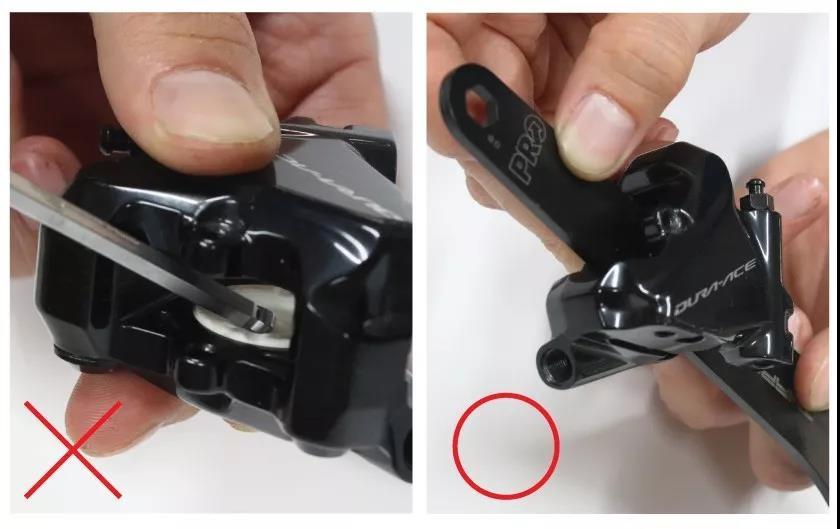
E. Sometimes the piston is pushed out because of the loss of the film. When you want to push back the piston, do not apply force at a single point. Use a flat object larger than the piston to push back to avoid damage to the piston due to excessive pressure.
2. Pump the new Shimano special mineral oil into the syringe, and the amount of oil drawn in needs to be more than the demand of the oil circuit; remove the dust cover of the oil injection hole, and put the syringe on the oil injection hole. When installing the oil injection syringe to the brake caliper, please remove the air in the syringe first to prevent air from entering the oil circuit and causing the brake function to fail.
Because the gas has extremely high compressibility, when there is air in the oil circuit, it will absorb the thrust when pulling the brake lever, which will cause the caliper end to operate poorly or even fail to operate.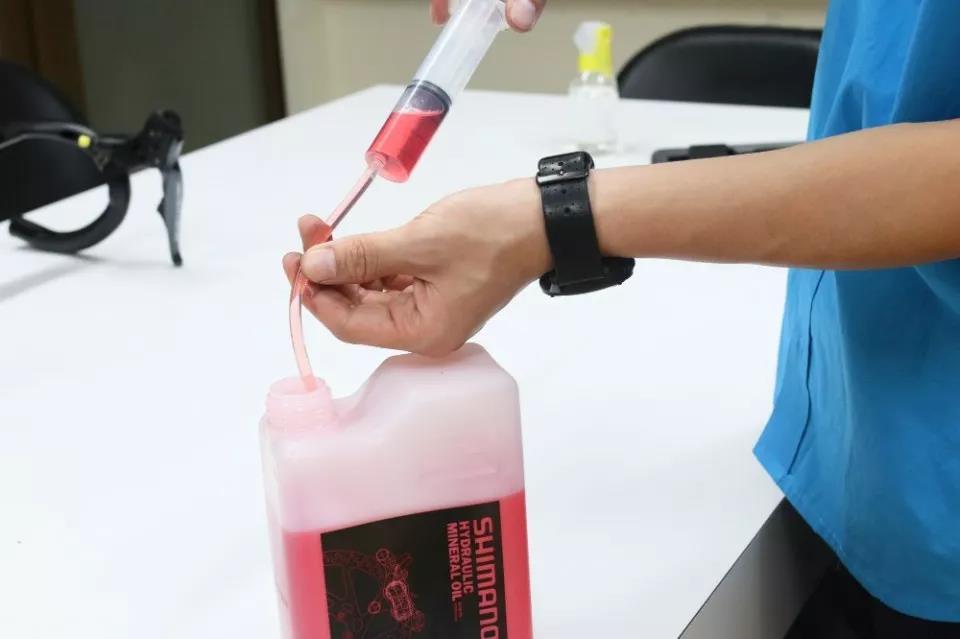
A. When pumping new oil, it is necessary to prepare a quantity that is higher than the demand, so as to avoid insufficient oil injection and cause air intake in the oil circuit. After the oil injection is completed, put the extra oil back.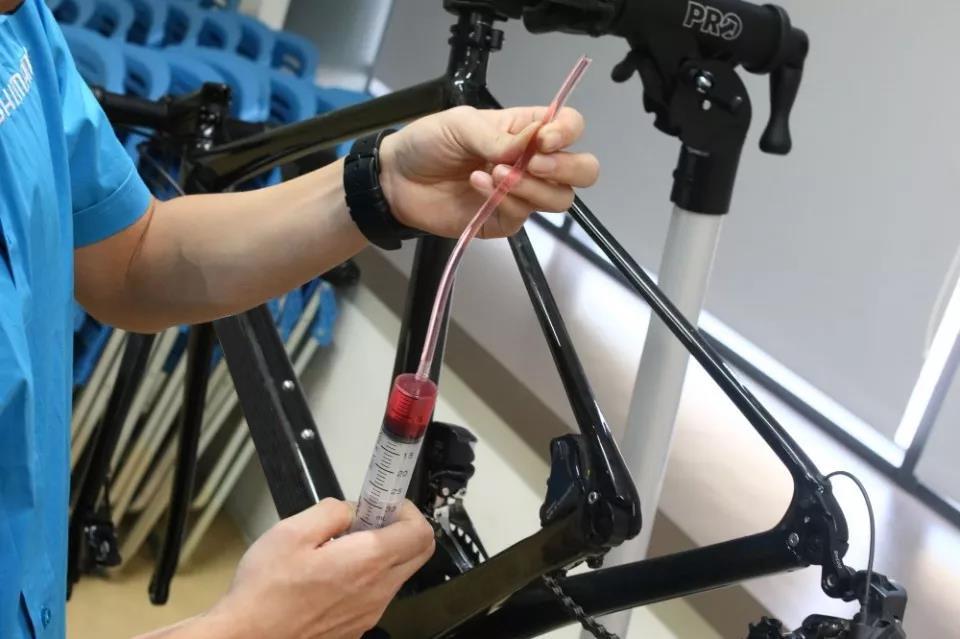
B. Before connecting the oil circuit, make sure that the air has been completely discharged from the syringe and pipeline to avoid injecting air into the oil.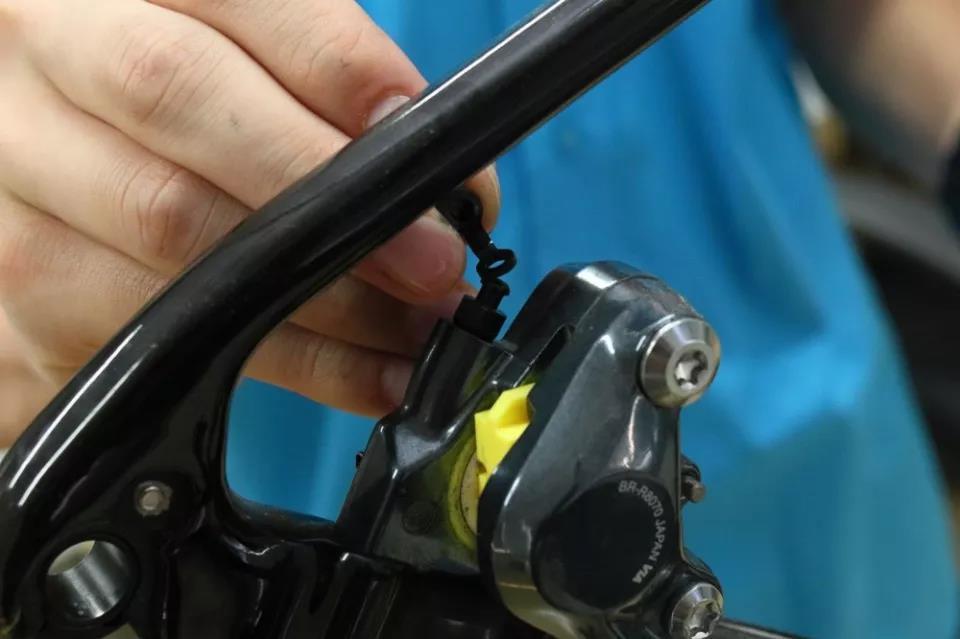
C. Remove the dust cover of the oil filling hole.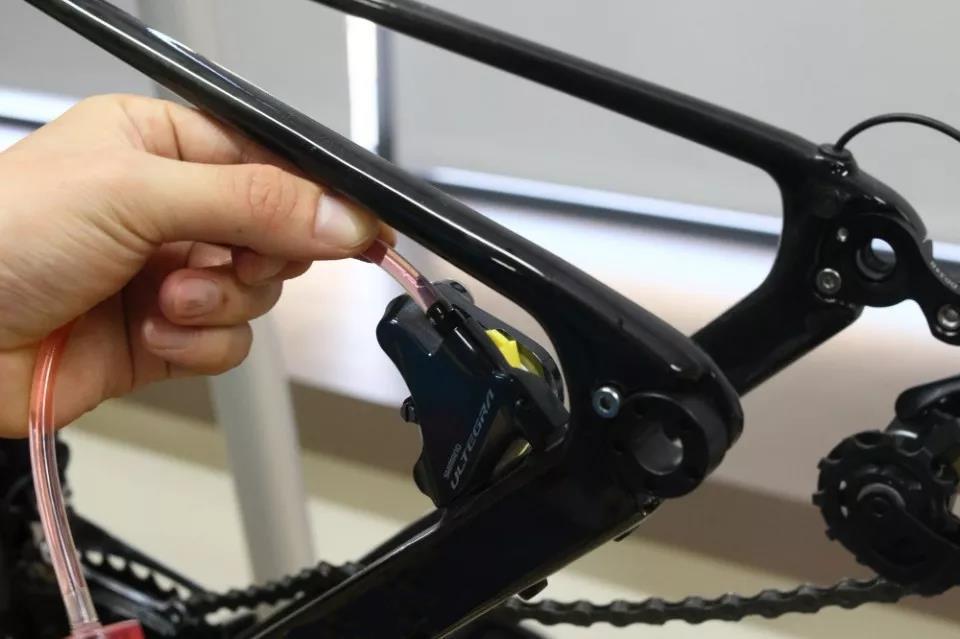
D. Put the oil pipe of the oil injection syringe on the oil injection hole.
3.Open the cover of the brake lever, remove the oil hole bolts, and connect the Shimano special oil cup and the special oil cup adapter for the road bike oil disc brake lever. Before removing the oil hole bolt, adjust the angle of the bike body to the level of the oil hole of the brake lever to avoid oil leakage when the oil cup is installed and unloaded. When installing and removing the oil hole bolt, be careful not to lose the O-ring on the bolt to avoid oil leakage or air intake.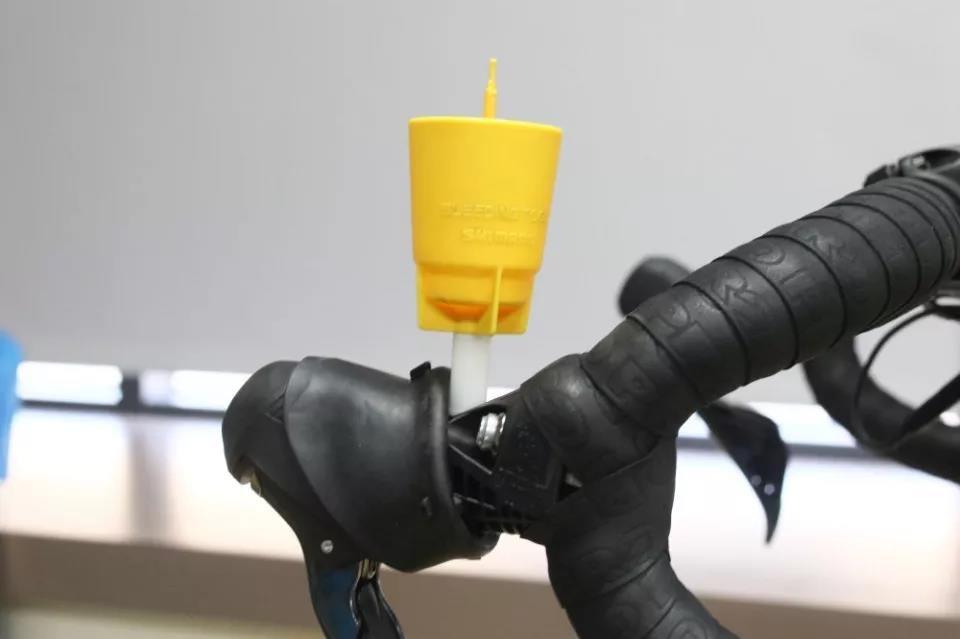
A. The oil cup must be installed horizontally.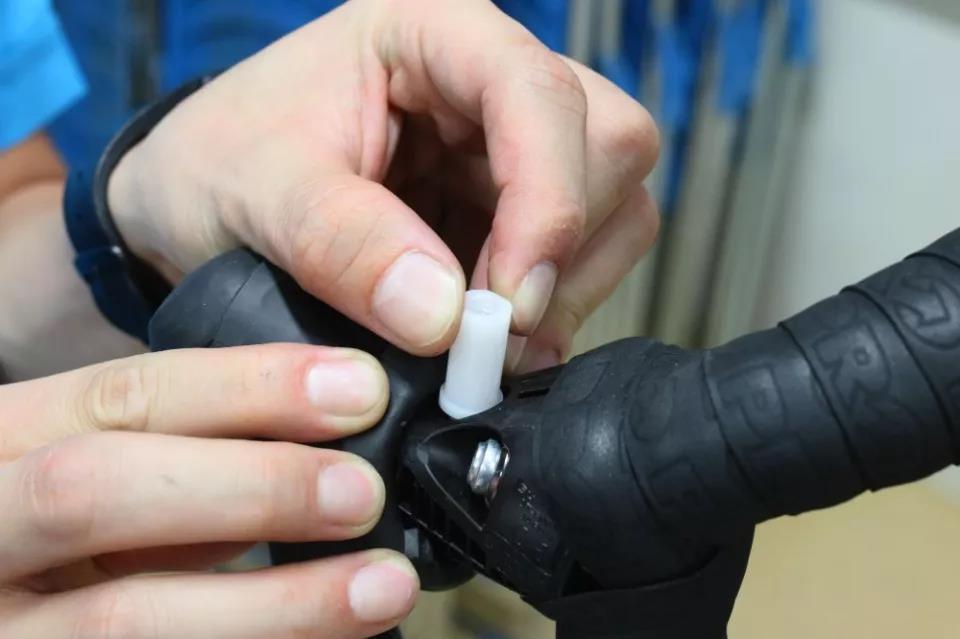
B. The adapter seat prevents the installation of the oil cup from being disturbed by the shape of the brake lever.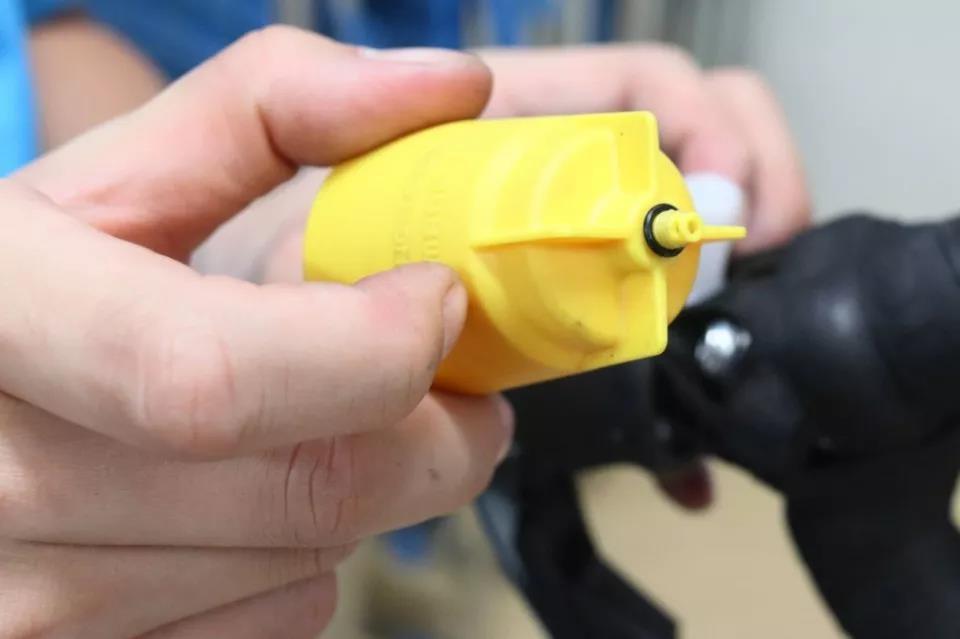
C. The bolts, oil cups, and adapters all have a leak-proof O-ring. Be careful not to lose them.
4. Adjust the bike body to fit the oil filling angle. Each Shimano brake lever has a different position of the built-in oil pot, so there will be a different demand angle. In order to make the oil circuit push smoothly when changing the oil, and allow the air in the pipe to be discharged smoothly.
5. Remove the stopper on the oil cup, loosen the caliper oil filling hole screw about 1/8 turn, at this time the oil circuit becomes open, slowly push the oil injection syringe connected to the caliper end to push the new oil into the oil circuit. The replacement of brake oil is not to inject new oil after leaking old oil but to directly inject new oil to push out the old oil. In order to remove the air that may remain in the oil adjustment pipe while filling, new oil needs to be injected from the lower end of the brake caliper.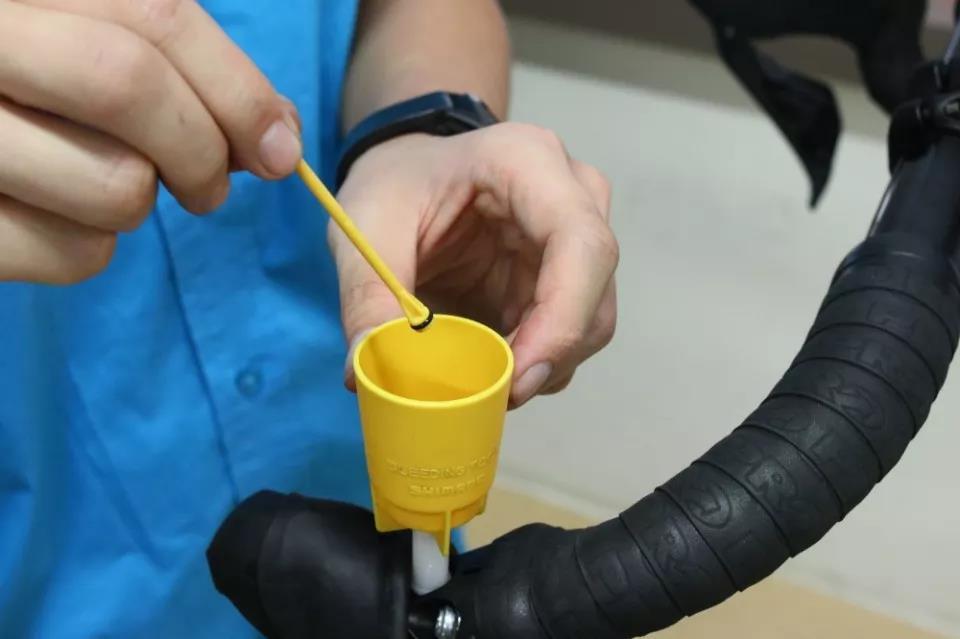
A. Remove the oil cup stopper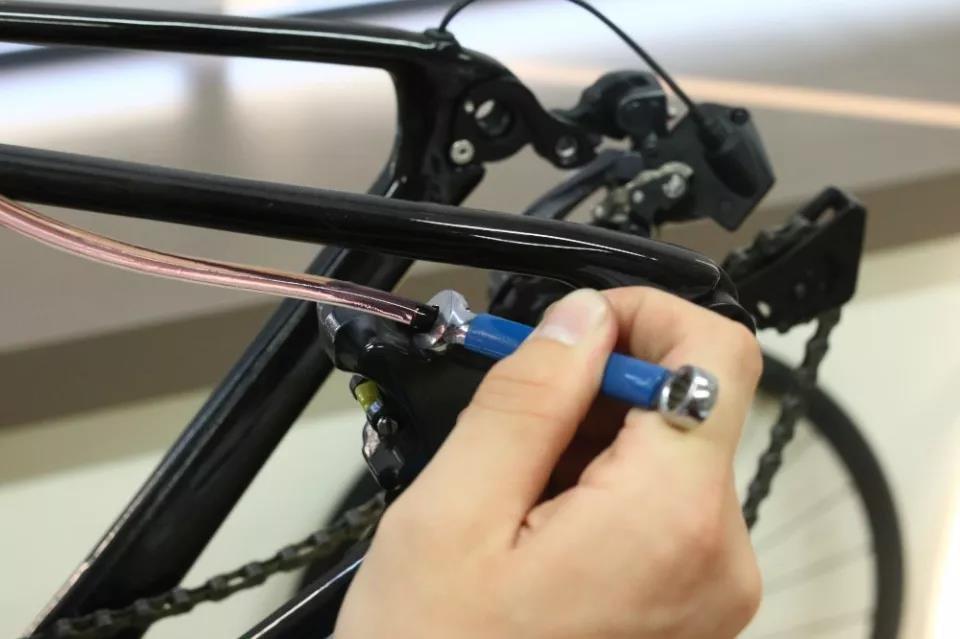
B. Loosen the caliper oil hole screw about 1/8 turn.
6. When the color of the oil introduced from the brake lever oil cup is lighter (the color of the brake fluid will become darker after a period of use), and there is no more air in the oil cup, it means that the brake fluid has been completed. replace. Tighten the oil filling hole screw at the end of the caliper.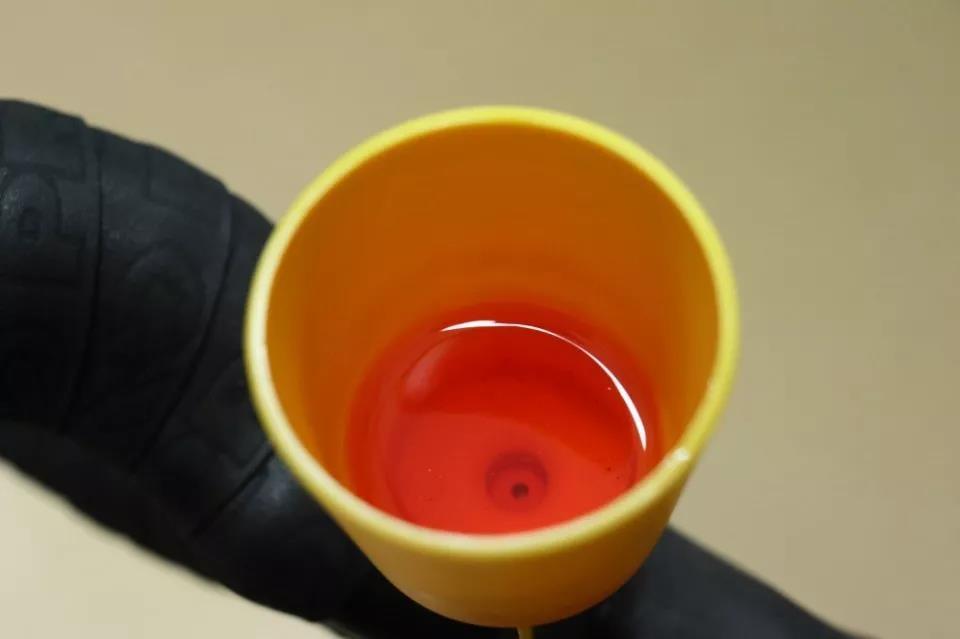
A. Observe the color difference of the oil coming out of the oil cup to judge whether the new oil has filled the oil circuit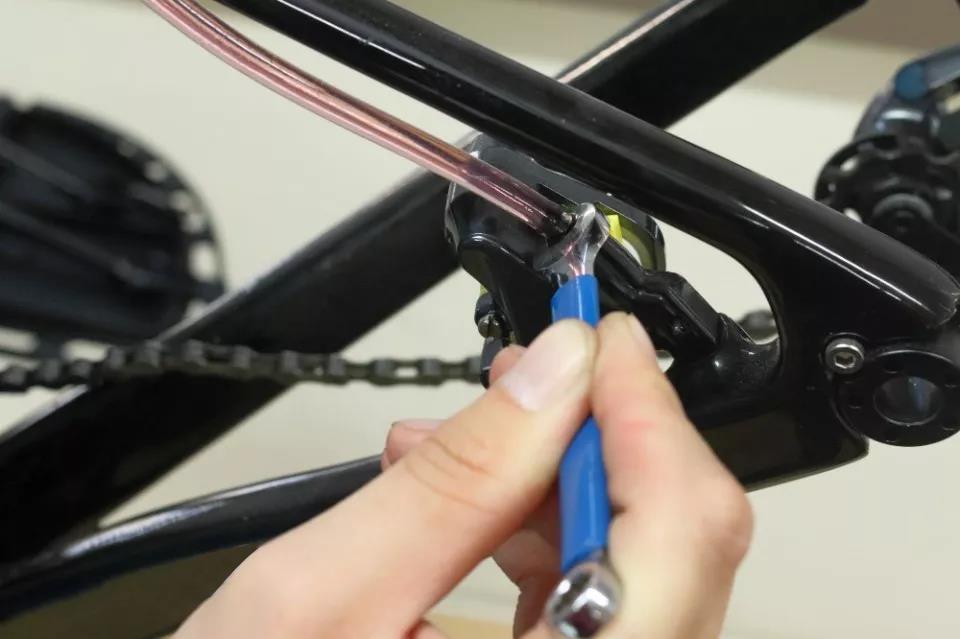
B. Tighten the caliper oil filling hole screw.
7. Press the brake lever to confirm whether the oil path is full and without air, because the caliper piston has been fixed by the piston stopper, if the oil path is full, the brake lever should only have a movable stroke of about 5mm; if the brake lever stroke is too large, the hand feels soft. There may be air in the oil circuit, the exhaust action should be performed again, or the oil filling action should be re-operated.
8. If it is confirmed that the brake lever is operating normally, please insert the stop bolt into the oil cup at the end of the brake lever, adjust the body to the level of the oil hole of the brake lever, remove the oil cap and the adapter seat, and lock the oil return hole bolt. Brake levers and calipers can use 50% isopropyl alcohol to clean the brake fluid that leaks during operation.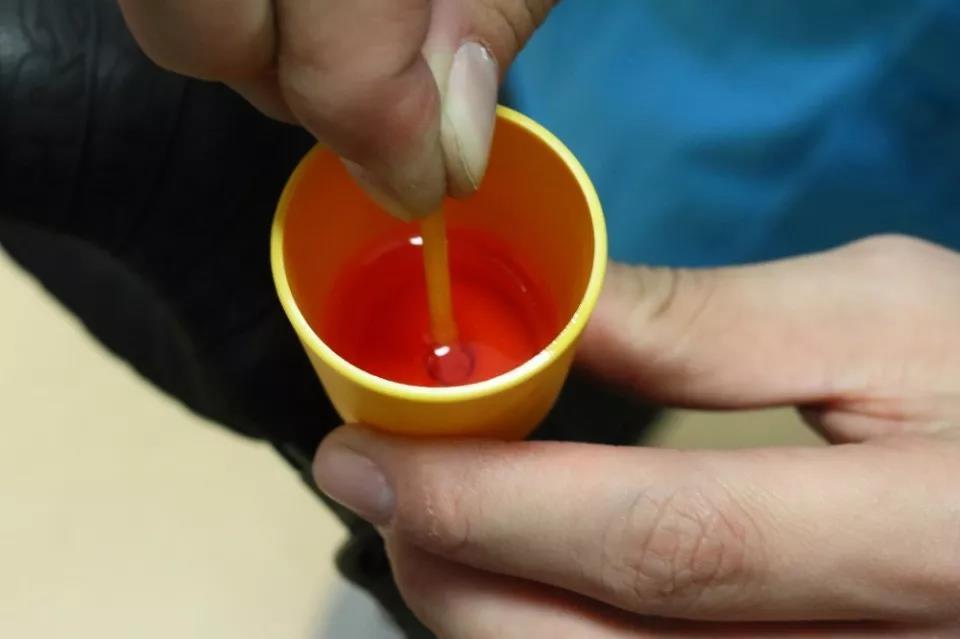
A. Remember to insert the stopper when removing the oil cup, otherwise, the oil will flow everywhere.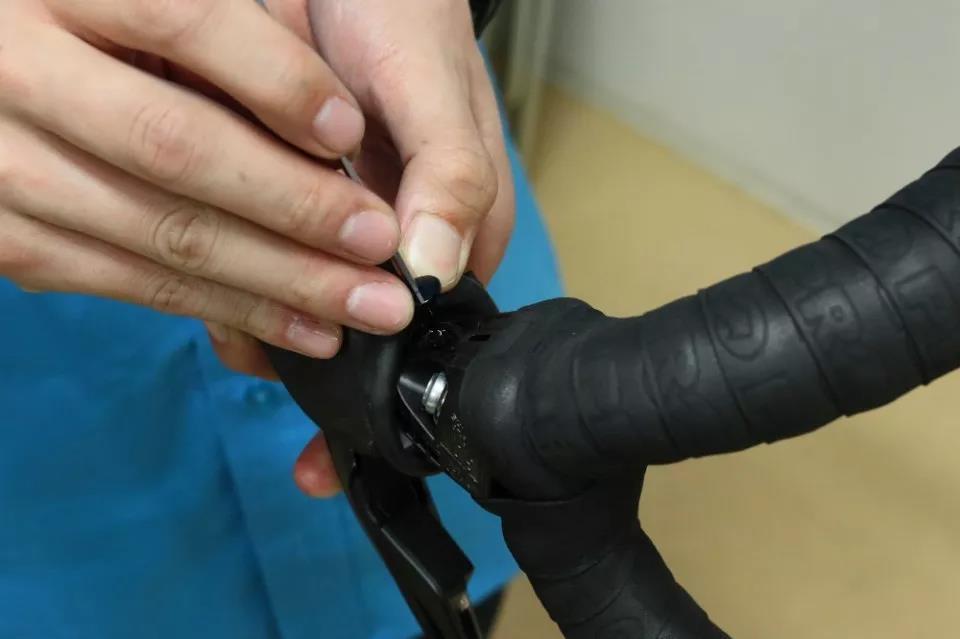
B. Lock back the oil hole bolt of the brake lever.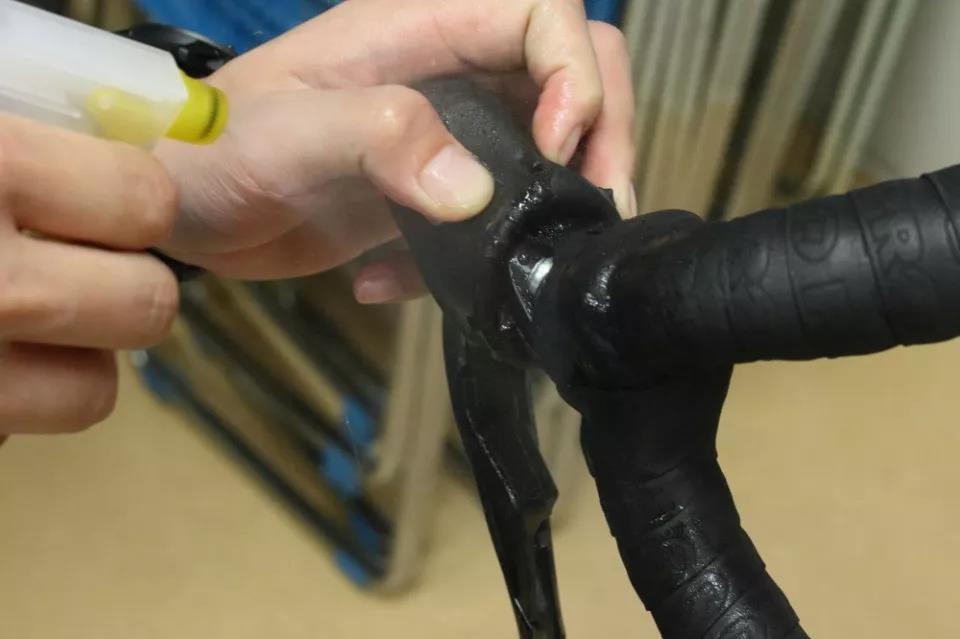
C. Isopropyl alcohol can be used to clean the oil-contaminated area.
9. After cleaning is complete, remove the piston stop on the brake caliper, and install the receptacle, so that the anti-loosening buckle on the fixing screw of the film must also be installed. After installing the wheelset, confirm that the brake can work normally, and the oil change of the hydraulic disc brake is completed.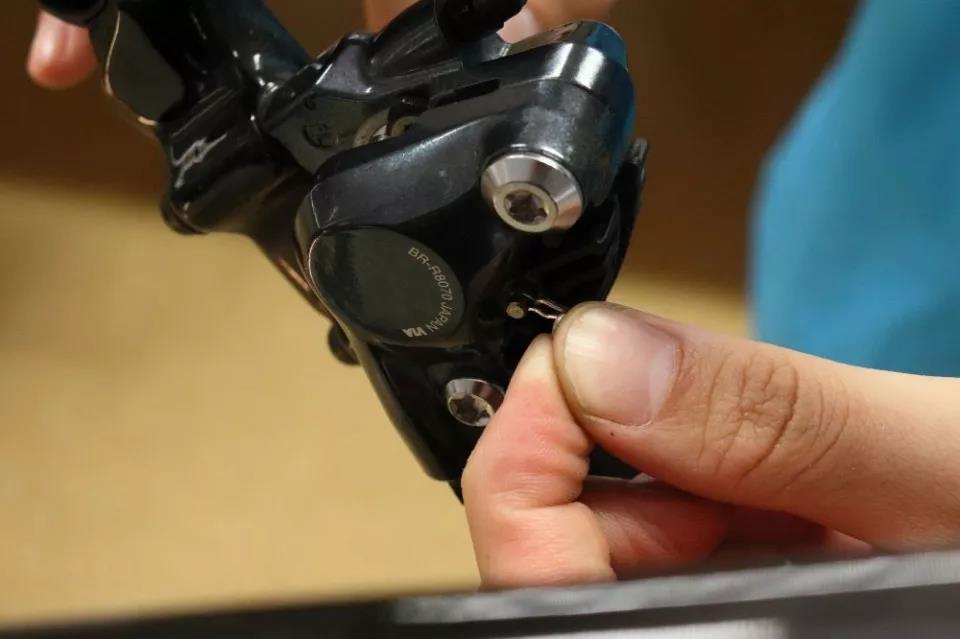
A. The existence of the anti-loose buckle is often forgotten because of its small size.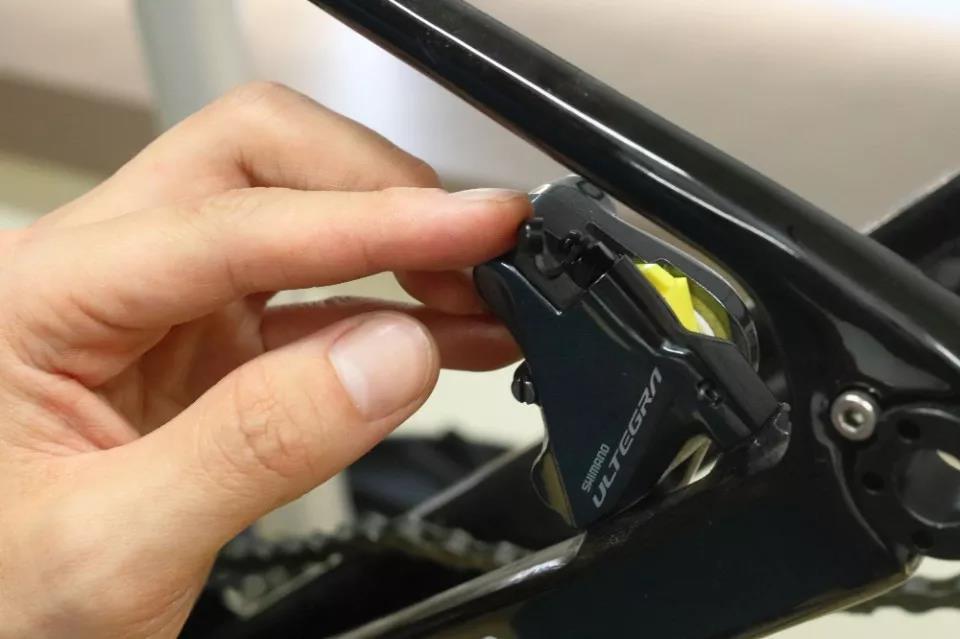
B. Also remember to cover the dust cap of the oil filling hole
After reading the oil change procedures for hydraulic disc brakes above, do you think that disc brakes on road bikes are super troublesome? In fact, the editor has also simplified a lot of detailed actions… But in order to get the sharp braking performance of hydraulic disc brakes with the better operation, I believe all this is worth it! As for the maintenance of the oil circuit that will get messy and may fall short, let yourself go and leave it to a professional bike shop to complete it.


