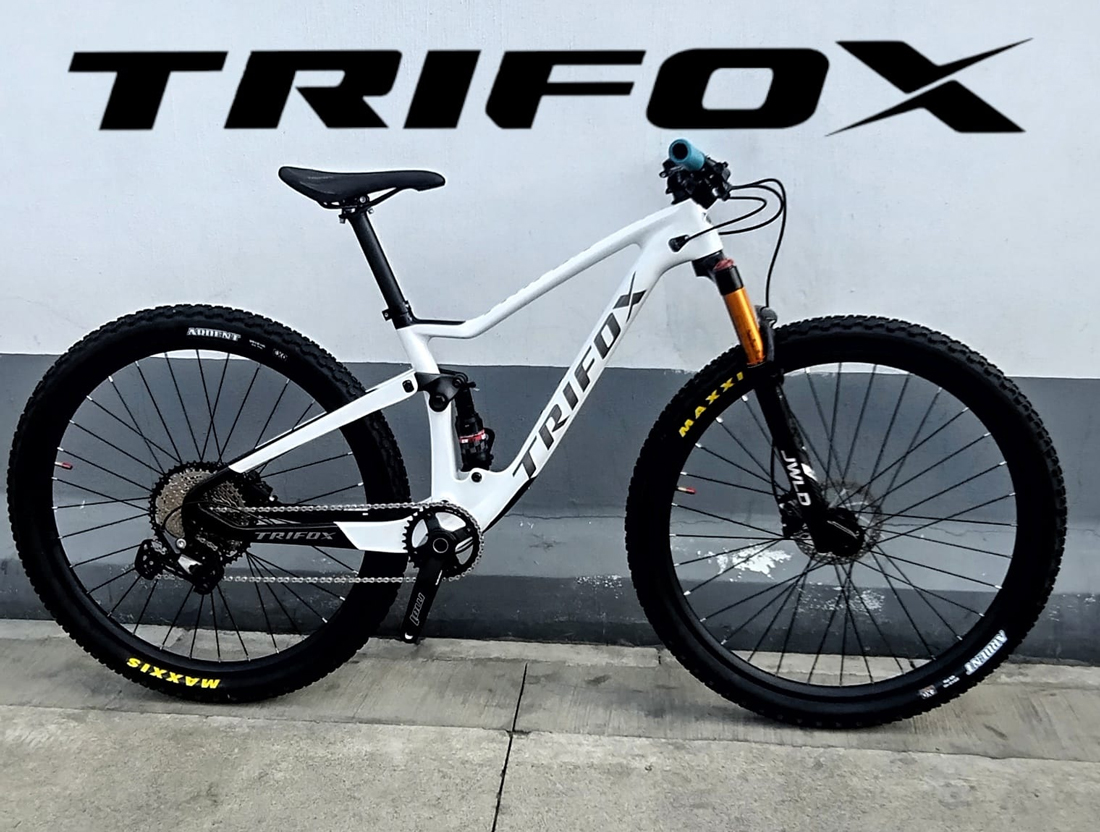
Building a carbon bike from scratch can be a rewarding experience that allows you to customize every component to your liking. Here's a step-by-step guide to help you build, adjust, and maintain your carbon bike.
Building Your Carbon Bike
1. Gather Your Components
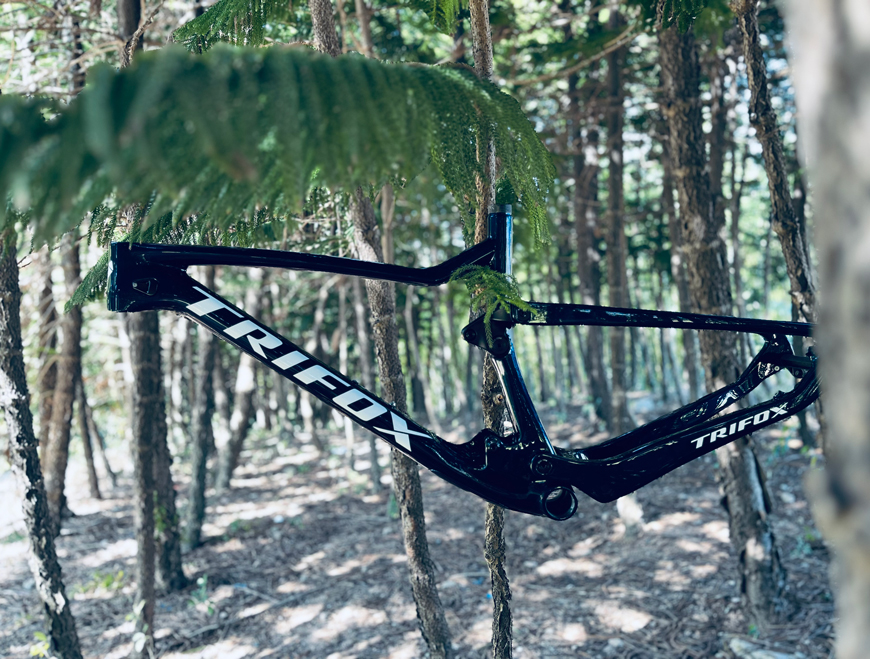
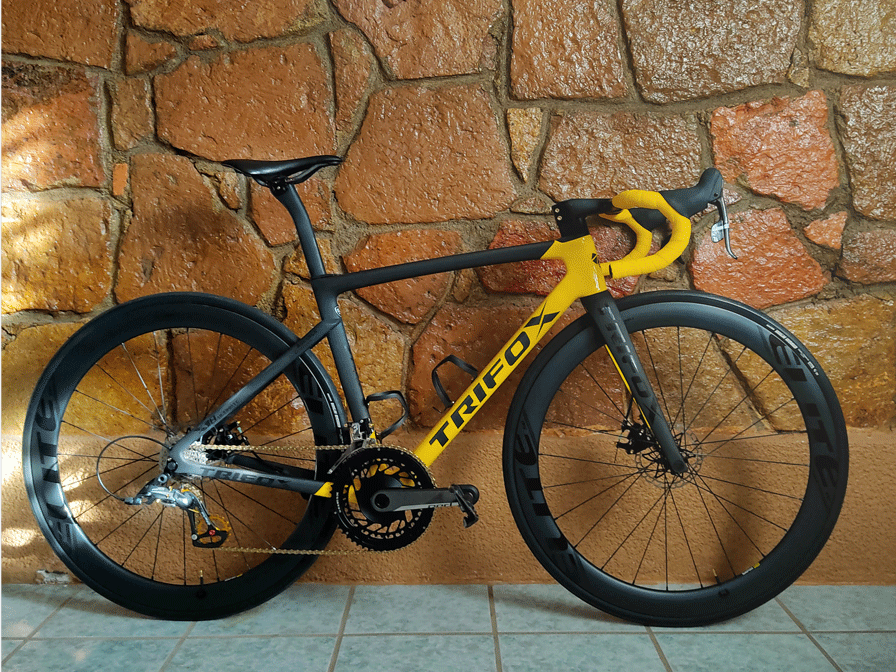
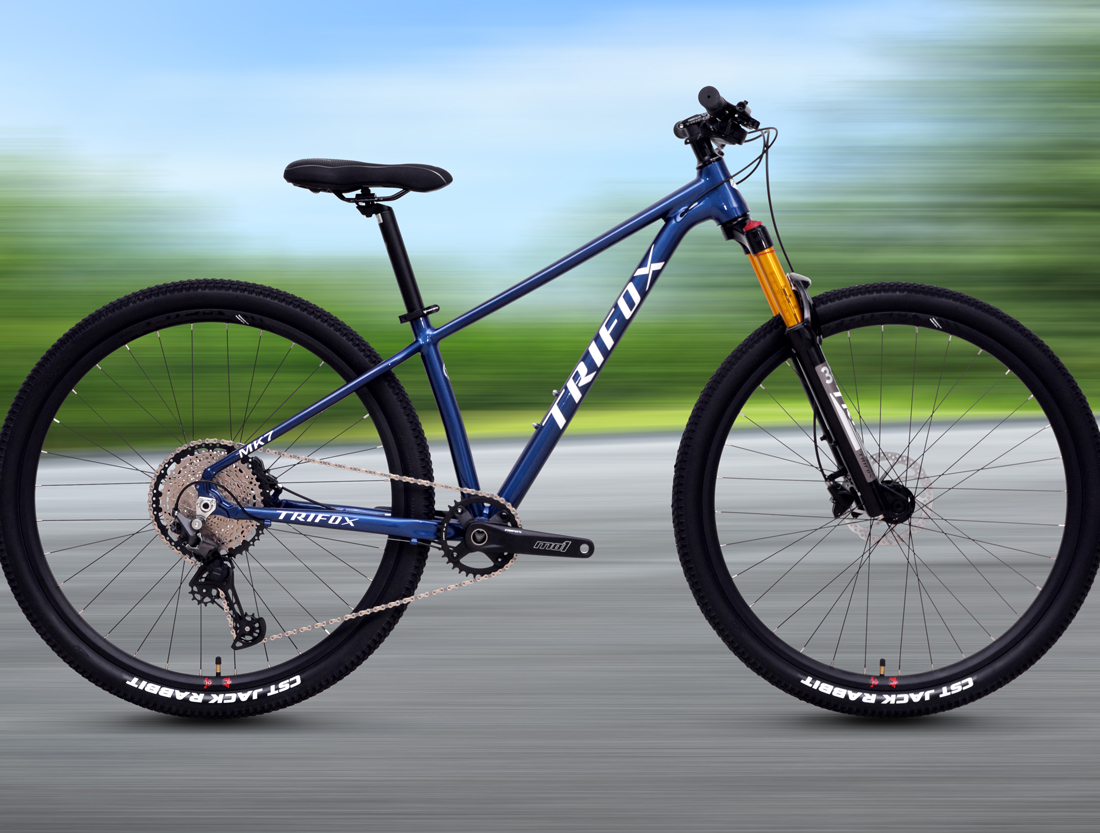
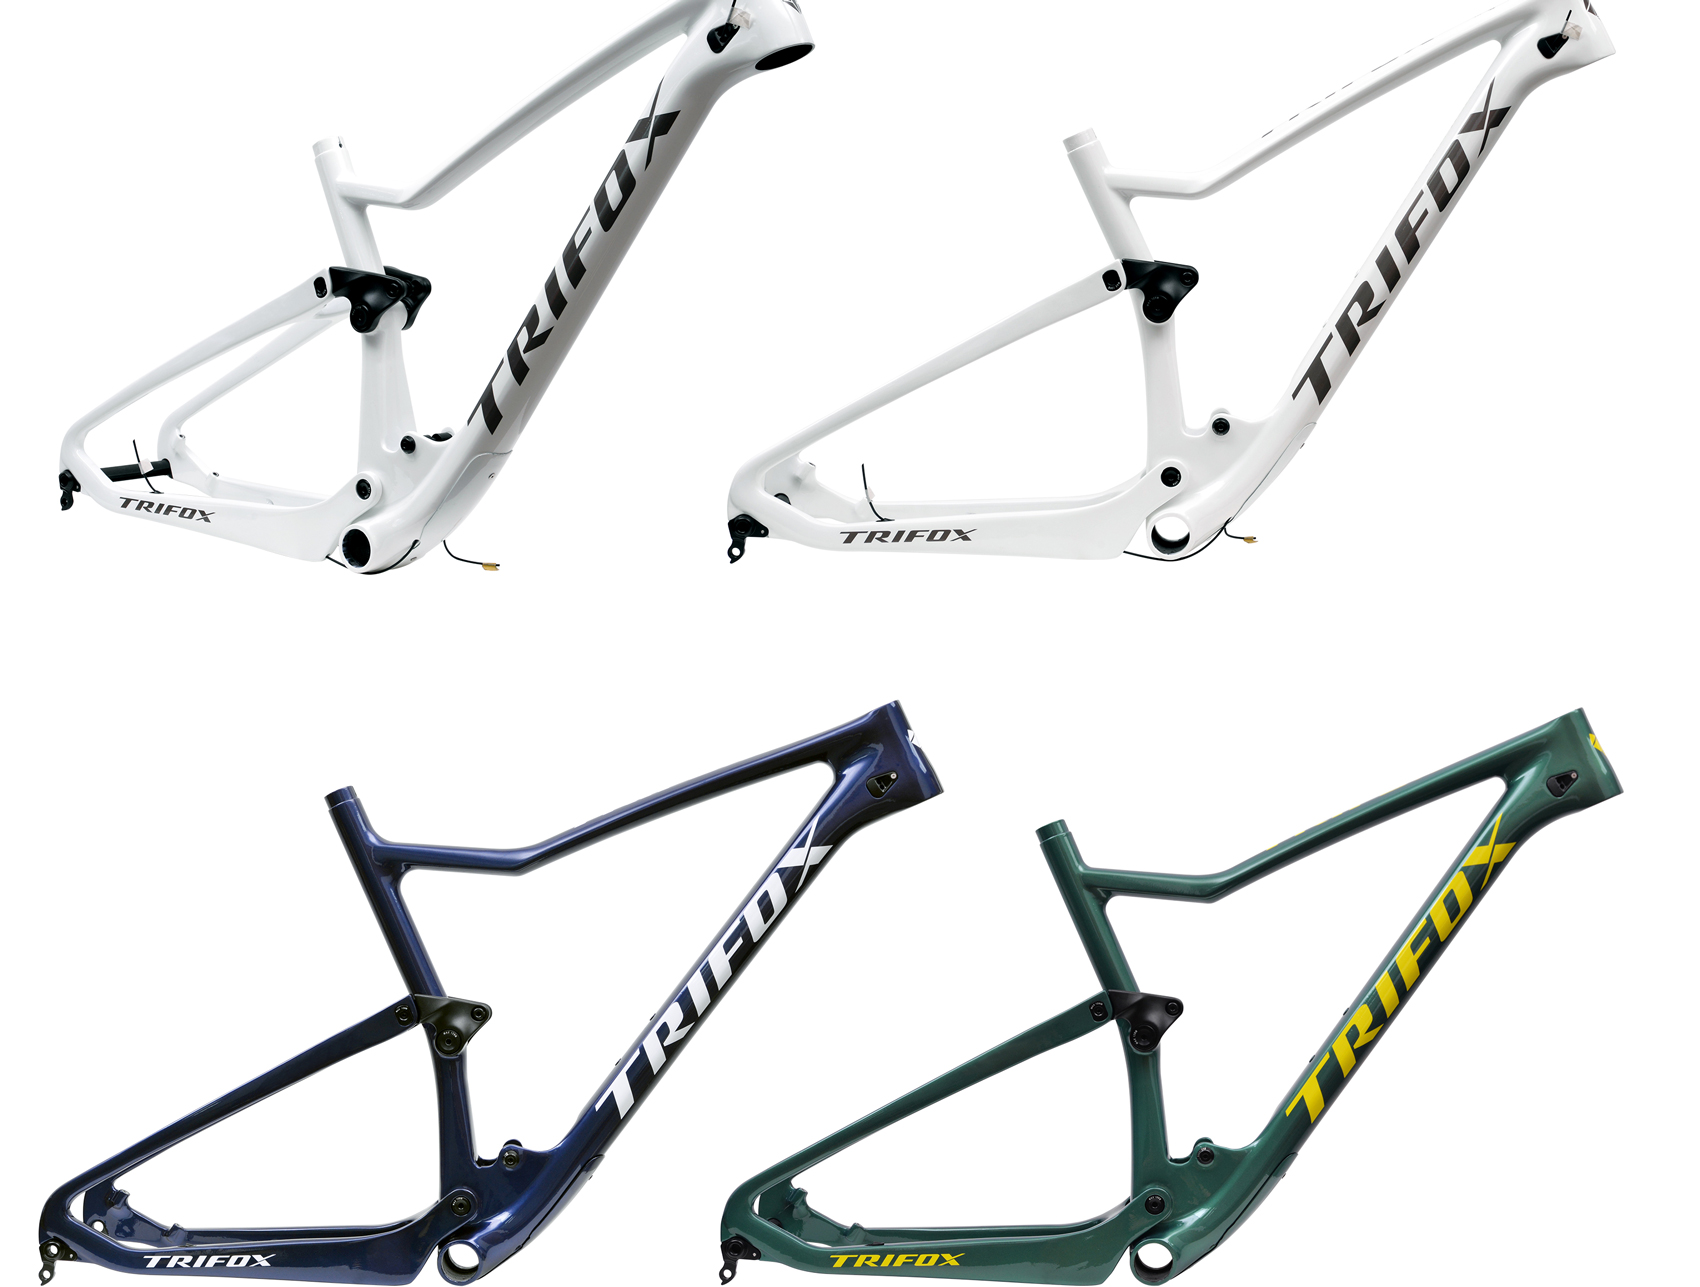
Frame: Start with a high-quality carbon frame.
Groupset: Choose a groupset (gears, derailleurs, brakes) that fits your riding style.
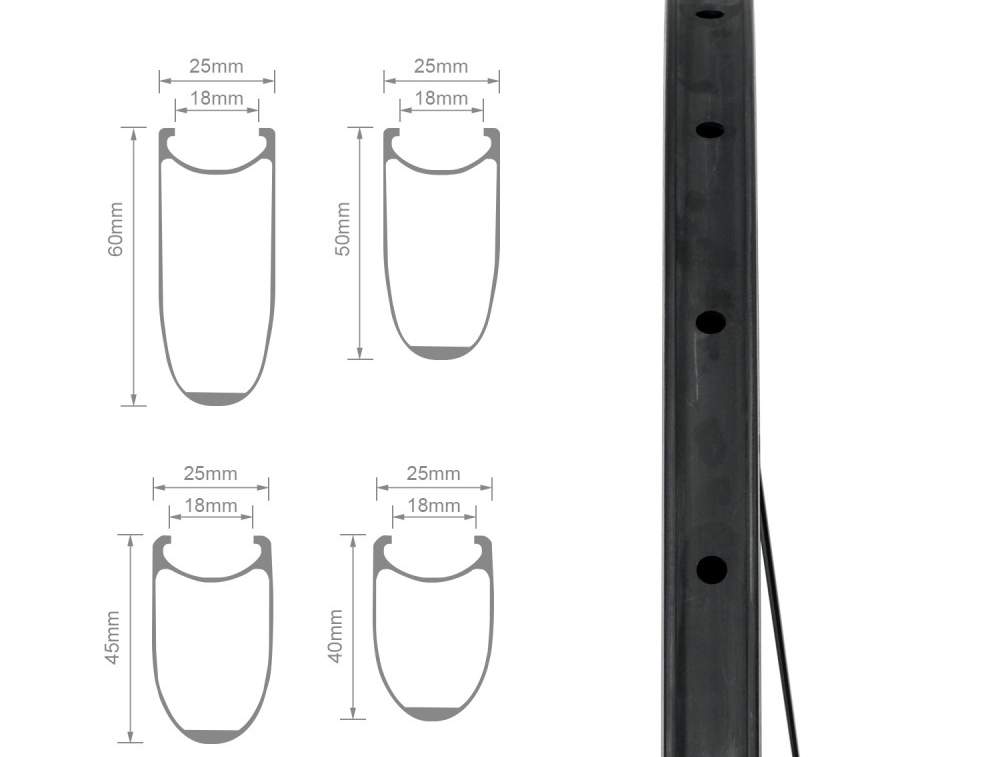
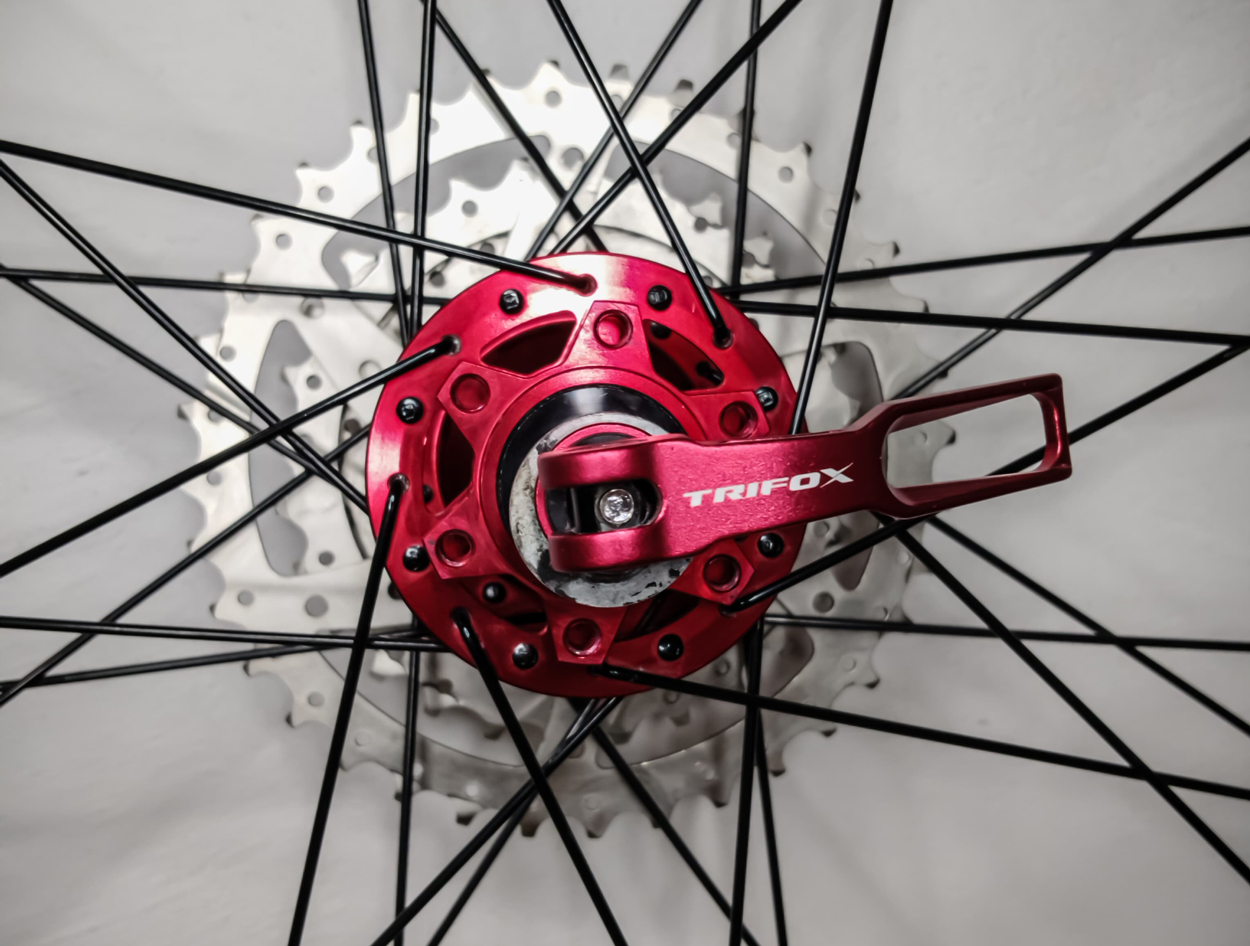
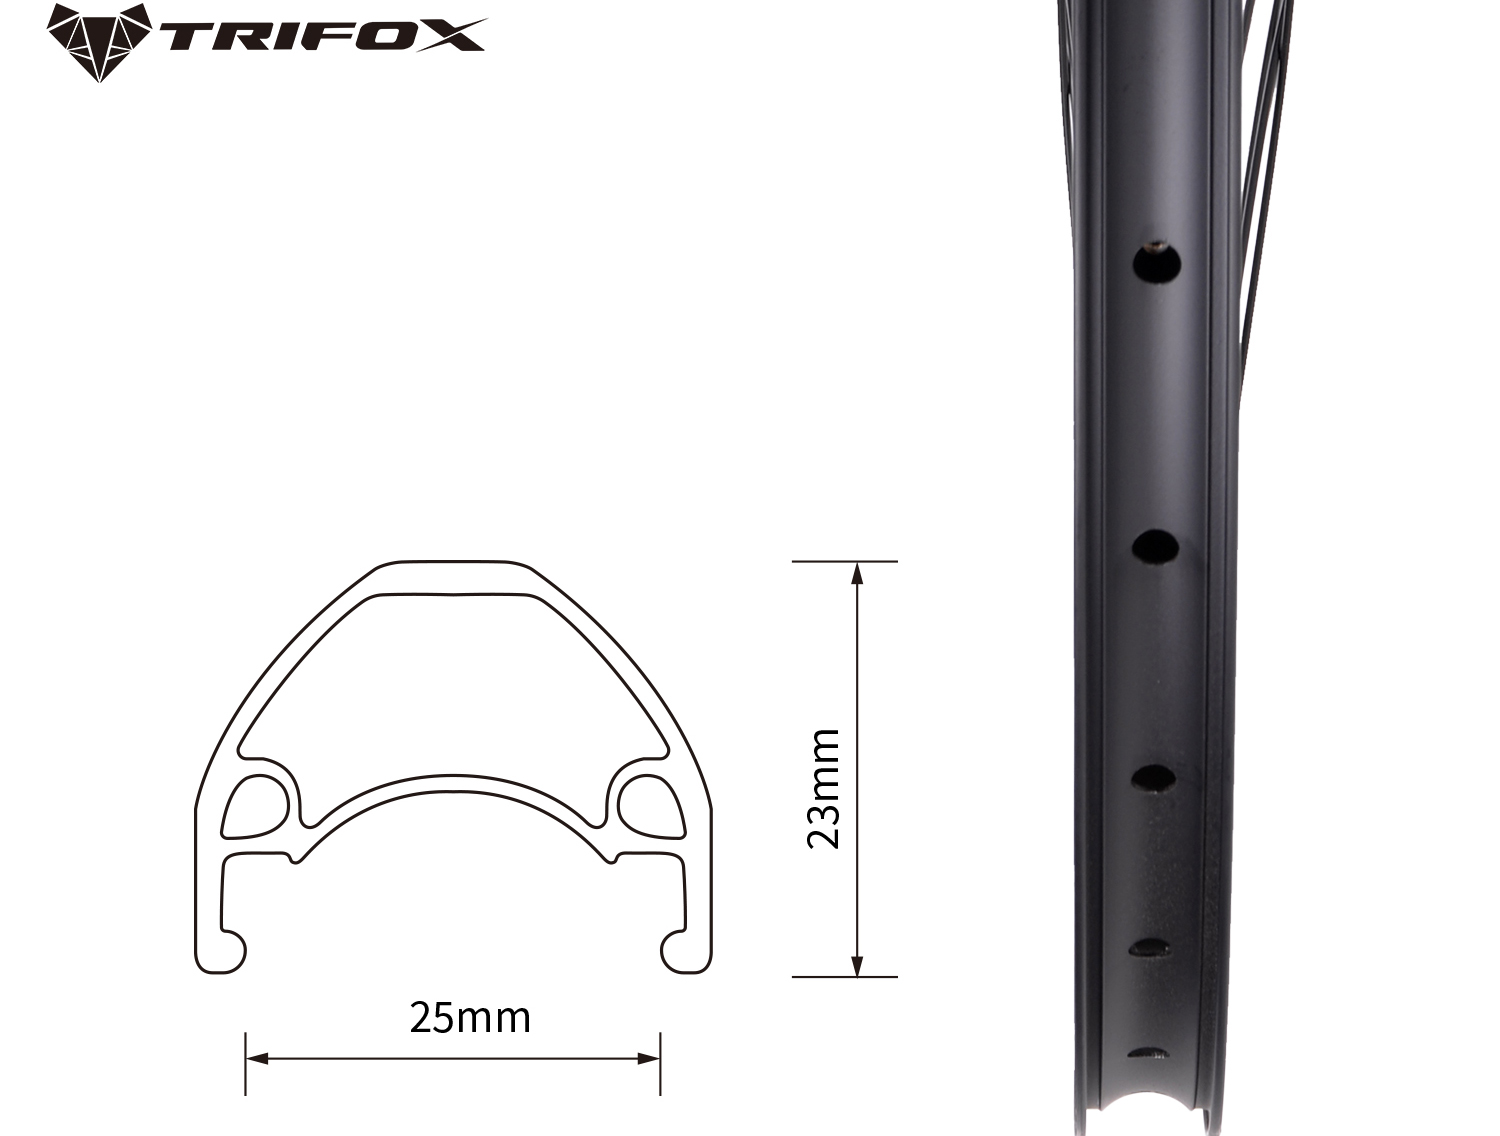
Wheels: Opt for lightweight, durable wheels.
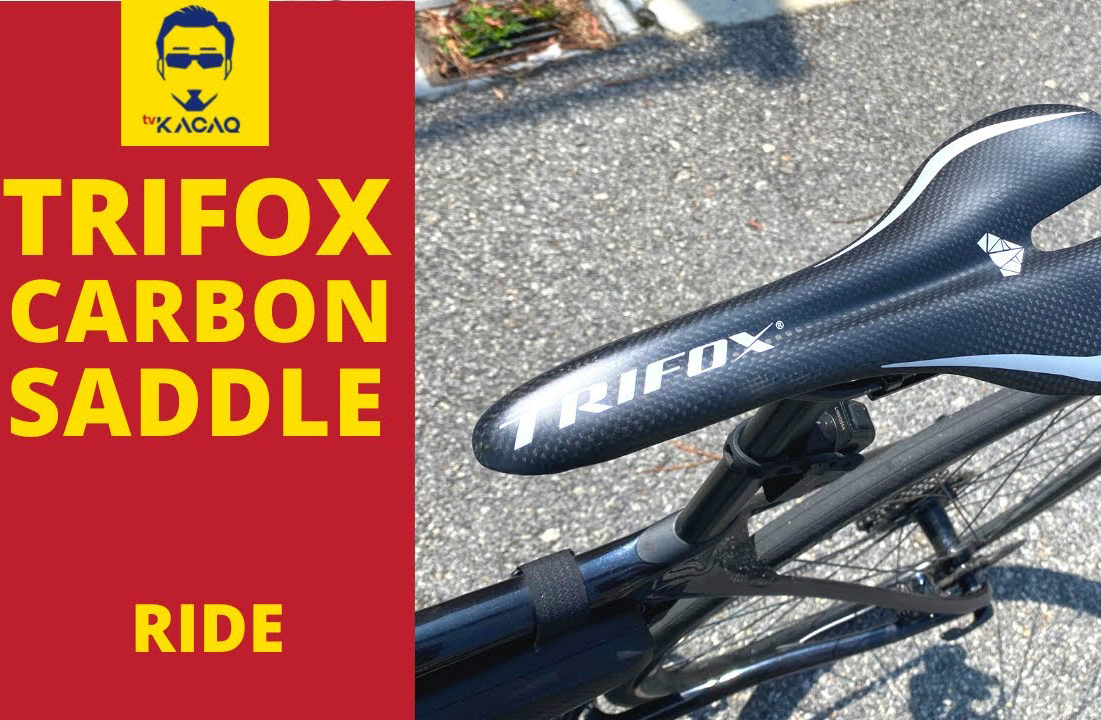
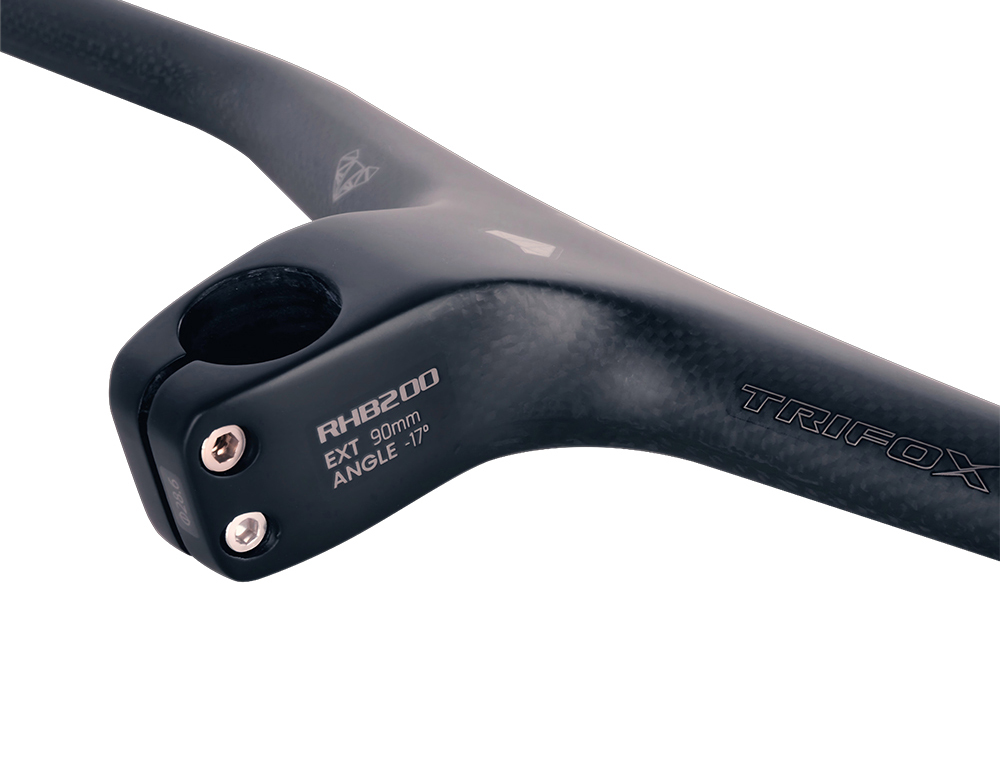
Handlebars, Saddle, and Seatpost: Select components that offer comfort and performance.
2. Assembly
1. Install the Bottom Bracket: Use a torque wrench to ensure proper tightness.
2. Attach the Crankset: Align it with the bottom bracket.
3. Mount the Derailleurs: Attach the front and rear derailleurs.
4. Install the Chain: Thread it through the derailleur and crankset.
5. Attach the Wheels: Secure them to the frame.
6. Install the Handlebars and Saddle: Ensure they are comfortable and correctly aligned.
Adjusting Your Carbon Bike
1. Saddle Height: Adjust the saddle height so your leg is nearly straight at the bottom of the pedal stroke.
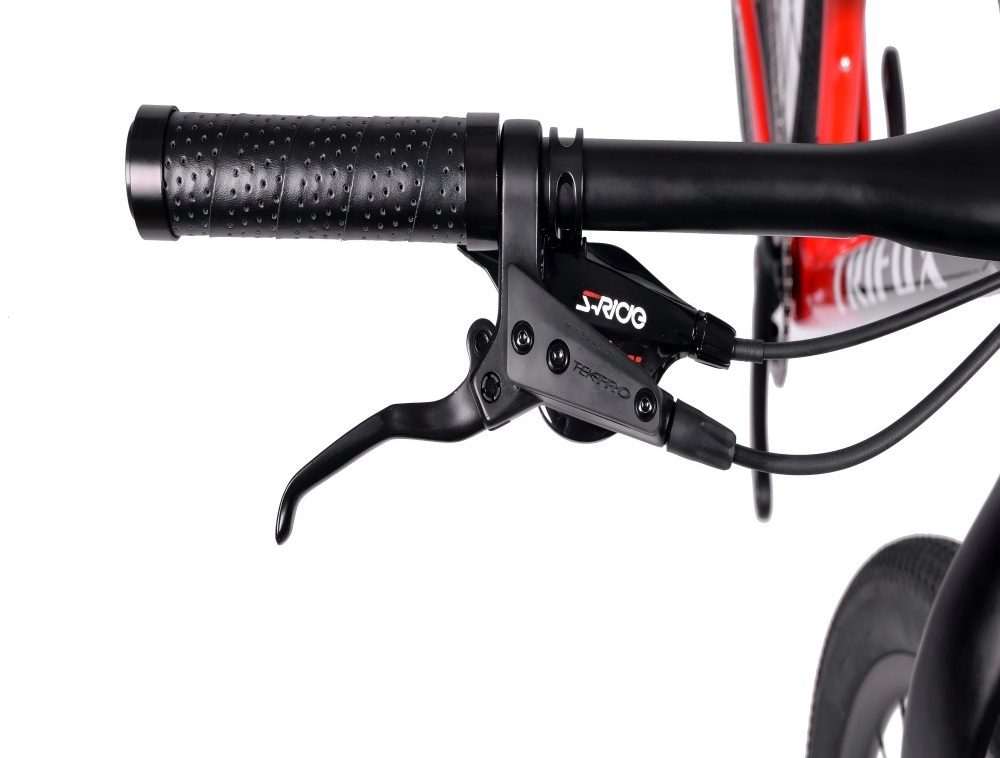
2. Handlebar Position: Adjust the handlebars for a comfortable reach and angle.
3. Derailleur Tuning: Fine-tune the derailleurs for smooth shifting.
4. Brake Adjustment: Ensure the brakes are centered and provide adequate stopping power.
Maintaining Your Carbon Bike
1. Regular Cleaning: Wipe down the frame and components after each ride.
2. Inspect for Damage: Regularly check for cracks or chips in the carbon fiber.
3. Lubricate the Chain: Apply lubricant to keep the chain running smoothly.
4. Check Bolts: Periodically check all bolts with a torque wrench to ensure they are properly tightened.
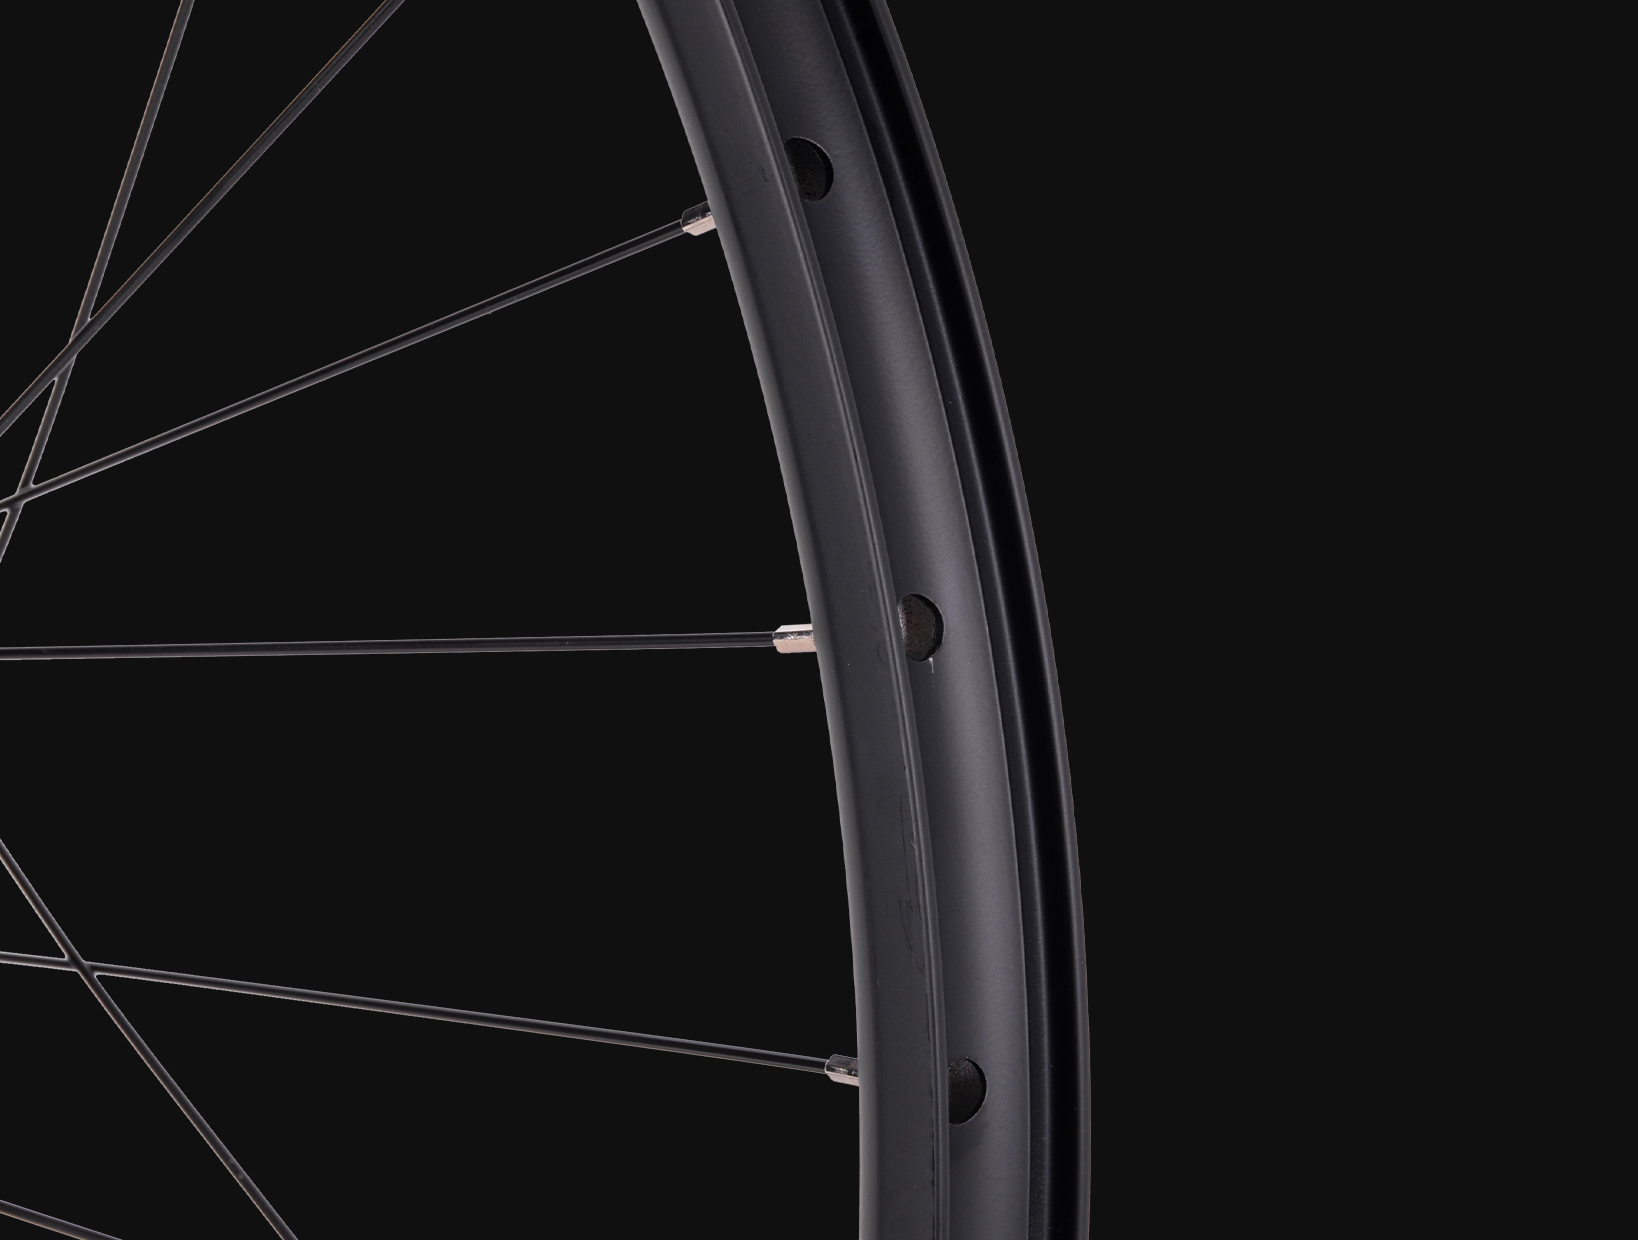
5. Wheel Maintenance: Check for true wheels and adjust spokes if necessary.
By following these steps, you’ll ensure your carbon bike remains in peak condition, providing you with an excellent riding experience. Happy cycling!

2024-06-14
Trifox
SHARE:


Comments