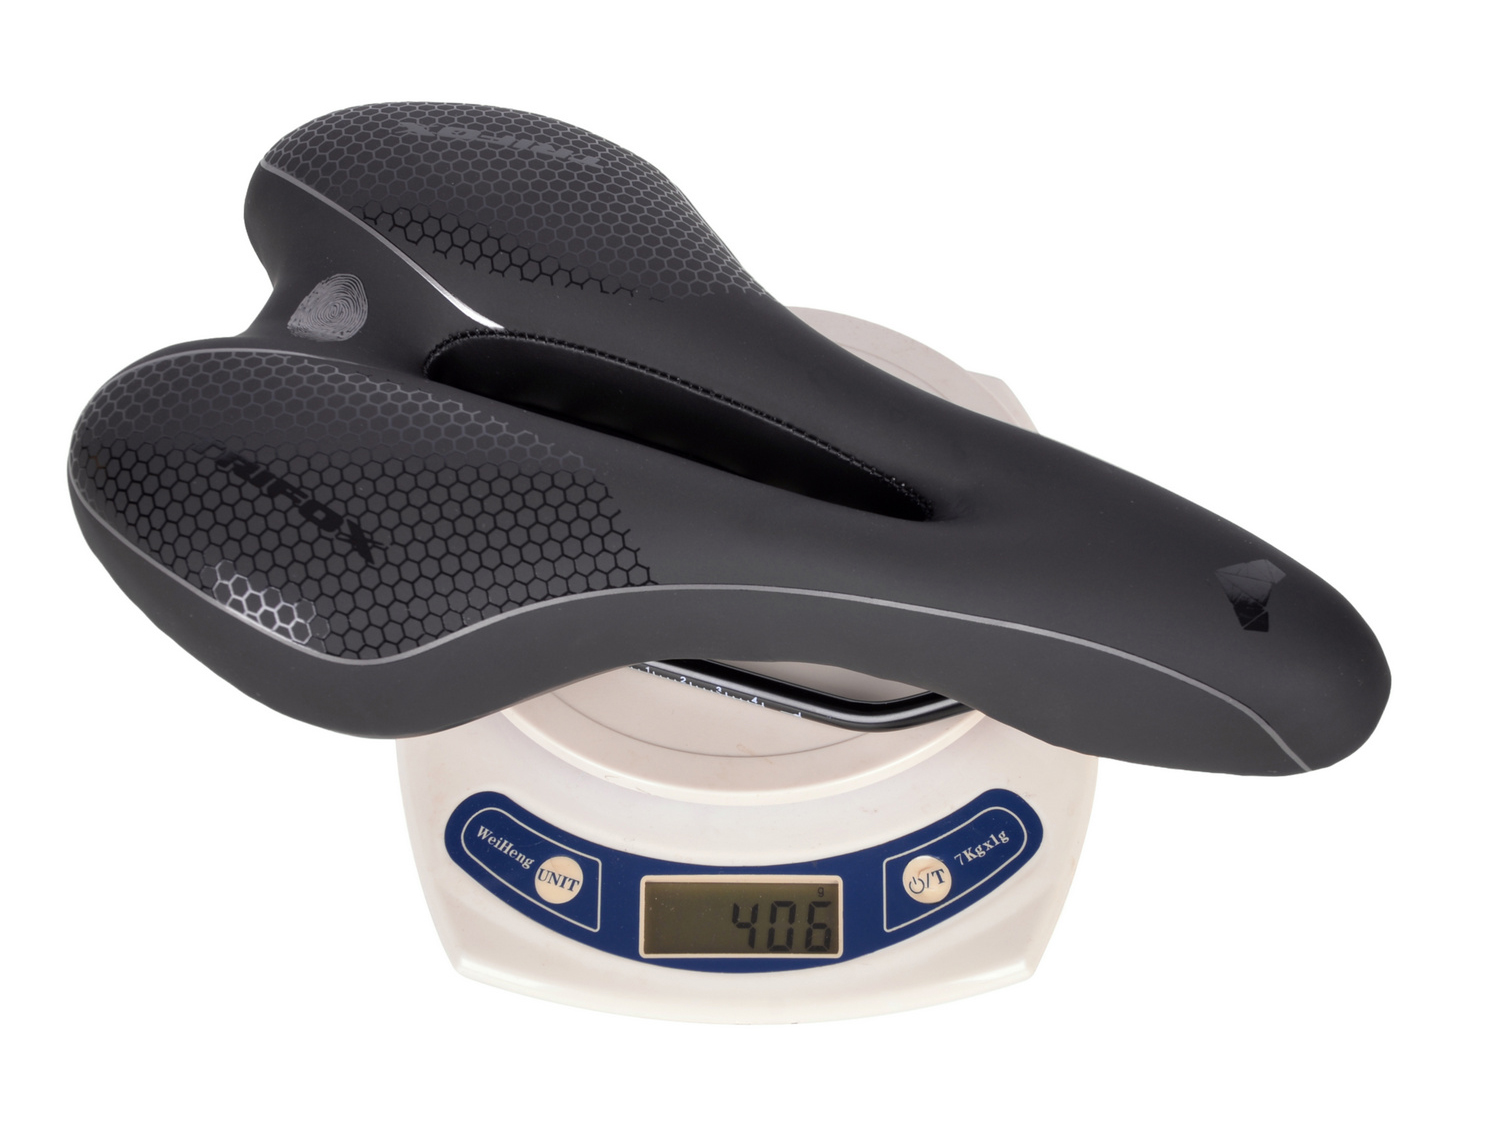
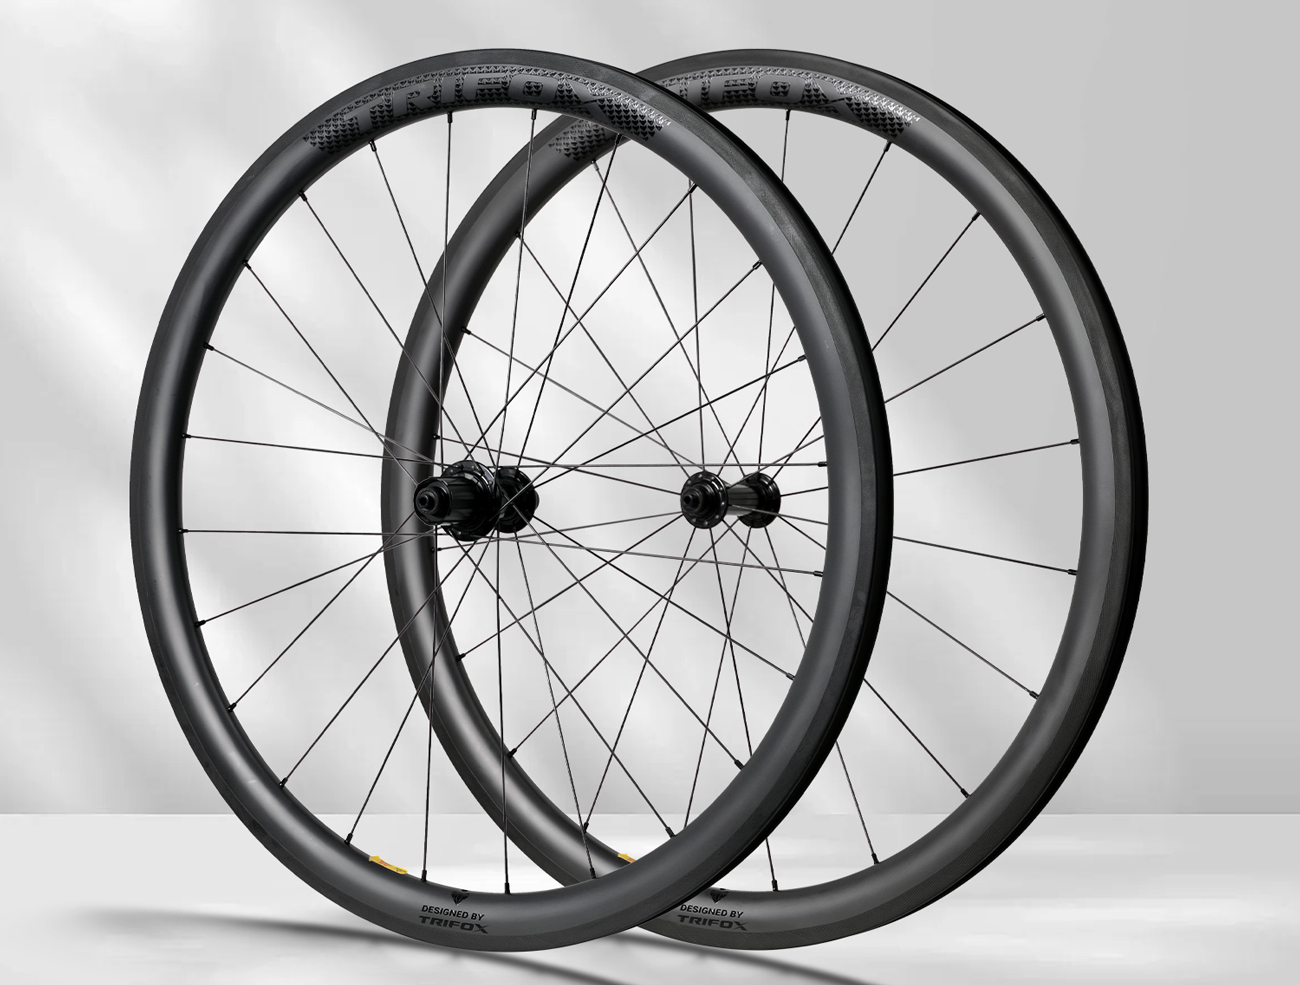
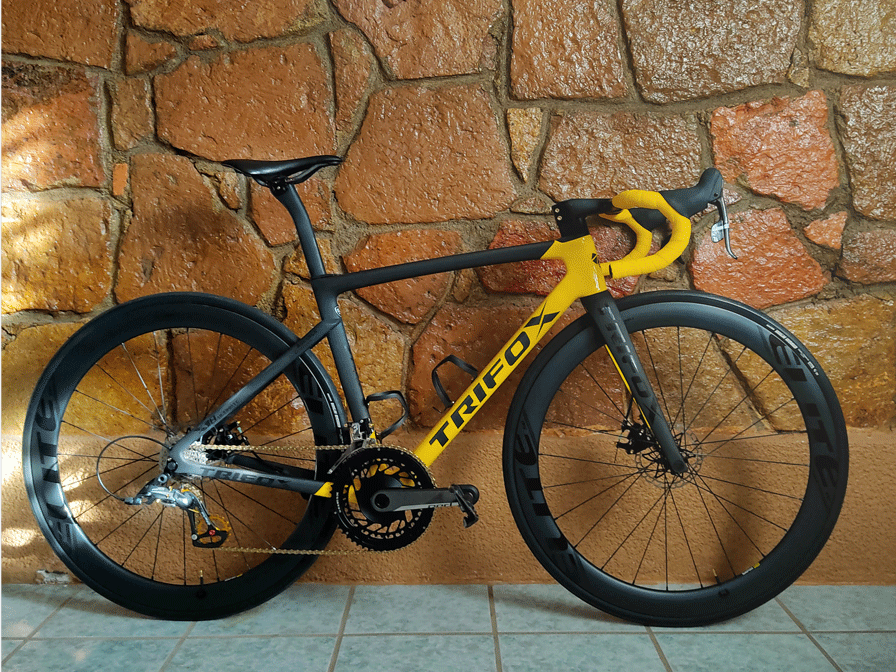
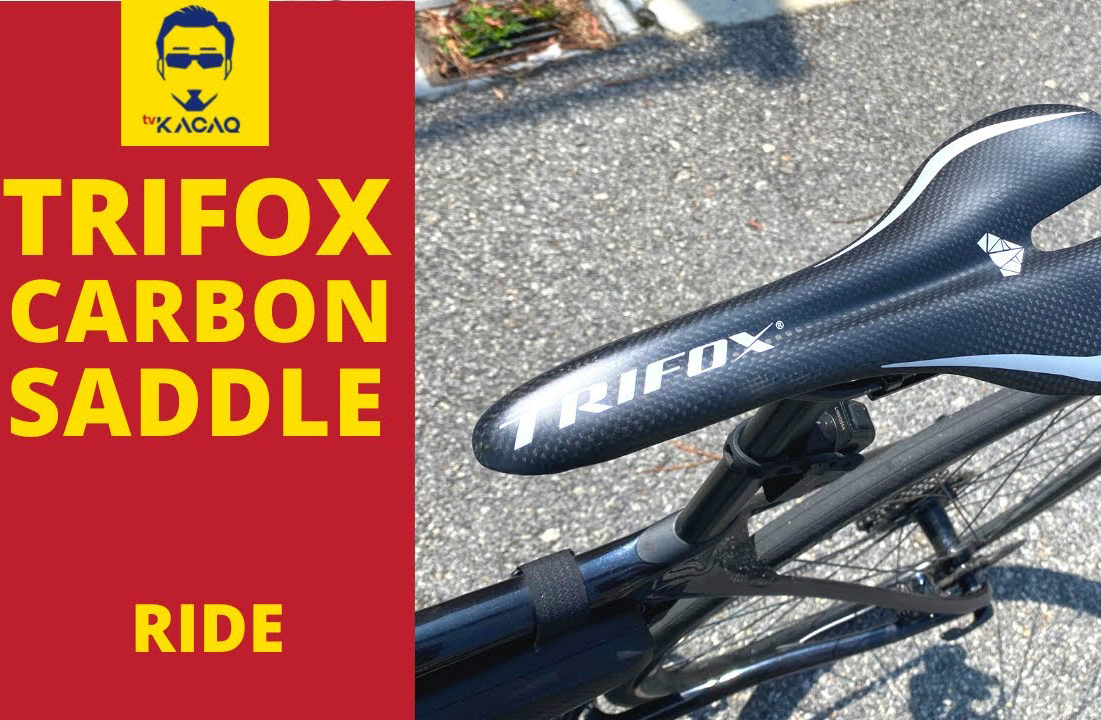
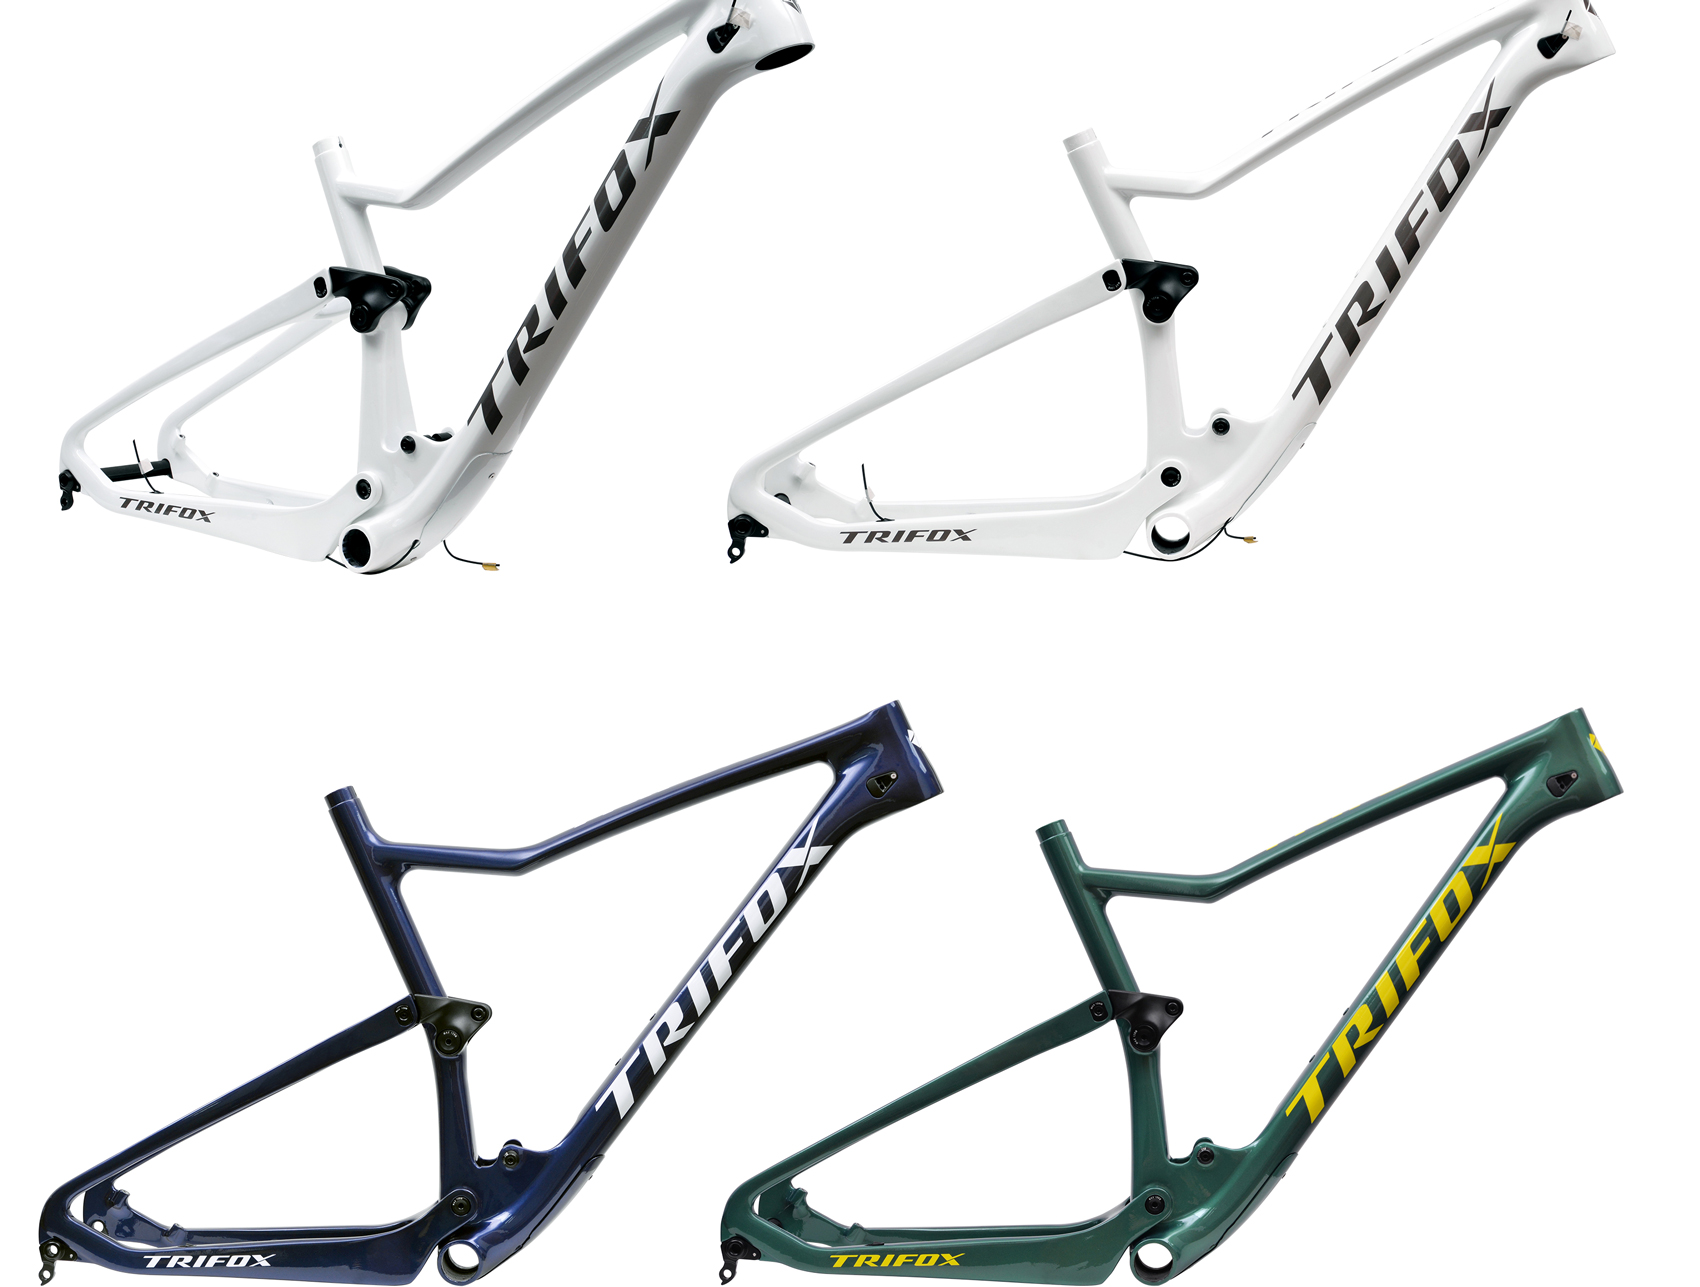
Achieving carbon painting techniques can transform your bike, car, or any other equipment into a sleek and modern masterpiece. Whether you’re looking to refurbish an old item or customize a new one, mastering carbon painting can give your project a professional finish.
Understanding Carbon Painting
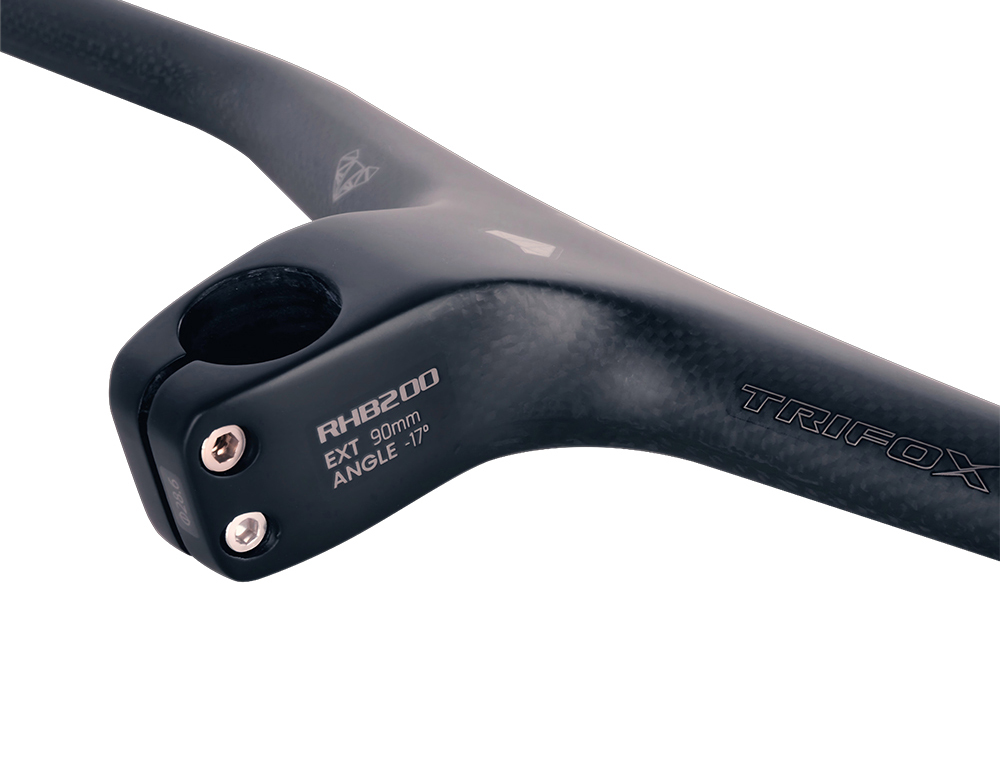
Carbon painting techniques involve creating a faux carbon fiber look using paint. This technique mimics the appearance of carbon fiber, offering a high-tech, stylish finish without the need for actual carbon fiber materials. It’s commonly used on bikes, automotive parts, and various accessories.
Materials Needed
Primer: Ensures proper adhesion of the paint.
Base Coat: Typically black, this serves as the foundation color.
Carbon Fiber Decal Sheet or Mesh: Creates the carbon fiber pattern.
Transparent Top Coat: Protects the paint and adds a glossy finish.
Sandpaper: For prepping the surface (various grits).
Masking Tape and Paper: To protect areas you don’t want painted.
Spray Gun or Aerosol Spray Paint: For applying the primer, base, and top coats.
Protective Gear: Gloves, mask, and goggles.
Step-by-Step Guide
1. Preparation
Clean the Surface: Thoroughly clean the item to remove any dirt, grease, or residue. Use a degreaser if necessary;Sanding: Sand the surface with fine-grit sandpaper (e.g., 400-600 grit) to create a smooth, matte finish. This helps the primer adhere better;Masking: Use masking tape and paper to cover areas you don’t want to be painted.
2. Priming
Apply Primer: Using a spray gun or aerosol can, apply a coat of primer evenly over the surface. Allow it to dry completely;Sand Again: Lightly sand the primed surface with fine-grit sandpaper to smooth out any imperfections. Wipe away dust with a clean cloth.
3. Base Coat Application
Apply Base Coat: Spray the black base coat evenly over the primed surface. Multiple thin coats are better than one heavy coat to avoid runs and drips. Let each coat dry thoroughly before applying the next.
4. Creating the Carbon Fiber Pattern
Position Decal or Mesh: Once the base coat is dry, carefully position the carbon fiber decal sheet or mesh over the surface;Spray Over Mesh: Lightly spray a contrasting color (often silver or dark gray) over the mesh to create the carbon fiber effect. Remove the mesh carefully before the paint dries.
5. Top Coat Application
Apply Top Coat: Once the pattern is set and dry, apply several coats of a clear top coat to protect the paint job and add shine. Allow each coat to dry thoroughly before applying the next.
Final Touches
Curing Time: Let the painted item cure for several days in a dust-free environment to ensure the paint fully hardens;Polishing: After curing, you can polish the surface to enhance the gloss and smoothness further.
Tips for Success
Use Quality Materials: Investing in high-quality paints, primers, and top coats will yield the best results;Practice Patience: Rushing through the steps can lead to imperfections. Take your time with each layer and let it dry completely;Proper Ventilation: Work in a well-ventilated area to avoid inhaling fumes from the paints and solvents.

Conclusion
Mastering carbon painting techniques can give your projects a sleek, professional look that stands out. With careful preparation, precise application, and attention to detail, you can achieve a stunning carbon fiber effect that rivals the real thing.


