


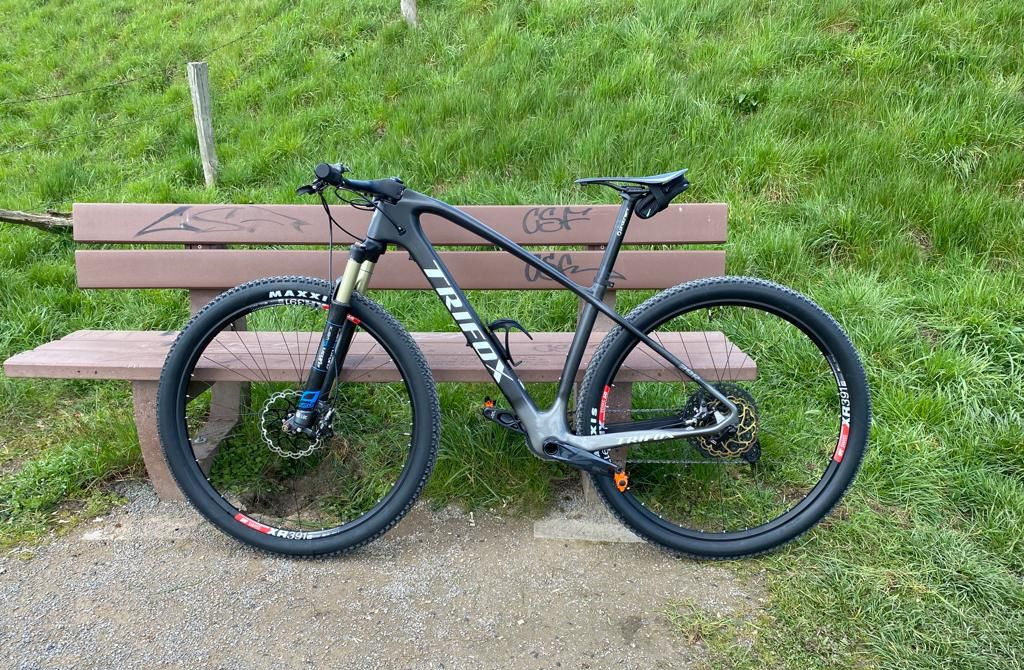
One of the most important factors when it comes to purchasing a mountain bike is choosing the right size. An improperly sized mountain bike can greatly affect your riding experience, from causing discomfort and pain to reducing your control and performance on the trails.In this article, we will take a comprehensive look at the MTB frame size chart and provide recommendations for finding the perfect size for you. We will also discuss important geometric terms and their meanings, as well as the problems that can arise from choosing the wrong size.MTB Frame Size Chart and Recommendations:Mountain bike frames come in a variety of sizes, typically measured in inches or centimeters. The size of the frame refers to the length of the seat tube, which is the part of the frame that holds the seat post and saddle.When it comes to selecting the right size frame, there are several factors to consider, including your height, inseam length, and riding style. Here are some general recommendations based on height:For riders under 5'4", a small frame (14-15 inches) is recommended.For riders between 5'4" and 5'8", a medium frame (15-17 inches) is recommended.For riders between 5'8" and 6'2", a large frame (17-19 inches) is recommended.For riders over 6'2", an extra-large frame (19-21 inches) is recommended.It's important to note that these recommendations should be used as a starting point, and riders should also consider other factors such as their riding style and personal preference.For most mtb frames, you can find the mtb frame size chart in the product details page, such as Carbon MTB Frame MFM100Important Geometric Terms and Their Meanings:When looking at the MTB frame size chart, there are several important geometric terms to be familiar with:Reach: The distance between the bottom bracket (where the pedals attach to the frame) and the center of the head tube (where the fork attaches to the frame). This measurement affects how stretched out or upright you will be on the bike.Stack: The distance between the center of the bottom bracket and the top of the head tube. This measurement affects the height of the handlebars in relation to the saddle.Standover Height: The distance between the ground and the top tube of the frame. This measurement affects how much clearance you have when standing over the bike.Problems Caused by Choosing the Wrong Size:Choosing the wrong size mountain bike frame can cause several problems, including discomfort, pain, and reduced control and performance on the trails. If the frame is too small, it can cause cramped and uncomfortable riding positions, while a frame that is too large can cause difficulty reaching the handlebars and pedals.A poorly fitting mountain bike can also cause pain and discomfort in the back, neck, shoulders, and wrists, as well as numbness or tingling in the hands and fingers. In addition, a wrong size frame can greatly affect your control and performance on the trails, leading to accidents and injuries.Conclusion:In conclusion, choosing the right size mountain bike frame is essential for a comfortable and enjoyable riding experience. By using the MTB frame size chart and considering important geometric terms, riders can find the perfect size for their height, inseam length, and riding style.Remember, it's important to not solely rely on the general recommendations and also to take into account your own physical anatomy and riding preferences. Don't overlook the importance of selecting the correct size as it can save you from a lot of pain, discomfort, and accidents in the long run.
Measuring your mountain bike frame is essential when it comes to determining the correct size for a comfortable and safe ride. A properly sized frame can prevent injuries, improve handling, and enhance your overall mountain biking experience. In this article, we’ll provide you with the step-by-step process on how to measure your mountain bike frame.Step 1: Measure Your HeightStand with your back against a wall and measure your height using a measuring tape or ruler. Make sure to remove your shoes for more accurate results.Step 2: Determine Your Inseam LengthThe inseam length is the distance from the floor to your crotch. Measure this distance while wearing shoes and record the measurement.Step 3: Use Your Height and Inseam Length to Calculate Frame SizeTypically, bike manufacturers provide size charts that recommend the frame size based on your height and inseam length. However, you can also use a simple formula to calculate your frame size manually. Here’s how:Multiply your inseam measurement by 0.67Subtract 3 inches from the resultThe resulting number is your recommended frame sizeFor example, if your inseam length is 30 inches, the calculation would look like this:30 x 0.67 = 20.1 20.1 - 3 = 17.1Therefore, your recommended frame size would be 17.1 inches.Step 4: Check the Standover HeightStandover height refers to the distance between the ground and the top of the bike frame's top tube when the bike is standing upright. To check this measurement, straddle the bike with both feet on the floor and measure the distance between the ground and the top of the top tube. Make sure there is at least an inch of clearance between you and the top tube to ensure a safe and comfortable ride.Step 5: Test Ride the BikeOnce you have calculated the recommended frame size and checked the standover height, it's time to test ride the bike. This step is crucial to determine whether the bike is the correct size for you. Take a short ride and pay attention to how the bike handles and feels. A well-fit bike should feel comfortable to ride and allow for easy handling.ConclusionMeasuring your mountain bike frame may seem like a daunting task at first, but it's essential for a comfortable and safe ride. By following our step-by-step guide, you can ensure that you have a properly sized frame that fits your height, inseam length, and standover height. Remember to test ride the bike to ensure that it feels comfortable and handles well. Happy riding!

Carbon fiber bikes have become increasingly popular in recent years due to their lightweight, stiffness, and performance. However, buying a carbon bike can be a daunting task, especially for those who are new to cycling or unfamiliar with the technology. In this article, we’ll provide a comprehensive guide to help you choose a satisfactory carbon bike that meets your needs and budget.Step 1: Define Your Riding GoalsThe first step in buying a carbon bike is to define your riding goals. Consider factors such as the type of riding you plan to do, your fitness level, and your budget. Are you looking for a racing machine, an endurance bike, or a versatile all-rounder? Knowing your goals and budget will help you narrow down your options and focus on the features that are most important to you.Step 2: Choose the Right FrameThe frame is the heart of any bike, and it’s no different for carbon bikes. When choosing a carbon frame, consider factors such as weight, stiffness, and comfort. Also, consider the geometry of the frame, which can significantly impact the bike’s handling and performance. Finally, consider the manufacturer's reputation and warranty.Step 3: Select the Right ComponentsOnce you’ve chosen your frame, it’s time to select the right components. This includes the drivetrain, brakes, wheels, handlebars, stem, and seat post. Consider factors such as weight, performance, and compatibility with your frame. Remember, the right components can significantly impact the bike’s performance and feel.Step 4: Choose the Right SizeChoosing the right size is critical to ensure comfort, efficiency, and performance. Carbon bikes come in a range of sizes, and it’s important to choose the right one for your body type and riding style. Consider factors such as the length of the top tube, the height of the seat post, and the length of the stem.Step 5: Test Ride and AdjustBefore making a final decision, it’s essential to test ride the bike and make adjustments to ensure a perfect fit. Pay attention to factors such as saddle height, handlebar reach, and cleat position. A good bike shop will help you make these adjustments and ensure that your new carbon bike fits you perfectly.In conclusion, buying a carbon bike can be a daunting task, but by following these steps and taking your time, you can choose a satisfactory carbon bike that meets your needs and budget. Remember, it’s essential to define your riding goals, choose the right frame and components, choose the right size, and test ride and adjust the bike to ensure a perfect fit. With the right bike, you’ll be able to enjoy the benefits of carbon fiber technology and take your cycling performance to the next level.
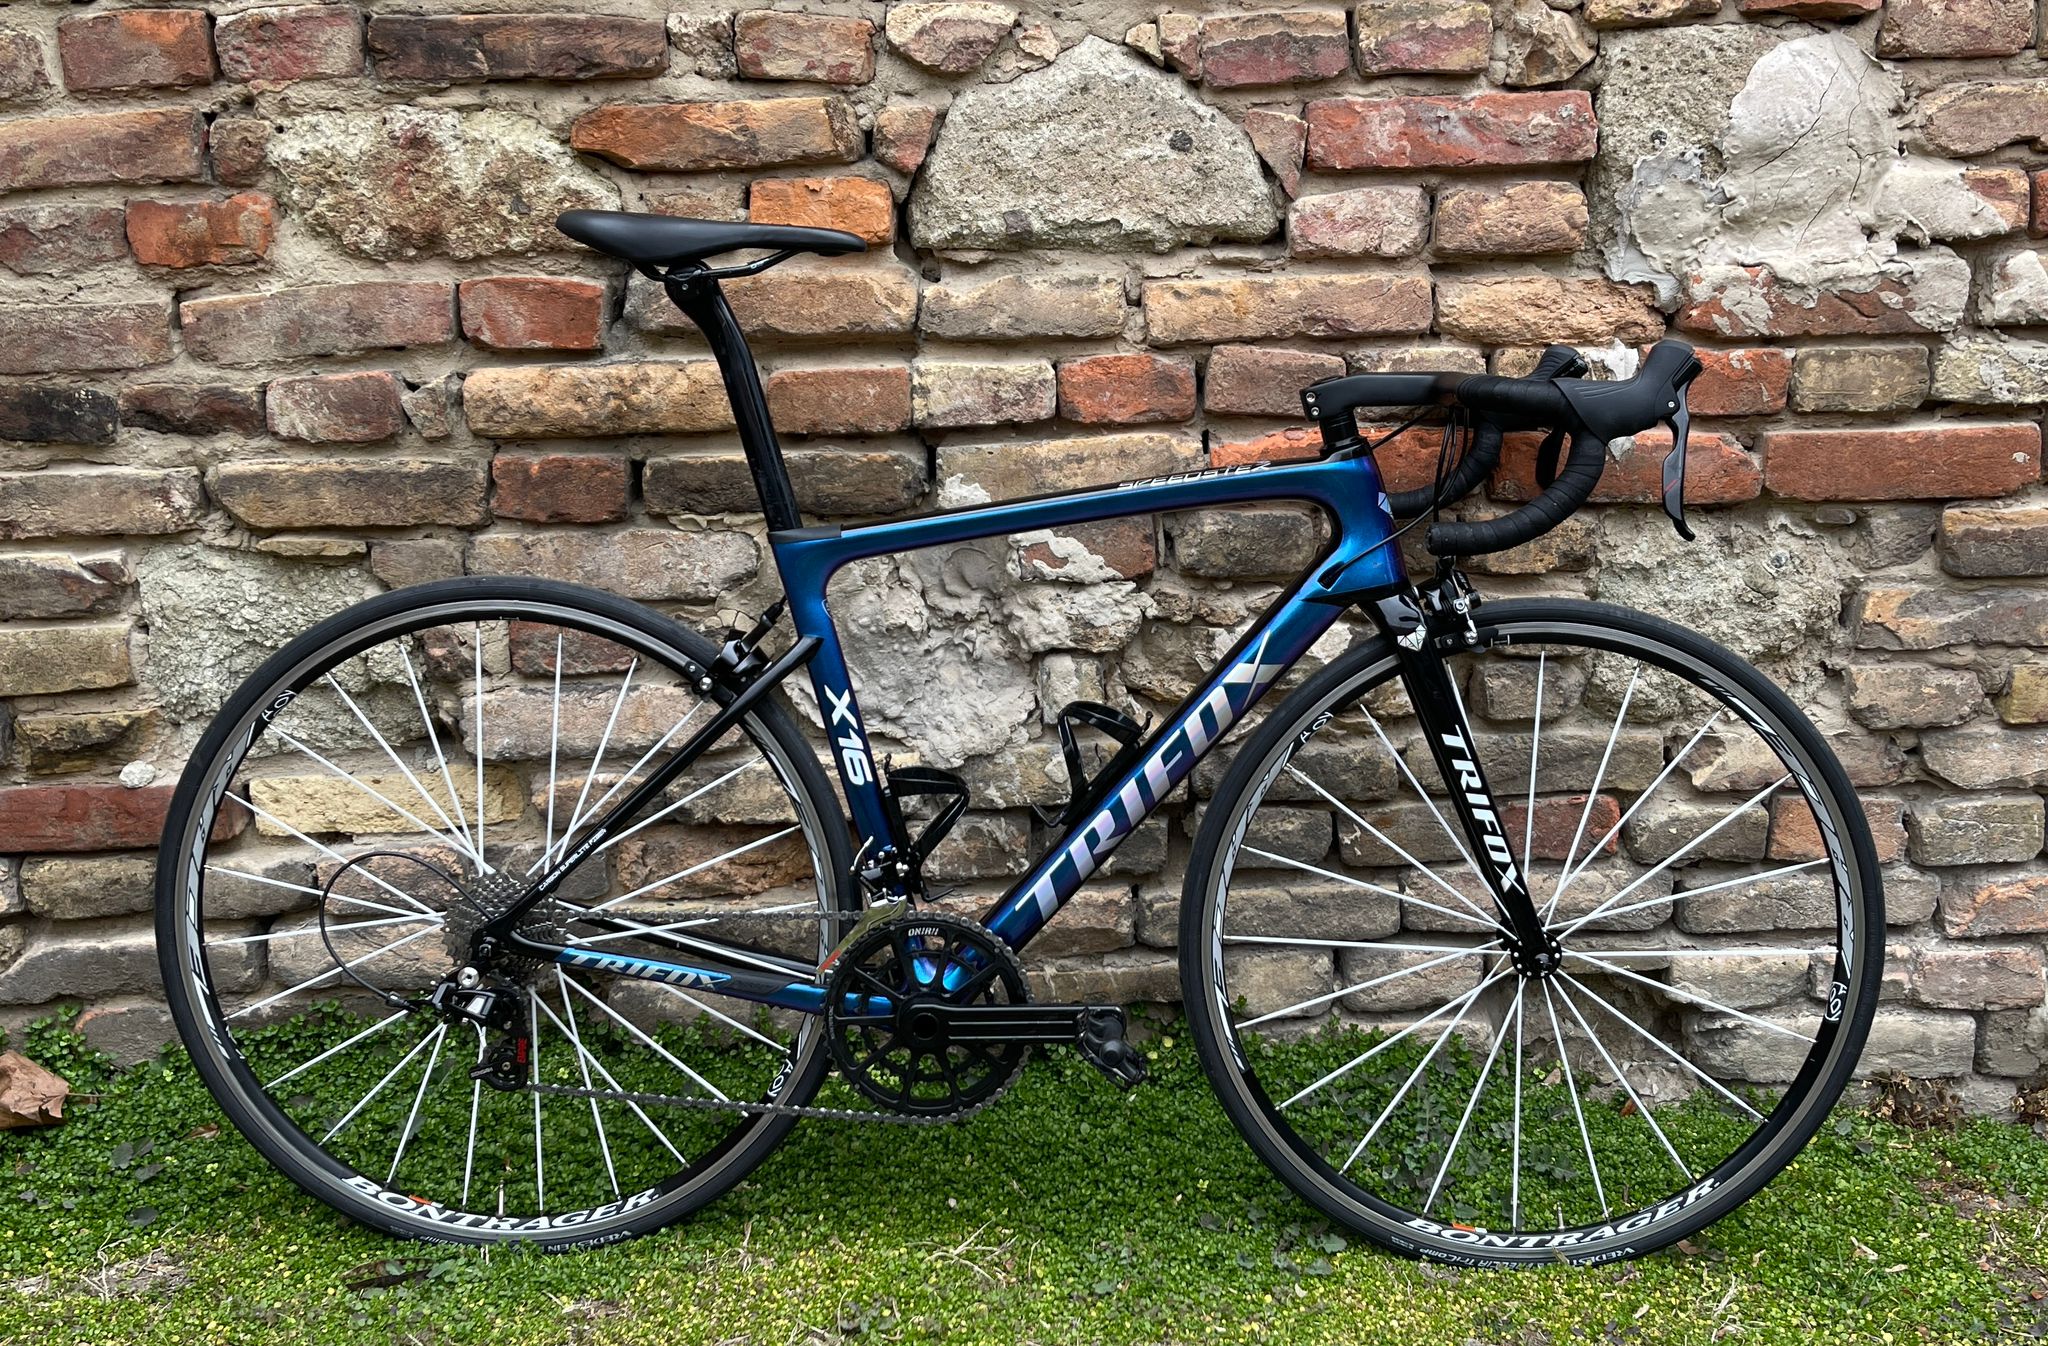
Building a new carbon fiber road bike is an exciting process that requires a significant investment of time and money. However, the end result is a high-performance machine that is tailored to your individual needs and preferences. In this article, we’ll take a closer look at the process of building a new carbon fiber road bike.Step 1: Define Your Goals and BudgetThe first step in building a new carbon fiber road bike is to define your goals and budget. Are you looking for a racing machine, a comfortable endurance bike, or a versatile all-rounder? Once you have a clear idea of what you’re looking for, you can start researching the available options and setting a budget.Step 2: Choose Your FrameThe next step is to choose your frame. Carbon fiber frames are popular for their lightweight and stiff construction, which offers excellent power transfer and responsiveness. When choosing a frame, consider factors such as weight, stiffness, comfort, and aerodynamics. Also, consider the compatibility with your desired components such as brakes, bottom brackets, and wheelsets.Step 3: Select Your ComponentsAfter choosing your frame, it’s time to select your components. The choice of components can significantly impact the performance and feel of your bike. Consider factors such as the type of drivetrain, brakes, wheels, handlebars, stem, and seat post. Each of these components has a variety of options to fit your preferences and budget.Step 4: Assemble Your BikeOnce you have your frame and components, it’s time to assemble your bike. Depending on your level of experience, you may choose to do this yourself or have it done by a professional bike mechanic. Assembling a bike involves installing components such as the headset, bottom bracket, seat post, and wheels. It’s important to take your time and follow the manufacturer's instructions closely to ensure a safe and reliable build.Step 5: Test and AdjustThe final step is to test and adjust your bike. This involves ensuring that everything is properly tightened and adjusted, and taking the time to properly fit the bike to your body. Consider factors such as saddle height, handlebar reach, and cleat position. After this is done, take your bike for a test ride to ensure everything is working as expected.In conclusion, building a new carbon fiber road bike is a rewarding process that allows you to create a high-performance machine tailored to your individual needs and preferences. By following these steps and taking your time, you can create a bike that will provide you with years of enjoyment on the road.


