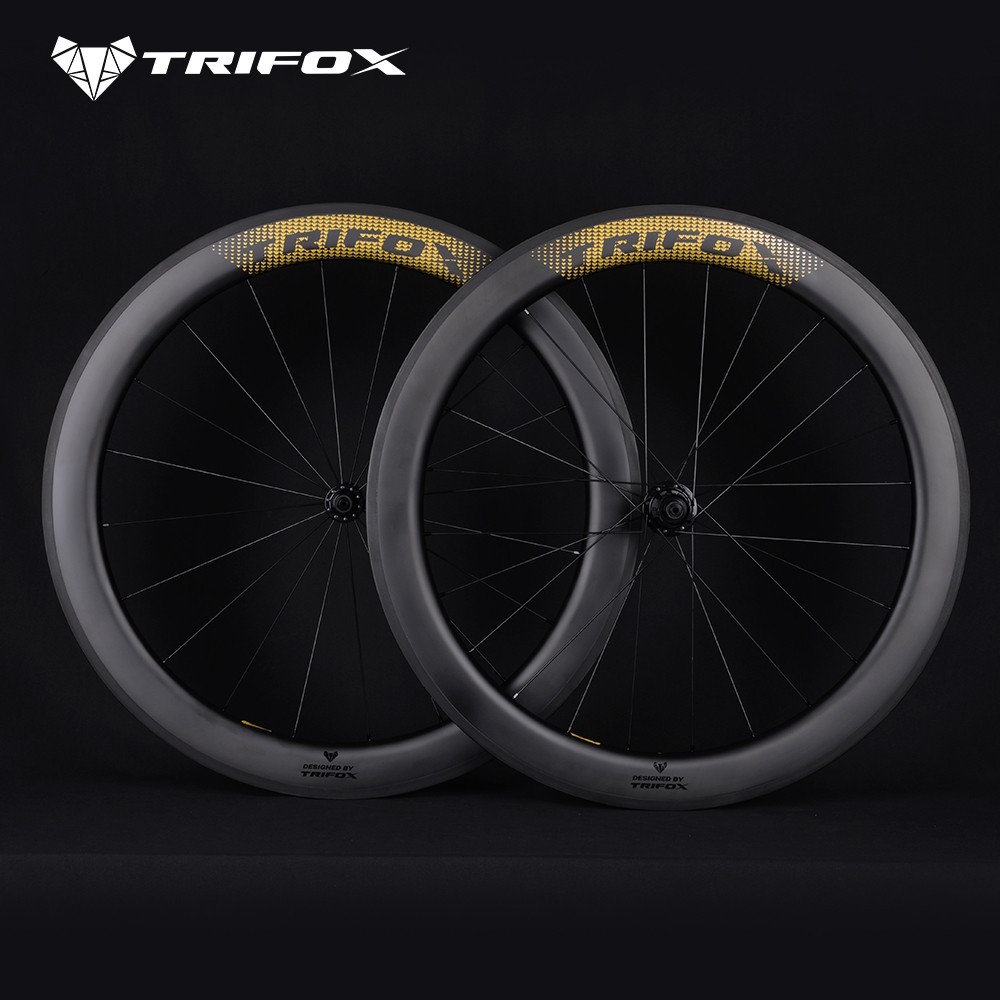
Among the three largest consumables of bicycles (chains, tires, brake pads), Relatively speaking, brake pads are relatively low in consumption and replacement frequency. Compared with chains, tires, and other accessories that are easy to lose money, hardly notice it. After all, the frequency of replacement is not high and the size is small. You can find the problem only if you watch closely. But in my opinion, the brake pads not only play an important role in safety protection but also a window that shows the low-key luxury taste and cycling values. Well, let's find out, there are some particularities in the choice of brake pads.Love and hate between brake pads and rimsWe know that when the brake pads directly contact and act on the rim, physical reactions such as braking, heat generation, and wear will occur. In addition to the primary function and consideration of braking force, we should also consider whether the material of the brake pad and the rim can be perfectly matched.In addition to the heat generation that bike friends are most concerned about, the "frame burning" is caused by friction and heat, and the temperature is too high; the second is wear. Under the action of friction between the brake shoes and the rim, both sides will cause a certain degree of wear. The material, the brake method, and the friction time will affect the degree of wear.The brake pads used in metal rims are rated at 180 degrees Celsius, while the brake pads used in carbon fiber rims are rated at 320 degrees Celsius. Therefore, the brake pad materials for carbon rings, aluminum rings, and ceramic rings are different. Brake pads are not just a piece of brake pads, and you need to change them when you use them up, but make a reasonable choice based on the material of the rim.MaterialThe material of bicycle brake pads is mainly composite rubber and cork. At present, the mainstream brake pads on the market use composite rubber. Due to the requirements of different material rims, the synthetic composition is different, which is better in terms of temperature and wear. Ground protection of the rim. Cork brake pads appear earlier and are extremely difficult to wear. They perform better in temperature control and in humid environments, but generally speaking, the braking force is relatively weak.RecommendBrandTrifoxModelWT18Typelight weight wheelsetStyleQuick ReleaseMaterial100% Carbon FiberSize700CDepth40mm/45mm/50mm/60mmRimFinish: UD / MattDrills: Front:20; Rear:24 HolesWidth: External 25mmBrake SystemV BrakeO.L.DFront 100mm, Rear 130mmFront Hub2 bearingsRear Hub4 bearingsHub materialAluminum AlloyCassette CompatibilityFit for 8/9/10/11 speedSpoke MaterialStainless SteelSpoke BrandPillarNipplePillar alloy nippleTire TypeClincherRider Weight Limit100kgRecommended tire size700C X 25CRecommended tire pressure 90-135psiPackage Content1 Pair Carbon Road Bike Quick Release Wheels (come with hub already)1 pair Cloth Rim Tape (Nylon Rim Tape Clincher, Wheel Strip Inner Tube Pad)Guarantee2 yearsClick here to buy Carbon Road Bike Quick Release Wheelset WT18
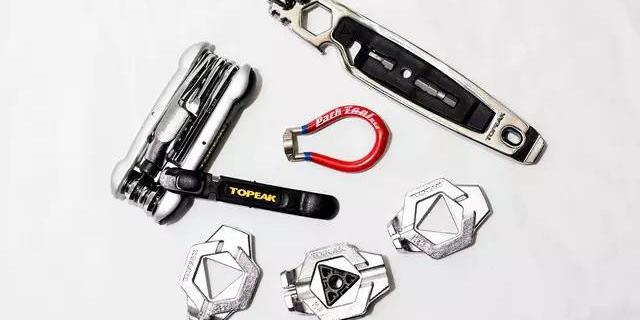
The bike rides through thousands of mountains and rivers. It is inevitable that the road will be rugged. The wheels collide with the bumpy road for a long time. The gradually swaying rim will not only affect the riding feeling but also cause an uneven braking feel. Today, teach you how to do it yourself DIY to correct it to avoid the fate of returning the rim to the original factory due to excessive deflection!Many tools on the market have the function of adjusting the copper head, which can be operated by choosing a coil adjuster (copper head adjuster)Learn about adjusting the rimThe correction of rim deflection is mainly by adjusting the spoke tension on the left and right sides of the rim to balance it to center the rim. ●The direction of adjusting the copper head of the spoke is opposite to that of the lock screw. Counterclockwise is to lock and clockwise to loosen. For example, if the rim yaw position is to the right (the right spoke has greater tension), it depends on whether the spoke at that place is a right spoke or a left spoke. If it is a right spoke, the tension is relaxed clockwise; If it is the left side, tighten it counterclockwise, and at the same time, adjust one spoke (the other spoke) in the opposite direction. ●The adjustment range of the copper head is limited to 1/8 to 1/4 turn each time. After the adjustment, turn the rim to check and fine-tune slowly. Do not adjust too much at one time, which may cause serious consequences.Rim deflection correction!This time the main purpose is to simply improve the cycling and braking feel. The brake pads of the bike are used to make judgments and corrections. For example, turning the bike upside down in the demonstration can be more convenient for operation.1. Adjust the brake stroke knob to make the brake block closer to the rim to facilitate the judgment of the deflection condition.2. Rotate the wheelset, and find out the deflection part by observing the change of the gap when the rim passes the brake block.3. Mark the most severely distorted spoke with a mark, use the adjuster to adjust the spoke, as well as one, spoke before and after it (according to the above-mentioned adjustment technique), then repeat steps 2 and 3, repeat the correction to satisfaction status.After the rim has been rectified, adjust the distance between the brake pads to an appropriate distance, and confirm that the brake is centered, so as to prevent the rim from being distorted due to long-term uneven force.This time, only simple adjustments are made for the left and right deflection of the rim, but the professional rim correction also includes details such as full circle and diagonal tension, or some wheels use special designs with non-square copper heads. If the cyclists need it, It is recommended to ask a professional technician or the original factory to assist in the correction will be more accurate!Click Here to buy carbon fiber road bike wheelset
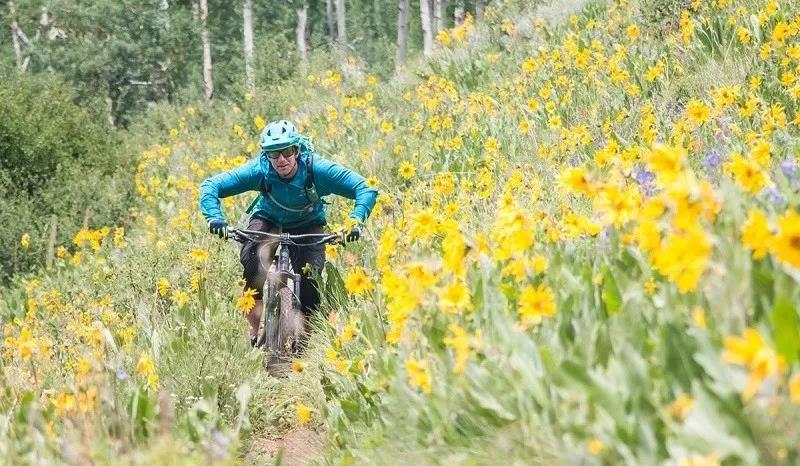
The handlebar is too long? The wrong posture is destroying your shoulders.A longer handlebar means more stable handling, right? Usually, the short answer from riders is "YES".However, for a rider with a height of 1.9 meters, the 800mm long handlebar will give the rider a super comfortable and stable experience during the ride, while effectively maintaining the stability of the shoulder control and smooth turning. Sex. It seems that everything is perfect, but for the majority of ordinary riders, too long a handlebar brings comfort and also tends to hurt your shoulders invisibly.Too long handlebar will reduce the range of physical activityLooking back on the recent mountain cross-country trips, you felt your shoulder pain? If this happens frequently, it's time to re-evaluate the riding posture during off-roading. In the cross-country process, the most stable posture should be a slight external rotation of the humerus (upper arm bone), the elbows are slightly lowered, and the shoulder blades sink backward. It is a bit like the meaning of "sinking shoulders and falling elbows" in traditional Chinese martial arts. Such actions can stabilize the scapula and shoulder joint muscle tissue, and effectively improve and cope with the range of physical activity in the cross-country drop. The opposite movement (elbow, shoulder shrug), usually because the handlebar is too long, the force will not be smooth, the movement will become stiff, which greatly increases the risk of shoulder joint injury.Aaron Gwin's perfect postureLet's take a look at how downhill champion Aaron Gwin maintains the correct cross-country posture on the field-notice that his shoulders are not high, the upper arms are slightly externally rotated, and the positioning of his elbows: elbows and handlebars It's close to the level, and it's not raised high, close to the shoulder. The whole action is very standard! Aaron Gwin has incredible strength, strong back rotator cuff, and scapular muscles, which can help him to accept the rapid impact of a continuous drop and maintain stability.Wrong posture comparisonJust like running, it is difficult to perceive what your movements are like during the riding process, so it is best to take a good friend to rush the mountain, which can help you record the cycling posture. When reviewing the cycling video, you can check whether your elbow and shoulder movements are wrong. Is the elbow raised exaggeratedly and the shoulders raised? If this is the case, you may need to replace it with a shorter handlebar.The key is to find a balance between the position that can effectively control the shoulders and elbows and how comfortable you feel. Remember, the perfect balance point may not be an 800mm long handlebarClick here to buy Carbon Fiber Handlebars
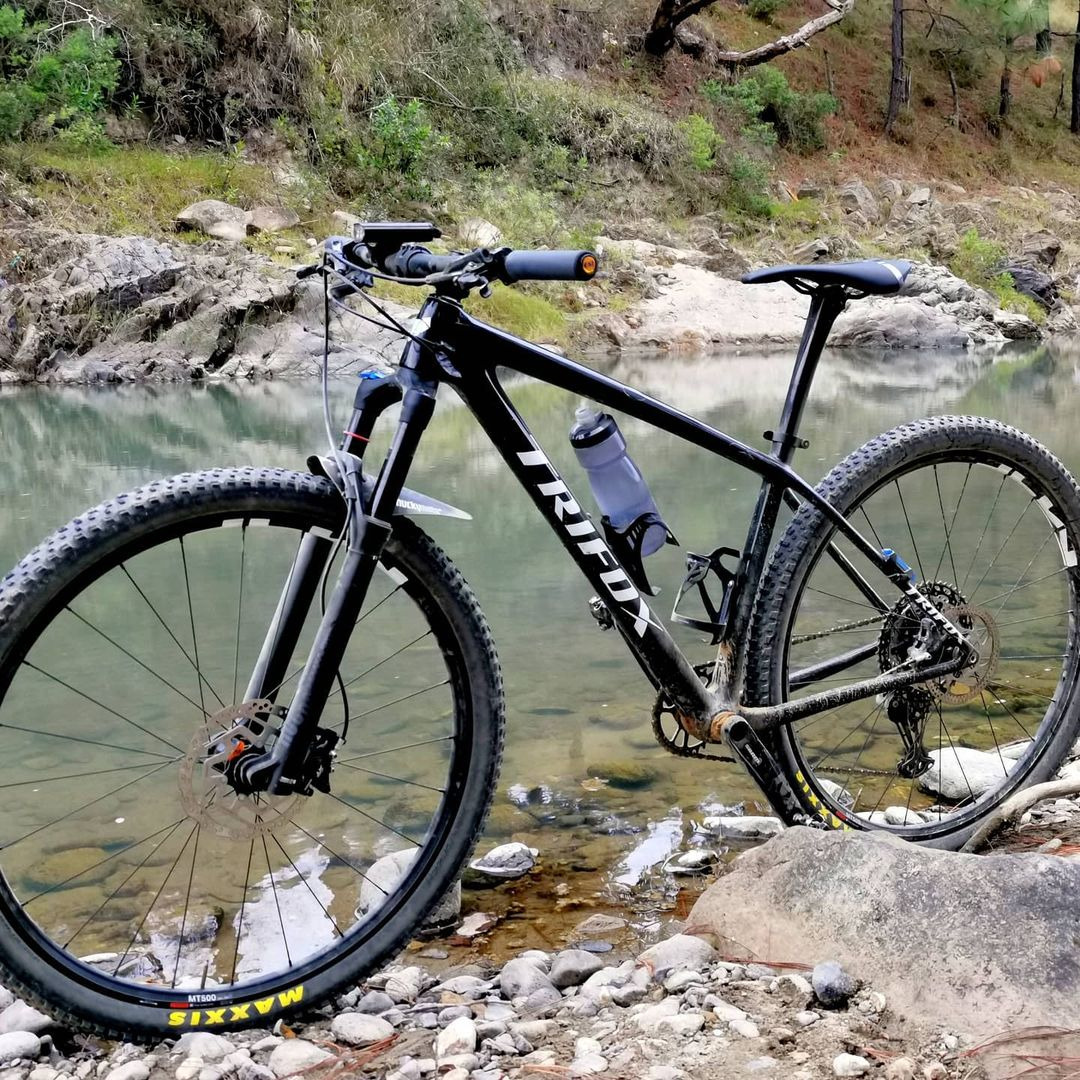
There are few cyclists who don’t like going downhill, and we even see it as a reward. You don’t need to push hard, you can enjoy the speed and the feeling of the wind on your face, which is really cool. Moreover, cycling downhill sounds like a sport that does not require much skill and physical strength, but in fact, this is a misunderstanding. People often understand that downhill, especially mountain roads Poe is a sport that needs to test skills and courage, and it is definitely not a joke.Straight downhillStraight downhill refers to the downhill that is long and straight, and the slope can be seen almost at a glance. It is more common in the northwest region and less common in the south. When riding down this kind of slope, it is often difficult for you to feel the speed. Before you know it, the speed has become very fast. At this time, if there is a problem with the road conditions (such as a pit or a stone), or something distracts you (such as a flying insect or the ringing of a mobile phone), then the probability of crashing is very high. So go straight downhill, you’d better have a stopwatch to monitor your speed, it is recommended to control the speed within 40. Be careful not to stare at the stopwatch, the correct way is to quickly glance at the stopwatch numbers, and then return to the front. At the same time, hold the handlebars tightly with both hands, gently apply the brakes with your fingers (keep the brake pads or pads slightly in contact with the rim or disc), focus on the front and the road, and at the same time look at the sides of the road out of the corners of your eyes. Don’t let anything affect you, let alone let go. Even if a flying insect flies into your face, it’s best to stay still. If there are small pits and pebbles on the road, it is recommended to run over them directly instead of trying to go around them. Even if it is a small animal, it can only be rolled over, because any evasive action at high speed may cause a serious fall car.Panshan Road Downhill As long as you are climbing a mountain, you have to face this kind of road condition. Downhill is often one bend after another, and sometimes there is a sharp bend after a straight road, so the risk index is doubled. The downhill of Panshan Road has higher speed requirements, and it is recommended to control the speed within 30 in the whole process. The types of curves on Panshan Road are U-shaped, V-shaped, S-shaped, Z-shaped, continuous Z, or continuous S. Among them, U-shape and V-shape are turning back, so you should be very careful, turn close to your side, and don’t cut the line for the sake of fast speed, while Z-shape and S-shape continuous curves need to strictly control the speed and not indulge. When the car enters a curve, it needs to slow down in time. Remember to slow down before entering the curve. That is to say, when you see a curve ahead, you must slow down now. Don’t wait until you enter the curve before slowing down. For open roads, do not cross the middle (yellow) line of the road under any circumstances, especially when entering a curve with poor visibility (blocked by mountains or vegetation), be sure to pull over and ride. If you encounter a steep slope (more than 10%), when braking on this road section, you should subconsciously push the handlebars forward, and at the same time move your buttocks to the rear of the seat cushion to shift the center of gravity to the rear wheels to maintain stability. In addition, a stopwatch with a navigation route is recommended. You can predict the size of the curve ahead through the route map in advance, which is more conducive to early speed control.About brakes Although the braking force of disc brakes is better than that of calipers or V brakes, you can’t trust the brakes too much and let go of the speed limit. In an emergency, the disc brakes and calipers are the same. There is no difference between those who can’t stop and those who stop and people fly out. So, don’t create an emergency for yourself, the best way is to control the speed all the way. Some people wonder whether to use the front brake or the rear brake when braking suddenly? Do you want to use the brake (human flesh ABS)? In fact, it’s all overthinking. The moment something happens, you rely on your instinctive reaction. You don’t have time to think about it. You will definitely use your greatest strength to pinch the two brakes at the same time. So, don’t create an emergency for yourself, the best way is to control the speed all the way. In addition, the braking force of disc brakes is not easily affected by weather or terrain, so try to use disc brakes if possible.About the game Although most hill climbing races do not recommend drivers to climb slopes by themselves, or because of the lax management of many races, there are still a large number of people climbing slopes by themselves in many races. This time in a hill climbing race in a well-known scenic spot, although there are motorcycles in front of the speed, in fact, you will not be punished for passing the motorcycle, so the speed is just a decoration. I believe this is also the main reason for the accident. In addition, some races do not close the road, or the road is closed for a period of time. Even if some players are still riding, the road is still open, and the closed players will not be accommodated. This also easily leads to accidents. Ideally, the road should be closed all the way, and the road closure time exceeds the time when the last competitor reaches the top of the mountain (or strictly enforce the containment policy). After the riders reach the top of the mountain, they will be separated from the vehicle immediately, and the bicycles will be transported down the mountain in a unified way, while the players will take the bus down. This race will be truly safe if no one is allowed to climb the slope by himself.
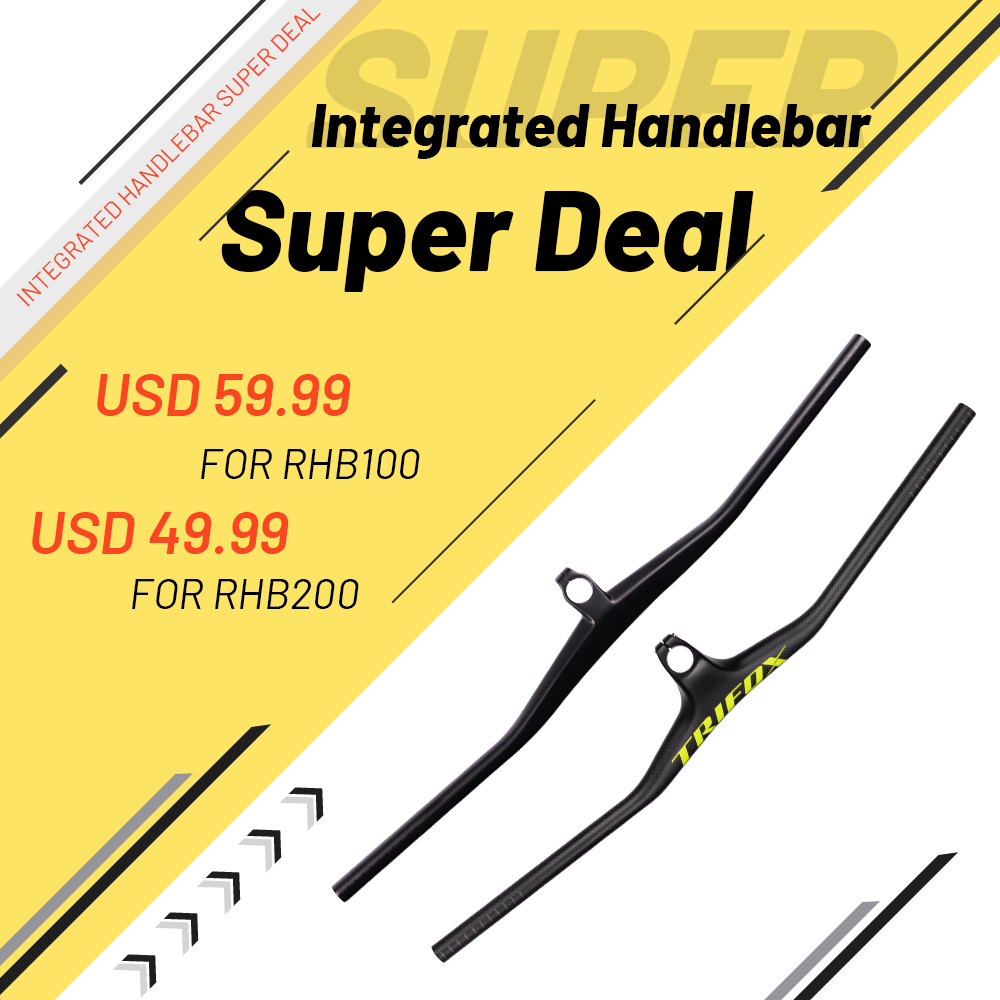
TRIFOX’s MTB Integrated Handlebar Super Sale, Up To 59% OFF Discount.This Carbon Integrated Handlebar RHB200, Suitable for the fork tube with a diameter of 28.6mm. Now it only needs USD$49.9, Random colors reduced by USD$5, is USD$44.99. Another product is the 28.6mm AERO Integrated MTB Handlebar RHB100, One-shaped Integrated Handlebar for Mountain bikes.
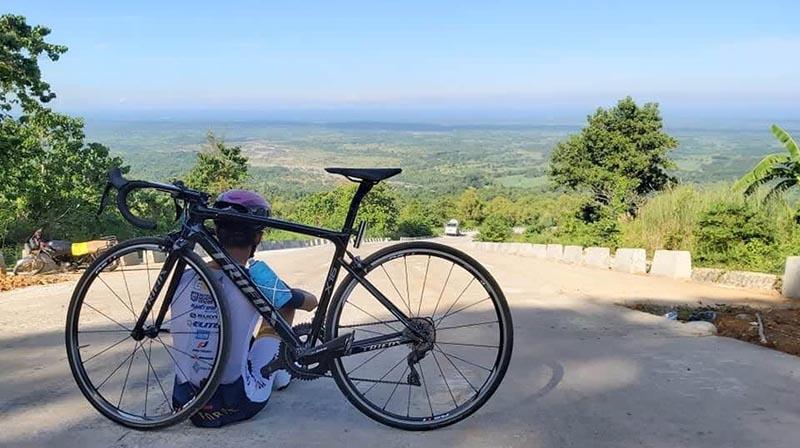
In addition to the saddle, another major component that affects the long-distance road riding experience is the handlebar. Nowadays, handlebar manufacturers and brands provide handlebars of different widths and lengths for various riders. So in the face of a dazzling array of handlebars, how should we choose the one that suits us?This article is about two points to consider when choosing a handlebar, whether you are buying a handlebar for the first time or want to further upgrade your bicycle, these two points are applicable.Choose the length of the handlebarIn the choice of the length of the handlebar, there are mainly two opinions.The first argument is that the long handlebars can better reflect the effect of leverage, allowing the rider to use more power to control the bicycle. And the long handlebars also help to open our chests and breathe easier.The second argument is more inclined to use short handlebars. This argument believes that narrow handlebars can stretch people's shoulders and back, thereby reducing muscle tension and fatigue. Not only that, but the shorter handlebars can also make the aerodynamic effect more prominent.My original handlebar was at least 44cm in length, but now my handlebar is only 42cm in length.I still remember when I was changing the handlebars, I was always worried. First of all, I know that depending on the length of the handlebars, there will be great differences in the feelings of cycling. These differences are reflected in the feeling of support and chest stretch when cycling, and the second is because of my body shape. More than the average rider huge.After changing to the new handlebar, I did feel that the leverage on this shorter new handlebar would be less than that of the old handlebar, but from my overall feelings of support, I got used to it quickly.In terms of comfort, because the new handlebars are shorter, the distance between my hands is closer, so my triceps also need to exert more force. But this may also be the reason why I don't tighten my arms when riding a bike. In short, I have already digested the difference in feeling.In terms of breathing, I didn't obviously feel that these two handlebars of different lengths had any effect on my breathing, so I couldn't make a statement.Eddie Audi, the founder of a bicycle fitness center in Atlanta, said "According to experience, the distance between the two shoulder lock joints should match the length of the handlebar. But this is only the conclusion that most people have concluded. Not necessarily applicable to everyone."(Note: Acromioclavicular joint, referred to as AC joint. It refers to the sliding or planar joint formed by the acromioclavicular articular surface and the outer end of the clavicle, located on the outermost side of the scapula.)Eddie Audi also said, "Short handlebars will make our elbows and forearms tight, which can easily lead to forearm fatigue. But in fact, long handlebars have their own problems."So having said so much, if we want to buy the most suitable handlebars, we still need to try and experience them ourselves.But here, this article can still make a suggestion. That is, if you feel your back and neck muscles tight and tired every time you finish riding, then your handlebars may be too long. But if you feel that your arm muscles are very tired or have chest tightness or nervousness when riding a bike, then the handlebars are too short for you.Selection of handlebar shapeEddie Audi said, "When choosing a flat or round handlebar shape, the size of the hand is a very important determinant. People with larger hands can use a wide and flat handlebar, and people with smaller hands can use it. It is more suitable for thinner handlebars. This is because people who are not big enough need to open their hands when using wide handlebars, which will increase the burden on the forearms. This principle is similar to the grip of a tennis racket."This suggestion is very useful.In my own experience, because I am tall and strong, my hands are also very large, so I always prefer to use wide and flat handlebars. But when I checked my bicycle recently, I suddenly changed myself to a thin round alloy handlebar, and the experience was very poor.
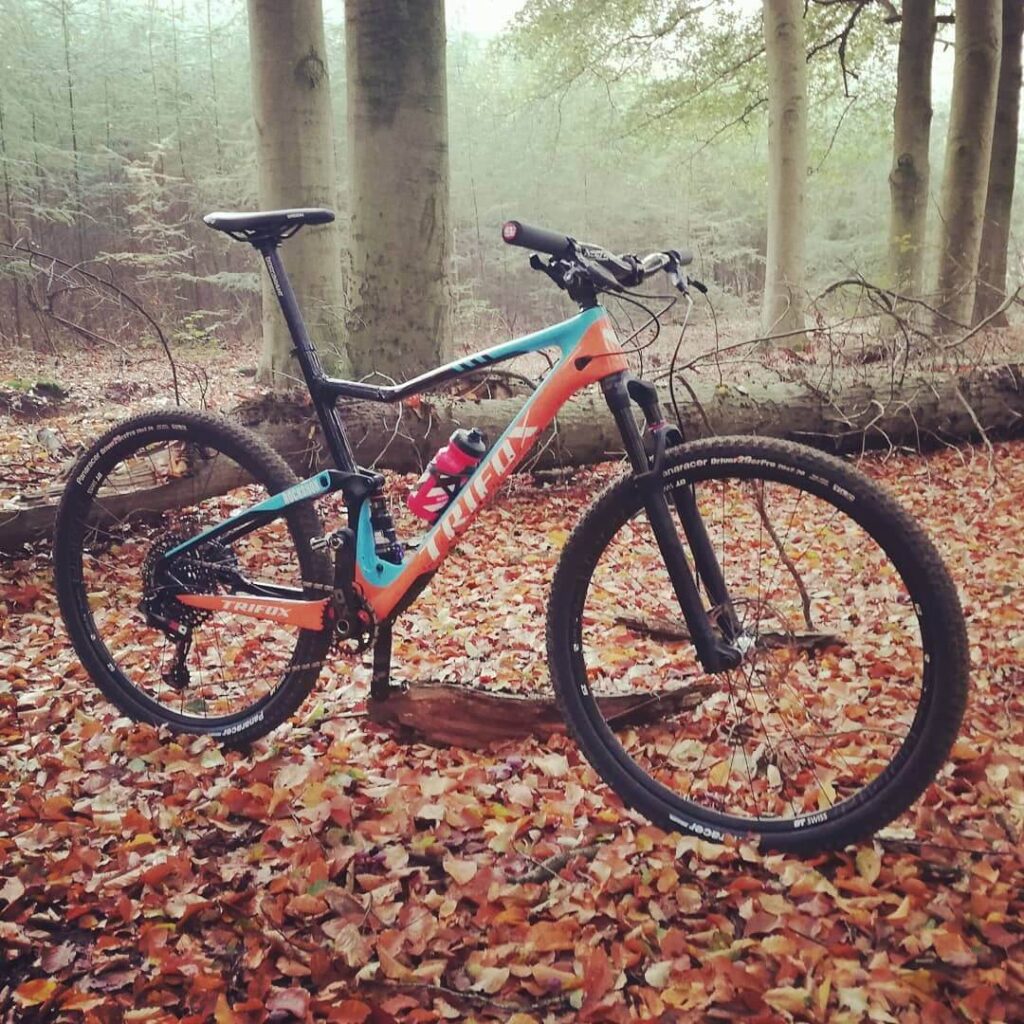
Regardless of whether it is the first bike or the Nth bike, before the start, I will hesitate to assemble a bicycle, hoping to achieve the 100 points in my mind. Let us simply analyze the characteristics of buying a complete bike and assembling a bicycle to help you consume fewer brain cells.Unless you have a tool wall, know the specifications and compatibility of various parts, and have special channels to get cheap parts, it will not be cheap to buy parts separately. If you are newer, you will buy a lot of strange or wrong things, easy to spend wrong money.Compared with buying a complete bike the advantages of assembling the bicycle:Freely decide what grade of parts to be equipped on the bike;Freely decide what purpose the bicycle will be used for;The complete bike can only be exchanged for different models according to different purposes. It is not as free as assembling a bicycle, and the reality may be cruelerThe paint you like does not have the function you want,Have the features you want but don't have the paint you like,The paint you like plus the features you want, but it doesn't have the size you wantAssembling a bike requires a lot of time to search for parts, and after finding them, they will have to assemble them one by one, and buy a new one in case the specifications are wrong. It is also a way to pay the bicycle shop to assemble the bike, but it also takes time and also requires an assembly fee. But it's faster than the time it takes to explore. Inexperienced users may damage the parts by themselves. At this time, it is best to find a professional to help you assemble the bike. Buying the complete bike only needs to spend time looking for the bike, and the rest is handled by the professional technicians of the store, which will save a lot of time overall.A sense of accomplishment: Of course, it is more than buying a complete bike! Seeing his bike taking shape step by step, the sense of accomplishment is indescribable! That feeling is the same as seeing a child raised all the way finally grow up and have a successful career.Skills: If cycling is an important activity in your life, it is best to learn how to assemble a bicycle by yourself, and prepare some equipment for long-term use. If you learn how to build a bicycle, you can better maintain your bike. When you encounter problems during cycling, you can find out and know how to solve them in time. At the same time, when you buy the next bicycle, you can quickly assemble it. When you have your own channels, you can save more money than buying the whole bike!Click Here to buy Carbon Fiber Full Suspension MTB Frame
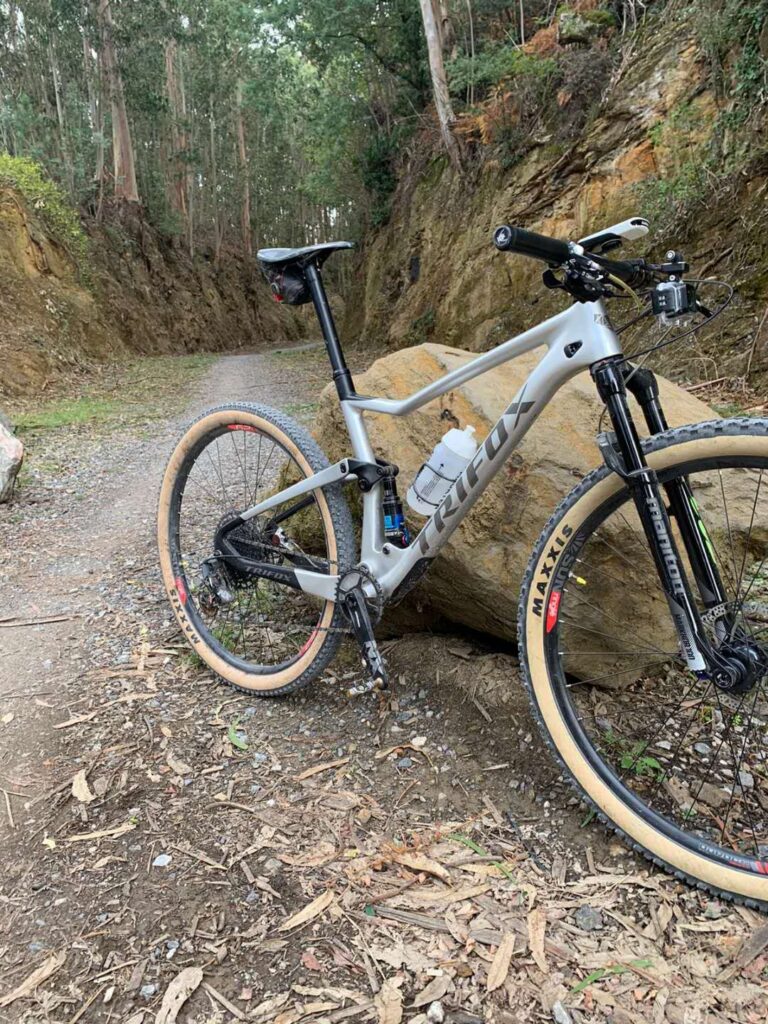
Empecemos contando desde el principio.Llevaba un para de años dándole vueltas a lo de comprarme un cuadro de doble suspensión de carbono y aprovechar las piezas de mi bici.Después de muchas vueltas , mirar páginas webs, comentarios, fotos, foros… estaba entre tres cuadros diferentes y al final me decidí por el Trifox por geometría,estética y por todas las bondades que le presuponía ya que había leído mucho sobre el.El día que me decidí a comprarlo contacté con ellos y mi primera sorpresa fue que el precio había subido, pensé que sería debido a la pa Denia mundial que nos estaba azotando y que con el tiempo bajaría de precio así que se lo pregunté a mi contacto y me dio las explicaciones de porque había subido el precio y que no bajaría.Me lo compre aun pensando que era muy caro, pero con el tiempo me di cuenta que mi pensamiento era erróneo y que su precio está muy bien.Tuve que esperar ya que con el tema de la pa Denis se retrasó un poco el envío pero en cuanto llego y abrí la caja me di cuenta que había hecho una compra maestra.El embalaje era perfecto con mucho mimo para que el cuadro no sufriese ningún desperfecto en el largo viaje.A primera vista el cuadro es muy bonito y el acabado de la pintura Titanium espectacular; me acababa de enamorar.Siguiente paso llevarlo a la tienda a montarlo con todas las piezas de mi otra bici.Aquí surgieron varios problemas sin importancia piezas que no me valían y unos casquillos del amortiguador que no valían para mi amortiguador dt swiss xr carbon así que para no demorarme más compre otro amortiguador que me valdría un rock shox monarch que este si valía perfectamente.Ahora si ya estaba montada , engrasada y esperándome a sacarla a correr, saltar , subir, bajar y todo lo que le mandase hacer.Primera toma de contacto un paseo de 20 km para poner todo a punto altura de sillín , calas este tornillo que se afloja….Y al día siguiente a darle caña.Vía verde de Galdames ( 50 km) llanos para ir a tope y ver lo rápida y rígida que es la bici.Y no me defraudo para nada es un misil, muy rápida y rígida la suspensión se comporta muy bien absorbiendo las pequeñas irregularidades del terreno y no balancea nada , es muy reactiva cuando le pegas un acelerón no le cuesta nada y se nota que la fuerza que imprimes a los pedales va directamente a las ruedas y eso se debe a la rigidez del cuadro, aquí empecé a notar las miradas de otros ciclistas a mi bici, si es que el cuadro es precioso como no va a mirarme la gente.Segunda toma de contacto 70 km por verdadero monte, senderos subidas , bajadas aquí la vamos a probar bien de verdad en todo tipo de terreno.Empezamos saliendo de casa a ritmo tranquilo poniendo mil ojos en toda la bici a ver si todo sigue en orden.Pasamos unos kilómetros por el carril bici sin ningún problema todo está ok.Llegamos al kilómetro 15 y llegamos al monte.Primera subida fuerte muy bacheada y rota y la bici se comporta como hasta ahora rígida, recogiendo todos los baches del terreno y sin perder un ápice de rigidez y trazando todo el camino por donde le mandas.Un leve giro del manillar y la bici para allí que va sin problemas.Subiendo se comporta como una verdadera purasangre , una bici de campeonato del mundo , una bici que si la llevase Niño Schurter ganaría un campeonato del mundo como minimo.Después de unos cuantos de kilómetros seguidos subiendo llegamos a la cima y ahora toca bajar; y como no puede ser de otra manera me encanta bajar con esta bici y es una bici que baja casi mejor que sube.Trazas las curvas de maravilla y absorbe muy bien los baches además al ser un cuadro de carbono se nota que el mismo cuadro absorbe también algo los baches y eso se debe a las capas y formas del carbono que está muy bien estudiando para que así se comporte.Aquí el pequeño peso que tiene de más el cuadro no es un pequeño inconveniente como subiendo sino que es un plus y hace a la bici más rápida y rígida.Así me paso los siguientes 25 km alucinando con el comportamiento, bondades,rigidez, absorción,reactividad … del cuadro.Ahora me doy cuenta que los casi 1000€ que he pagado por el cuadro son pocos € ya que un cuadro de este calibre pero de cualquier otra marca de renombre vale el doble o más.Después de unos cuantos mese y unos cuantos kilómetros de uso sigo pensando lo mismo y lo único que pienso es como se comportaría si estuviese montado con todo lo mejor que hay en el mercado, aunque después me digo que ya sé que se comportaría de 10 ya que sé que hay algún equipo de UCI Wc Mtb que compite con el cuadro bajo el nombre de otra marca.Lo único que creo que falla un poquito el cuadro es el peso aunque estoy seguro que cuando revisen el cuadro usarán mejores fibras para rebajar el peso del cuadro que si lo rebajasen en 200 gr. se quedaría en un peso alucinante.Como digo después de un tiempo con el yo recomiendo totalmente su compra y que cada uno lo monte con las piezas que pueda ( las mejores , las peores, nuevas o de segundamano) porque seguro que quedará una bici muy buena ya que su cuadro se comporta bien en todas las sitiaciones( monte , carretera, sendas , subidas, bajadas..)Haga clic aquí para comprar el cuadro de MTB Trifox de fibra de carbono con doble suspensión

1. FrameTo clean the frame, you can use a rag dipped in water to pour on the parts, so that the mud stuck to the bottom of the frame will easily become soft when exposed to water. At this time, just wipe with a rag to easily remove the mud. It is not advisable to use a high-pressure water gun to wash the sludge on the bicycle, because this cleaning will easily enter the bottom bracket or hub and affect the life of the parts.At this time, you need to pay attention to some places where mud is easy to accumulate on the frame, such as the position of the bottom bracket on the bottom bracket. After washing off the muddy water on the frame with clean water, wipe it with a semi-dry damp cloth. When there is dirt on the frame, just wipe it back and forth several times, and the frame will be clean. Remember not to scrub with detergent and soapy water.2. Wheels, tires, and seat postWhen washing the wheelset, you can choose to use the shoe brush dipped in detergent to brush the sand on the tire. When washing the rim, it is best to use a semi-dry damp cloth and carefully wipe the brake pads on the rim. Simply scrub the spokes. After washing the hub, do not use a high-pressure water gun to remove the detergent. Simply dip it in water and wipe it with a clean cloth. When washing the seat post and the saddle, be careful not to let muddy water flow into the seat tube along the seam of the seat post clamp. Under the saddle, it is often the place where mud and water fly up the most, so you must carefully wipe off the mud with a rag.For tires, you can use a slightly harder brush to remove the sand and dust from the tires for simple maintenance.3. Shifter, front derailleur, and rear derailleurAfter washing the above parts, the next step is to wash the shifter. The shifter is more complicated. There is more butter in the parts for lubrication. When cleaning the shifter, it is best to wipe it gently with a rag, and it will be clean. When washing front and rear derailleurs, you can directly aim the water pipe at the gap between the front and rear derailleurs to rinse with water, so that the mud and sand stuck in the front and rear dials can be washed away. After flushing, you can also use detergent to wash off the oil on the front and rear derailleurs.4. Fork, pedal, brakeIt's easy to clean the front fork and pedals. The pedals only need to be washed off with mud. It is best not to rinse the front fork with water. When scrubbing the inner tube of the front fork, wring out the water on the rag before wiping. Some impurities will remain on the inner tube of the front fork after using it for a period of time. You can gently wipe it off with a cotton swab. It is best to develop a habit of keeping the front fork clean. This is also the most basic maintenance of the front fork. When washing the brake (subject to the V brake), you can directly flush the mud and sand left in the brake with a water pipe to prepare for the next maintenance.For chain wheel, front and rear transmissions, guide wheels, etc., dust and small dirt can be removed with a brush.5. Crankset, freewheel, and chainIn the entire cleaning process, these three accessories may be the dirtiest parts. Because the lubricating oil is left on the accessories, dust is most likely to adhere. We can pour the same dishwashing detergent on the cloth first, and then clean the chainring after dipping it in water. When washing the chainring, try to wash every tooth with a cloth as much as possible. After washing, rinse with water. You will be pleasantly surprised to find that the crankset is as bright as new under the scrubbing with a dishcloth.The next thing to wash is the freewheel. To wash the freewheel, remove the rear wheel for cleaning. First, release the rear brake so that the brake does not pinch the wheel. First, loosen the screws on both sides of the rear wheel quick release. At this time, tap the rear wheel lightly and the wheel will come out.Put the wheels on the ground, wipe them carefully on the freewheel with a rag, pay attention to the position of the rear derailleur when putting the wheels back on the bicycle, and slowly pull the rear derailleur to put the wheels in. This process is very simple, and you can understand it after disassembly and assembly once or twice.


