


If you're a bike lover, I bet you would go to great lengths to customize your bike to fit your style and personality. Painting bike frame is one great way to personalize it. Not only will it give your bike frame a new look, but it also helps to protect the frame from rust and corrosion. However, painting your bike frame can be a daunting task, especially if you have no prior experience. Fear not, because this comprehensive guide will take you step by step through the process and give you the confidence you need to paint your bike frame like a pro. Step 1: Dismantling Your Bike Before you embark on painting bike frame, it's important to dismantle your bike. Dismantling your bike helps to ensure that you paint every angle and corner of the frame. Start by removing the tires, chain, pedals, brake levers, and any other accessories attached to the frame. Cover the relevant parts such as the seat tube, head tube, and bottom bracket to protect them from the spray paint. Step 2: Cleaning Your Bike Cleaning your bike is an essential step before you start painting. Dirt, grease, and other debris can prevent the paint from adhering to the surface. Use a degreaser and a soft-bristled brush to clean the entire frame. Wipe it down with a clean cloth and let it dry completely. Step 3: Sanding Your Bike Frame Sanding the frame is crucial to remove any visible blemishes, scratches, or rust. Use sanding paper with grit ranging from 240-360 and sand the entire frame. Don’t forget the corners and the difficult-to-reach areas. Wipe off the dust and debris with a clean rag. You could consider using a tack cloth to wipe the frame down. Tack cloth will remove any remaining dust particles and ensure that your paintwork is flawless. Step 4: Applying Primer Primer provides the base for the paint to adhere to the surface. Apply the primer evenly using a spray gun or brush. A spray gun will give you a more even coverage; however, if you don’t have one, you can use a brush. Let the primer dry overnight before sanding gently with 400-grit sandpaper. This will give the paint a smooth surface to adhere to. Step 5: Painting the Bike Frame When it comes to spray painting your bike frame, you could choose to use either aerosol cans or a professional spray gun. Regardless of the option you choose, it’s important to spray in a well-ventilated area and wear a mask to protect yourself from inhaling the fumes. Hold the spray can at least six inches away from the frame and spray in a sweeping motion. Allow about 10-15 minutes between coats to ensure even coverage. You might need to apply several coats of paint depending on the color, but take time to make the coats thin to avoid runs in your paint job. Conclusion: Painting your bike frame is a fun and fulfilling project that you can easily accomplish as long as you follow the steps given above carefully. It might take some time and patience to get an excellent result, but the end product is worth the effort. With the right tools and techniques, you can transform your bike into a unique and personalized piece of art. Happy painting!

Durante el fin de semana, los aficionados al ciclismo disfrutaron de una emocionante y llena de acción carrera de bicicletas de carretera. La competición atrajo a ciclistas profesionales y aficionados de todo el país, quienes se enfrentaron en un recorrido desafiante que puso a prueba su resistencia y habilidades técnicas. Entre las principales marcas de bicicletas presentes en la carrera, Trifox Bike demostró una vez más por qué es considerada una de las mejores opciones para corredores de alto nivel.La carrera comenzó temprano en la mañana, con los ciclistas agrupándose en la línea de salida, ansiosos por enfrentarse al exigente recorrido que les esperaba. El clima soleado y una ligera brisa hicieron que las condiciones fueran ideales para una carrera rápida y emocionante. Los espectadores se alinearon a lo largo de la ruta para animar y apoyar a los corredores mientras pasaban.Desde el principio, la competición fue feroz, con los ciclistas luchando por establecer una posición en el pelotón. En las primeras etapas de la carrera, varios grupos intentaron escapar, pero el pelotón trabajó unido para perseguirlos y asegurarse de que nadie ganara una ventaja significativa.Entre los corredores, varios participantes montaban bicicletas Trifox Bike, conocidas por su construcción en carbono ligero y alta calidad. Estas bicicletas permiten a los ciclistas alcanzar velocidades impresionantes y mantener un rendimiento constante a lo largo de la carrera. Los modelos Trifox Bike, como el carbon frame road bike X16, destacaron en particular por su aerodinámica y capacidad para enfrentarse a las subidas y descensos del recorrido.A medida que avanzaba la carrera, los ciclistas comenzaron a sentir el cansancio en sus piernas, y las diferencias entre ellos se hicieron más evidentes. Fue entonces cuando los corredores que montaban bicicletas Trifox Bike comenzaron a destacar en el grupo. Gracias a la rigidez y estabilidad de sus cuadros de carbono, estos corredores pudieron mantener un ritmo constante y aprovechar al máximo su energía en los momentos cruciales de la competición.En la última parte de la carrera, un grupo selecto de ciclistas logró separarse del pelotón y luchar por la victoria. Entre ellos, dos corredores con bicicletas Trifox Bike demostraron su habilidad y resistencia, manteniendo una ventaja sobre sus competidores hasta los últimos kilómetros.La batalla por el primer lugar fue intensa, con los dos ciclistas de Trifox Bike intercambiando posiciones varias veces en los últimos metros. Al final, fue el corredor montado en un Trifox X16 quien cruzó la línea de meta en primer lugar. La emocionante final dejó a los espectadores y participantes impresionados y ansiosos por la próxima edición de esta increíble carrera.Esta competición de ciclismo de carretera demostró, una vez más, el papel crucial que desempeña el equipo en el éxito de un corredor. Las bicicletas Trifox Bike, con su calidad y rendimiento excepcionales, permitieron a los ciclistas destacar en la carrera y luchar por la victoria hasta el final. Sin duda, Trifox Bike continuará siendo una marca líder en el mundo del ciclismo de carretera y seguirá impulsando a los corredores hacia el éxito en futuras competiciones.
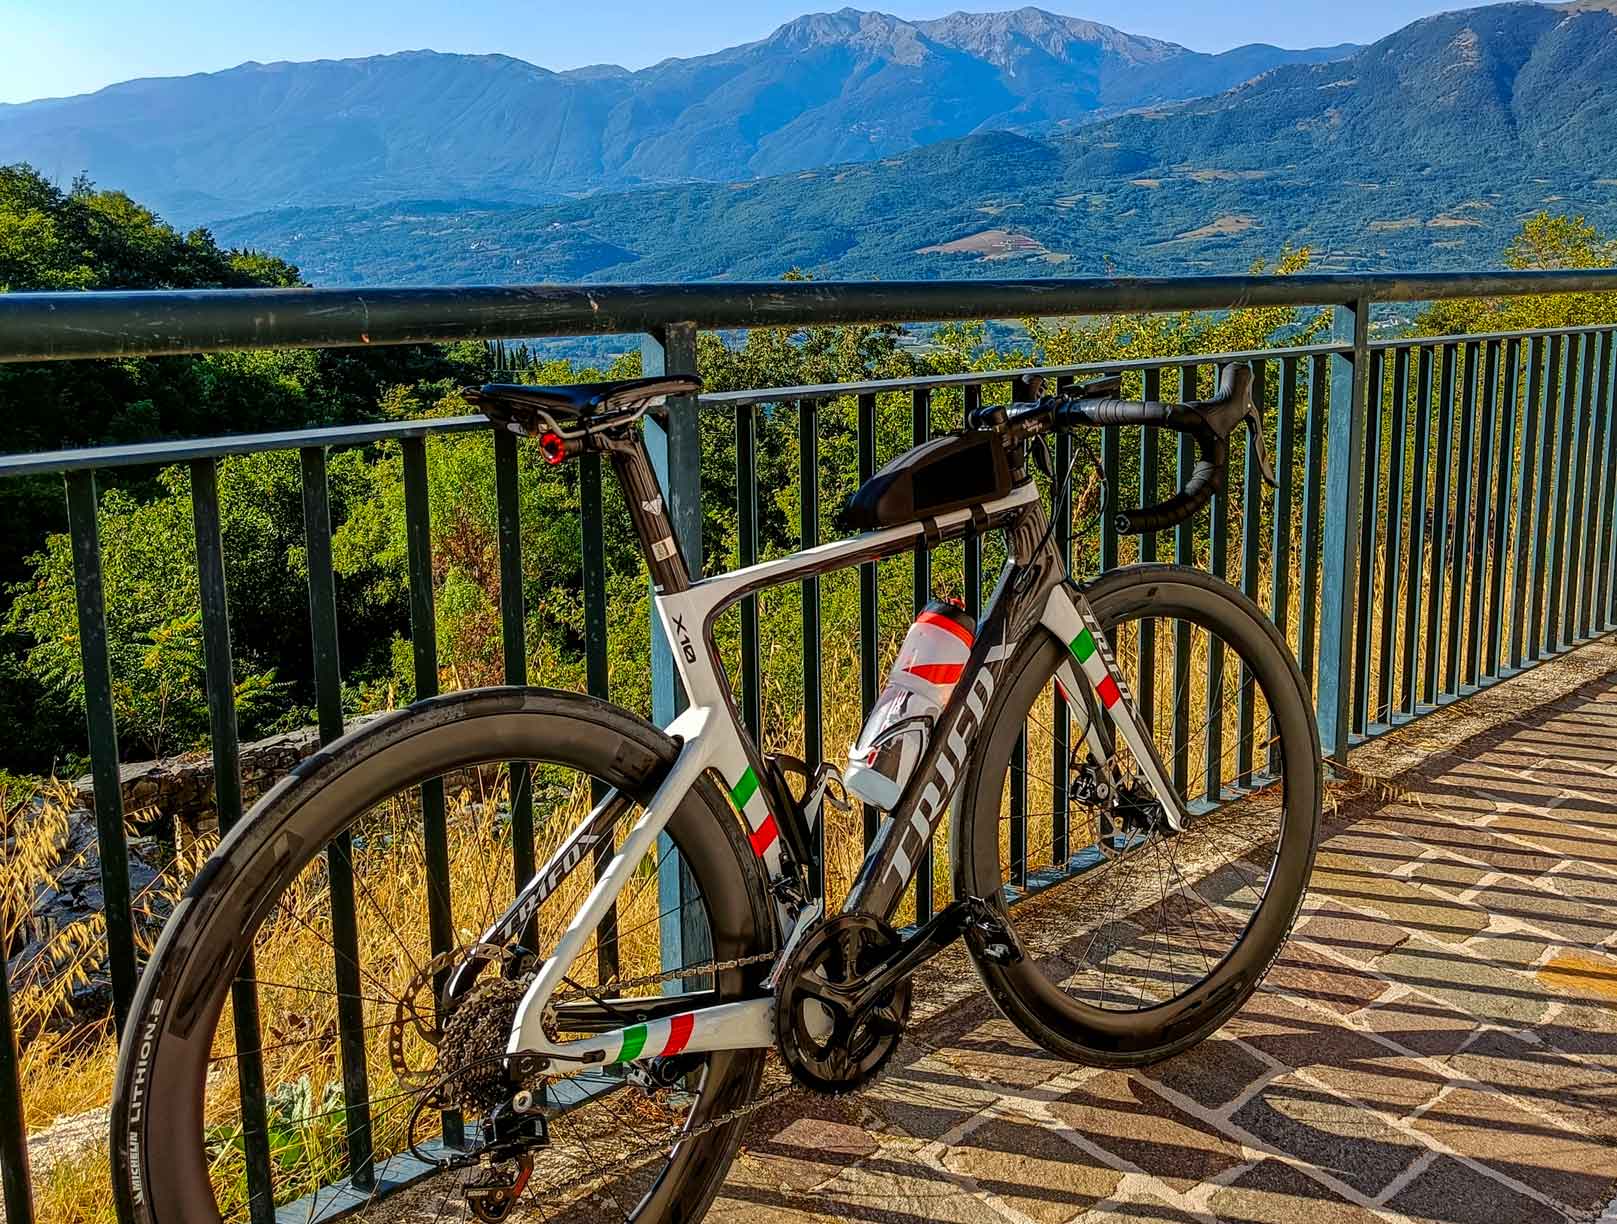
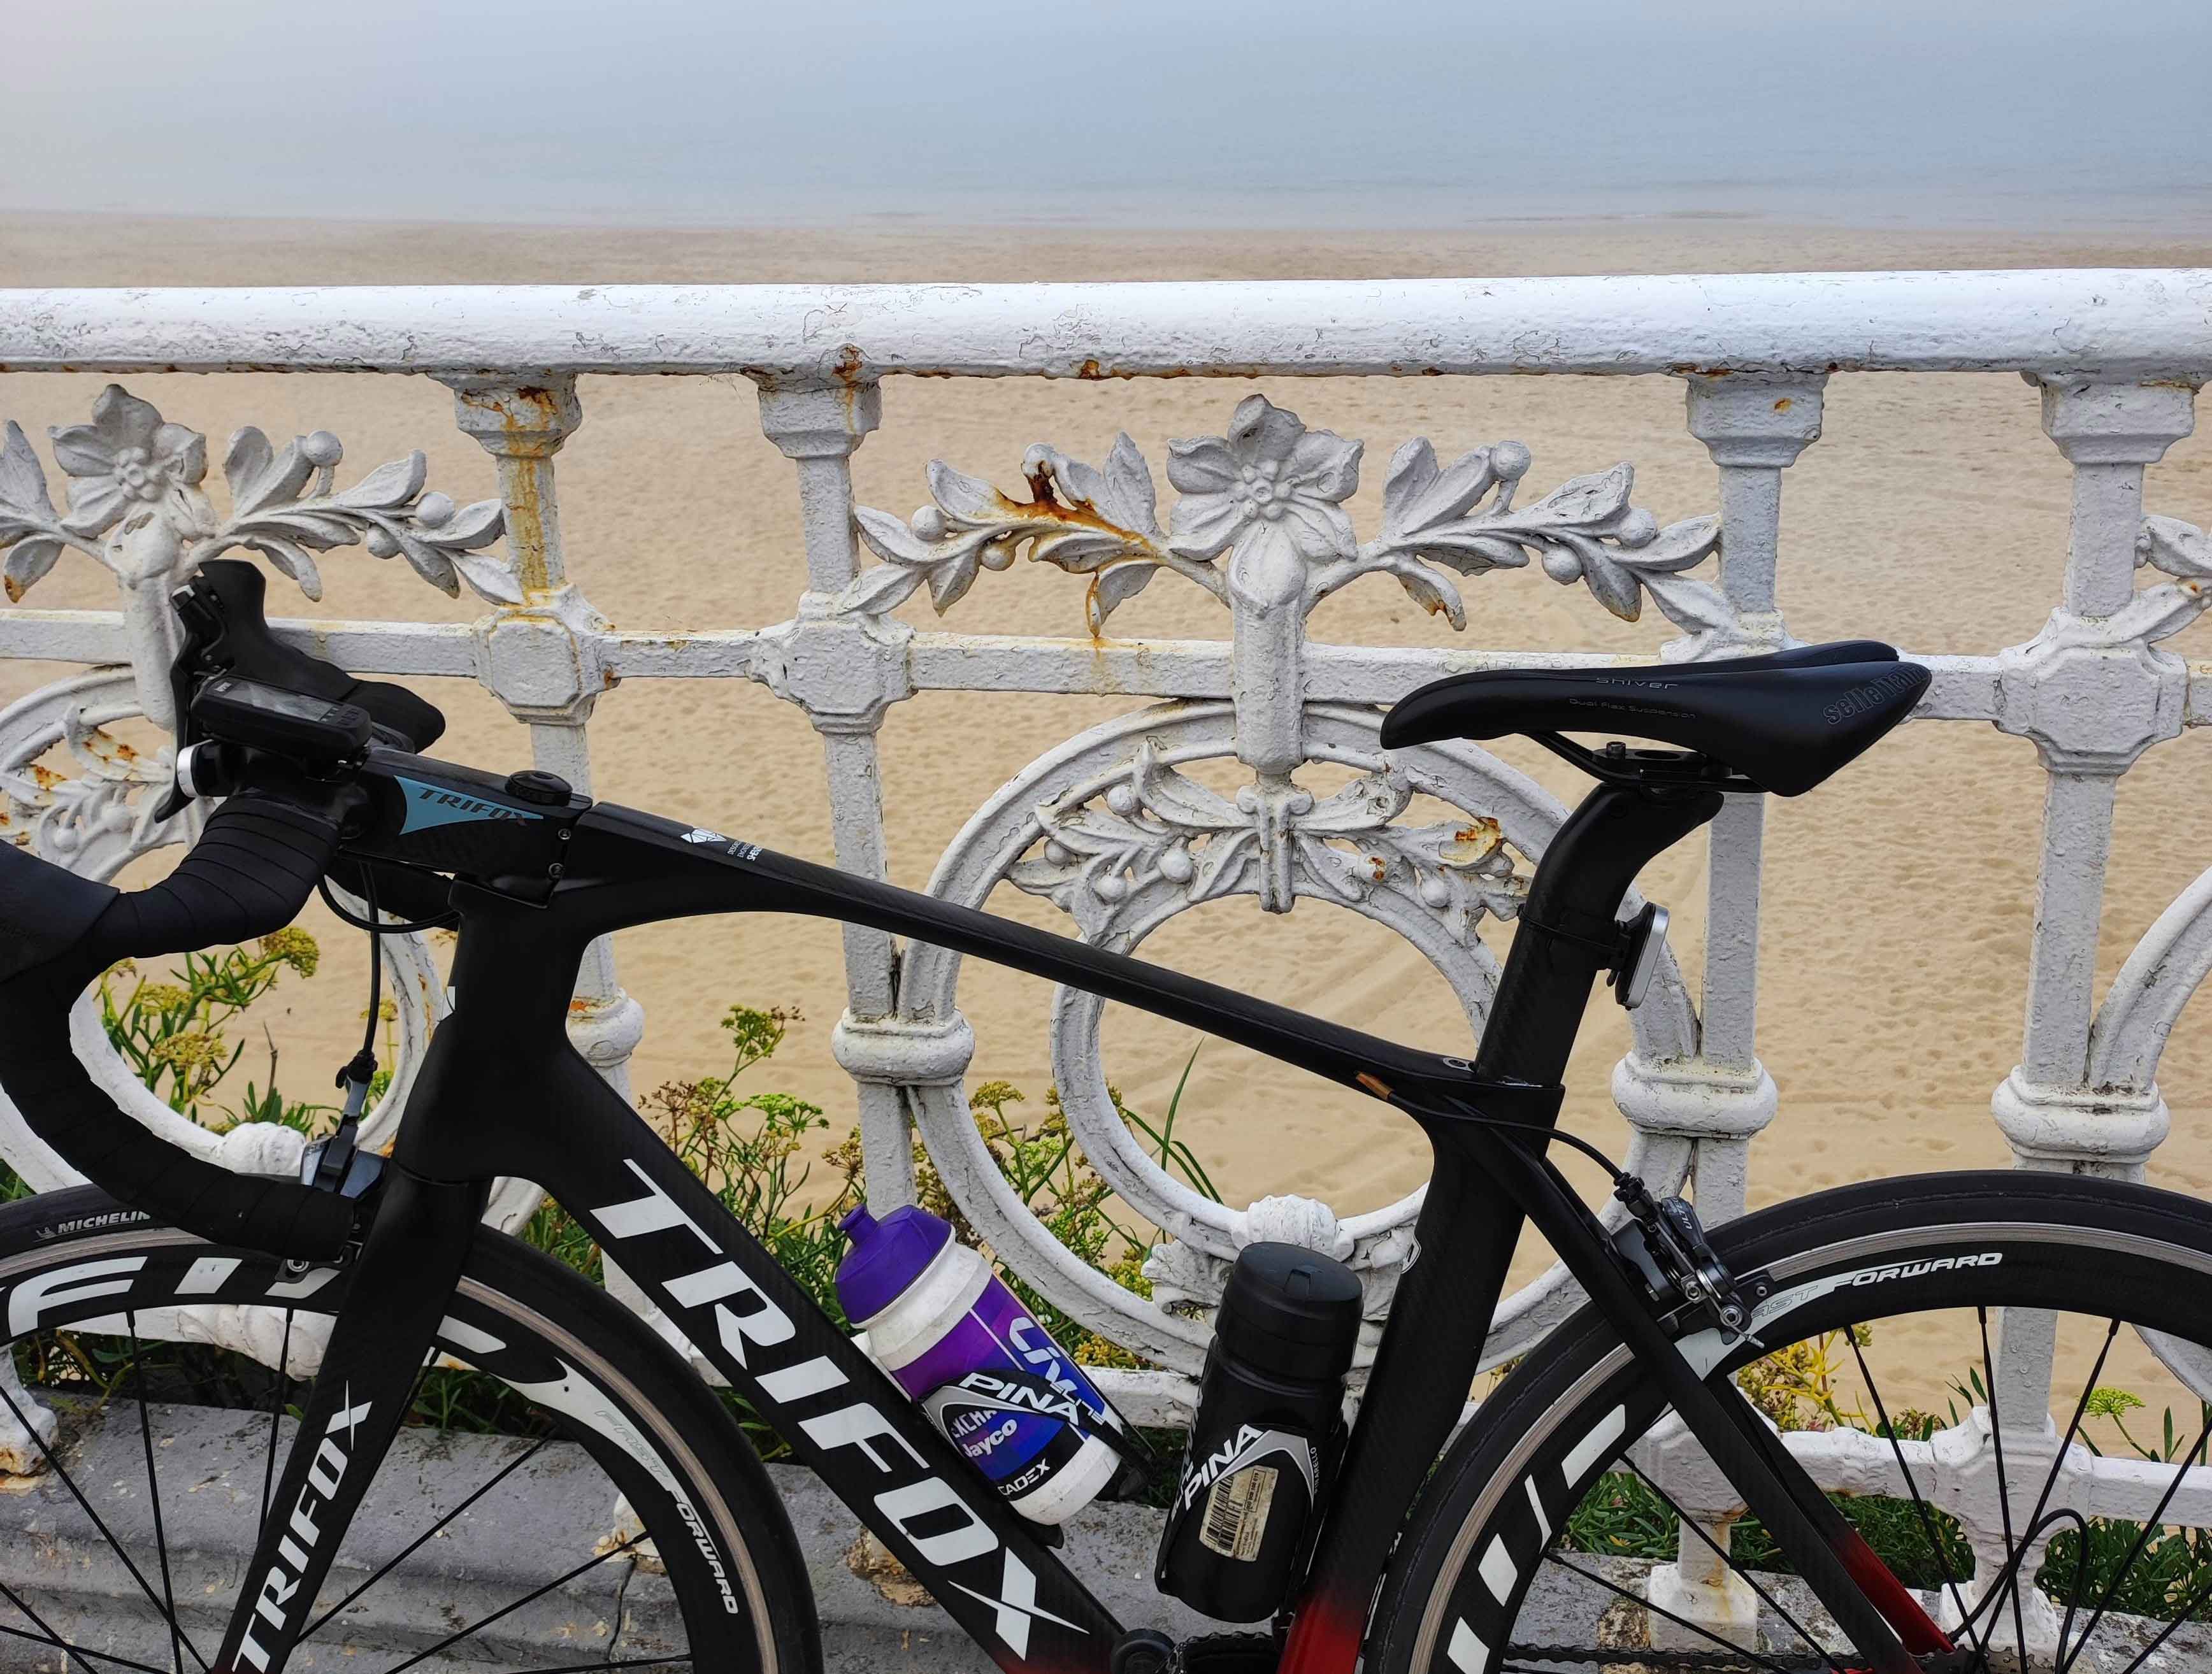
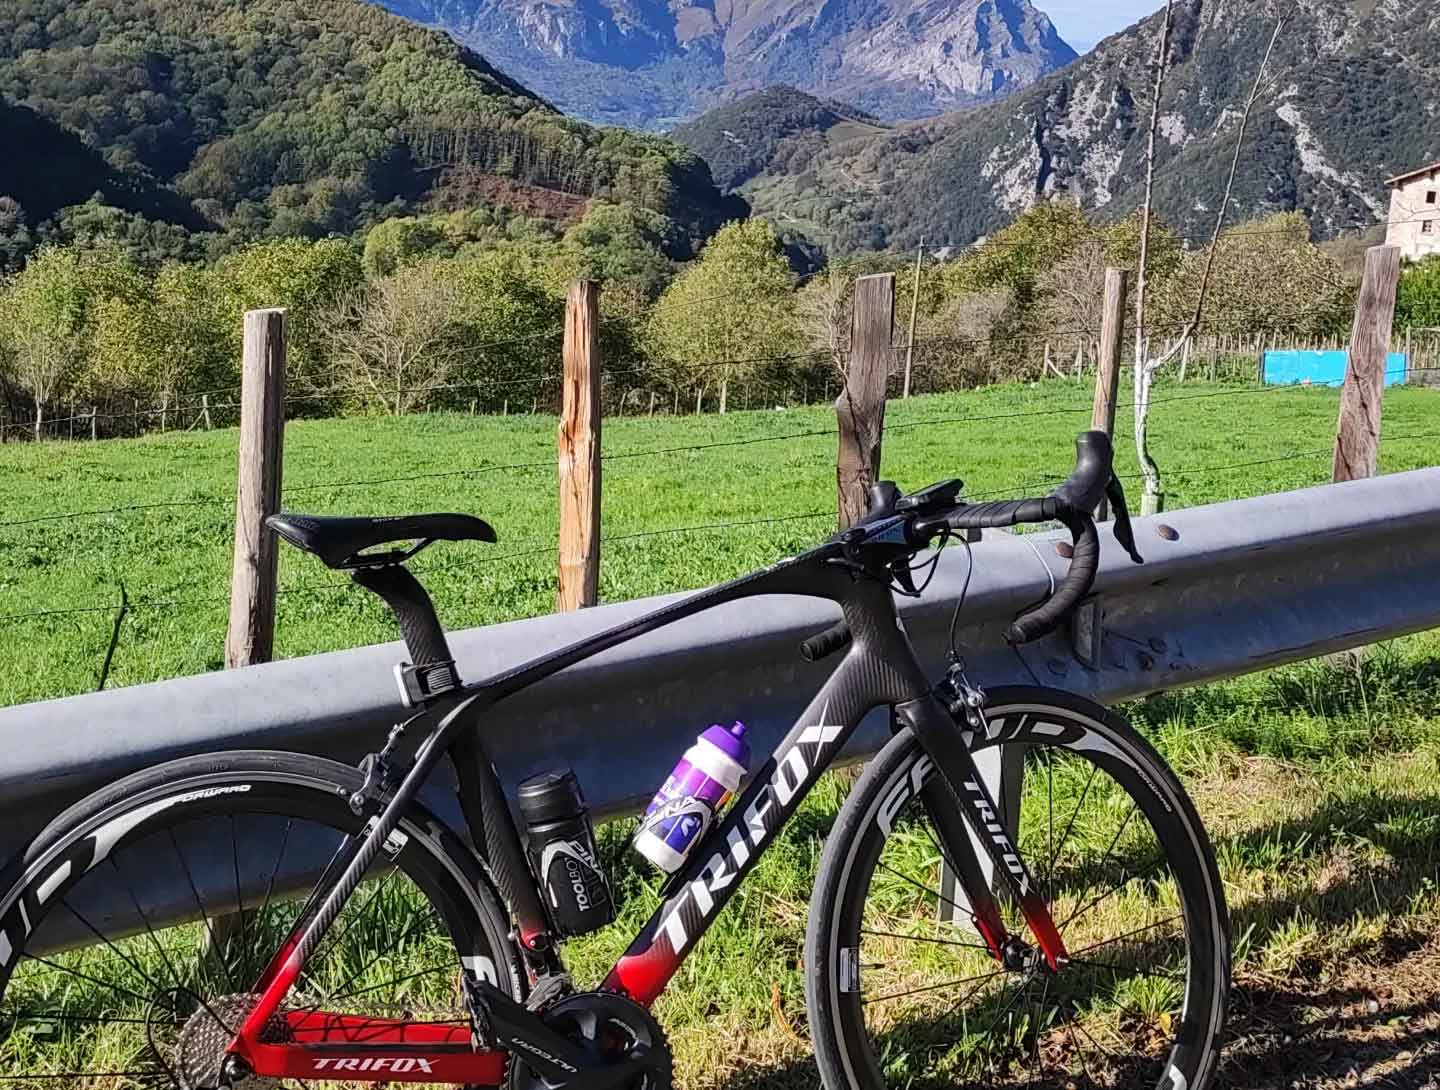
Whether you are an experienced cyclist or just starting out, choosing the right road bike frameset is essential for a smooth and comfortable ride. The Trifox Lightweight Carbon Fiber Road Bike Frameset X16QR is an excellent choice for anyone looking for a high-performance frame that is light, stiff, and perfect for long-distance rides. In this blog post, we are going to take a closer look at the Trifox X16QR and explore why it might just be the ultimate frameset for your next bike. 1. The Benefits of Carbon Fiber: Carbon fiber has become the material of choice for many high-end road bike frames, and for good reason. Carbon fiber is incredibly strong and lightweight, making it ideal for creating frames that are both stiff and responsive while still remaining comfortable. The Trifox X16QR is constructed using high-quality carbon fiber, making it a top contender among other framesets in the market. 2. The Design: The Trifox X16QR features a sleek and modern design, with a tapered head tube and internal cable routing for a clean and streamlined look. It is also incredibly aerodynamic, which means you can ride faster while expending less energy. The frameset is available in two colors: matte black and glossy red, so you can choose the one that best fits your style. 3. Lightweight and Stiff: For any serious cyclist, having a lightweight and stiff frameset is a must. The Trifox X16QR is designed to be both, weighing in at just 980 grams (Size 52cm) while still maintaining stiffness for efficient power transfer from your legs to the pedals. The carbon fiber construction also helps to reduce vibrations and road noise, making for a smoother ride. 4. Easy to Build: One of the best things about the Trifox X16QR is that it is incredibly easy to build. The frameset is compatible with most standard road bike components, so there is no need to worry about compatibility issues. You can easily build the bike yourself or take it to a professional bike shop for assembly. 5. Affordable Option: While the Trifox X16QR is certainly a high-end frameset, it is still more affordable than many other top-of-the-line options in the market. This makes it a great choice for anyone looking to upgrade their ride without breaking the bank. With all of the benefits that come with it, the Trifox X16QR is definitely worth the investment. Conclusion: If you're in the market for a new frameset for your road bike, the Trifox Lightweight Carbon Fiber Road Bike Frameset X16QR is certainly worth considering. With its sleek design, lightweight construction, and affordability, it is a top contender among other high-end framesets in the market. Upgrade your ride today and enjoy all the benefits this frameset has to offer.
Choosing the right bike frame size is a crucial step in buying a road bike. A well-fitting bike will not only give you a comfortable ride, but it will also help you to better control and handle your bike. Moreover, it can prevent injuries and improve your overall performance on the road. So, how do you choose the right bike frame size for your road bike? 1. Measure your inseam: To determine the right bike frame size for you, start by measuring your inseam. This measurement will help you determine the correct frame size. To measure your inseam, stand with your back against a wall, and your feet about six inches apart. Then, place a book between your legs and raise it up until it touches your groin. Measure the distance between the floor and the top of the book. 2. Use a bike sizing chart: Once you have your inseam measurement, use a bike sizing chart to determine the appropriate bike size for you. Bike sizing charts are available online, and they differ depending on the manufacturer. However, most of them use the inseam measurement as the main factor in determining frame size. So, find a bike sizing chart that matches your current inseam measurement, and it should recommend a suitable frame size. 3. Test ride different sizes: Although bike sizing charts can give you a good idea of which frame size to choose, it's important to test-ride different sizes to see which one feels most comfortable. Many bike shops will allow you to test ride different bike sizes before making a purchase. Take advantage of this opportunity to find a bike that suits you the best. 4. Consider your riding style: Your riding style may also affect the frame size you choose. If you're a recreational rider, you may prefer a bike with a more relaxed geometry, meaning a longer wheelbase and a shorter top tube. This type of geometry allows for a more comfortable upright riding position. However, if you’re a serious cyclist, you might prefer a more aggressive geometry, meaning a shorter wheelbase and a longer top tube. This type of geometry allows for a more aerodynamic riding position, which can improve your performance. 5. Seek professional advice: If you’re still unsure about which bike frame size to choose, it's always best to seek professional advice. Bike shops have experts who can guide you in choosing the right frame size based on your measurements, riding style, and other factors. They can also help you make adjustments to your bike to ensure a perfect fit. Conclusion: Choosing the right bike frame size is a crucial step in buying a road bike. Measuring your inseam, using a bike sizing chart, test riding different sizes, considering your riding style, and seeking professional advice are all important factors to consider when choosing the right frame size. A well-fitting bike will give you a comfortable ride, improve your performance, and prevent injuries. So, take the time to find the right frame size for you and enjoy a more comfortable and controlled ride.

When it comes to choosing the perfect road bike frame size, it can be overwhelming and confusing. With so many options out there, cyclists need to understand the basics of sizing before they invest in a new bike. One common road bike frame size is the 700C AERO Carbon Road Bike Frameset X12. 1. What is the Carbon Road Bike Frameset X12? The 700C AERO Carbon Road Bike Frameset X12 is a high-performance carbon fiber road bike frame designed for competitive cycling. It features an aerodynamic design that reduces air resistance and provides a smooth, fast ride. The X12 in the name refers to the rear axle, which is 12mm in diameter, providing extra stiffness and stability during high-speed cycling. 2. How to Choose the Right Frame Size Choosing the right frame size is crucial for your safety, comfort, and performance while cycling. There are several factors to consider, such as your height, inseam, riding style, and personal preferences. The 700C AERO Carbon Road Bike Frameset X12 comes in various sizes, ranging from XS to XL, to fit different riders. It is recommended to contact us to determine your ideal frame size. 3. Benefits of the Carbon Road Bike Frameset X12 The 700C AERO Carbon Road Bike Frameset X12 offers many benefits to road cyclists. Its carbon fiber construction makes it lightweight and strong, providing an excellent power-to-weight ratio for efficient riding. The aerodynamic design reduces wind resistance, allowing for a faster and smoother riding experience. The X12 rear axle is stiffer and more stable, improving performance during sprints and climbs. Overall, the Carbon Road Bike Frameset X12 is an excellent choice for competitive cyclists looking to improve their performance. 4. Maintenance Tips for 700C AERO Carbon Road Bike Frameset X12 To ensure the longevity and performance of your 700C AERO Carbon Road Bike Frameset X12, it is essential to maintain it properly. Regularly cleaning and inspecting the frame, cleaning and lubricating the drivetrain, and checking the tire pressure are some essential maintenance tasks. It is also recommended to have regular tune-ups and repairs from a professional bike mechanic to keep your bike in top condition. Conclusion and Final Thoughts Choosing the right frame size for your road bike is crucial for a comfortable and safe cycling experience. The 700C AERO Carbon Road Bike Frameset X12 is an excellent option for competitive cyclists looking for a high-performance and aerodynamic road bike. With its lightweight carbon fiber construction, aerodynamic design, and X12 rear axle, it offers many benefits for improved speed, stability, and power transfer. However, it is crucial to maintain it properly to ensure its longevity and performance. Investing in a high-quality road bike like the 700C AERO Carbon Road Bike Frameset X12 can enhance your cycling experience and take your performance to the next level.
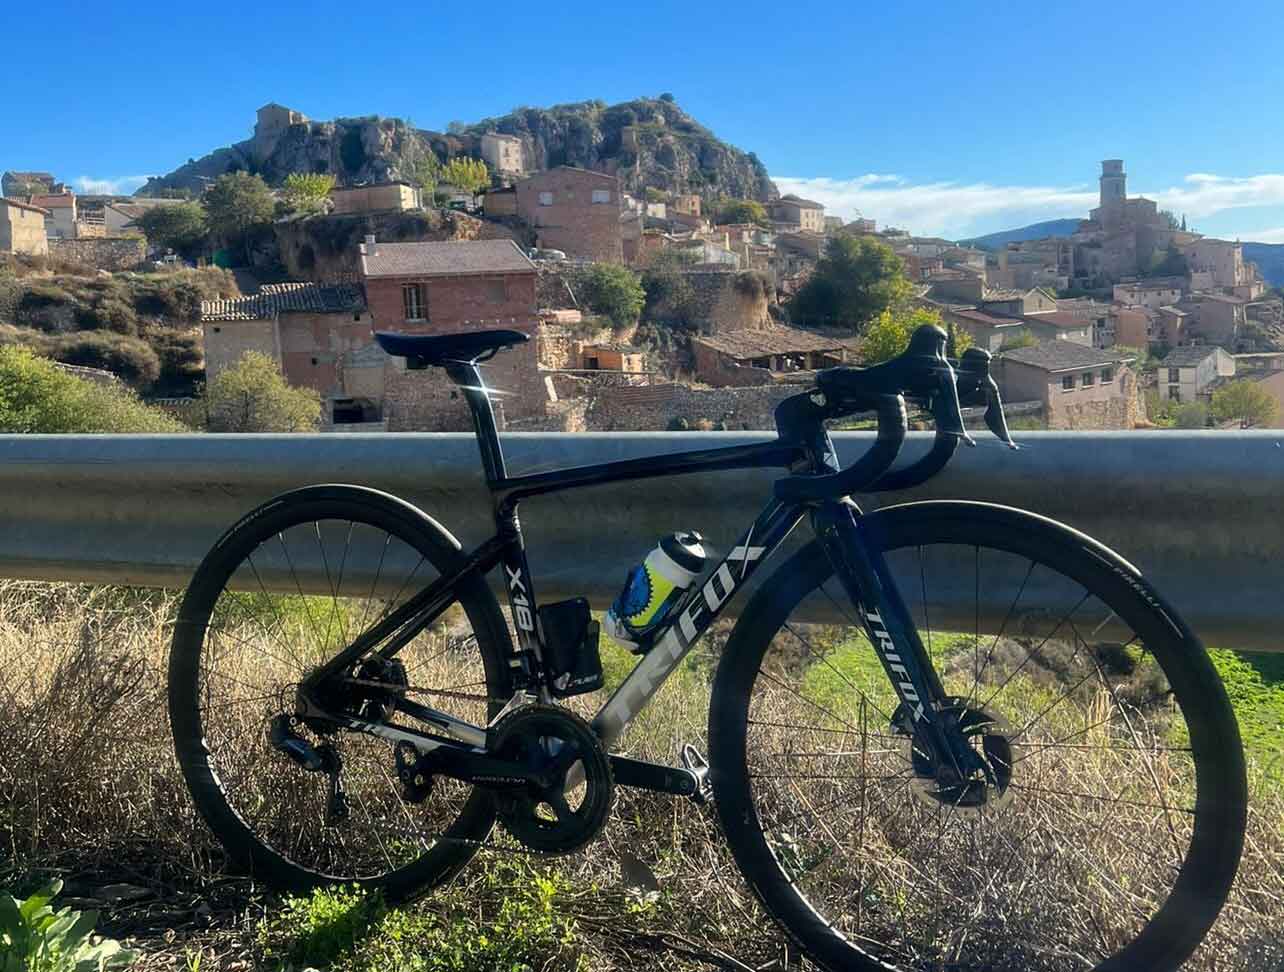
If you're looking for a high-quality road bike, you're probably familiar with the importance of selecting the right frame. Not only is it essential to choose a durable and sturdy option, but you'll want to prioritize comfort and efficiency as well. One of the best options available is the Full Internal Cable Routing Carbon Road Bike Frame set X18. In this post, we'll explore the advantages of this frameset and why it might be the perfect choice for your next road bike. 1. Enhanced Aerodynamics The design of the Full Internal Cable Routing Carbon Road Bike Frame set X18 is unique in that it features an integrated headset with a tapered fork. This design choice improves aerodynamics, making it easier for you to maintain your speed while riding. By streamlining the airflow over the bike, it's possible to reduce wind resistance and make your cycling experience that much smoother. 2. Hassle-Free Cable Maintenance Managing the cables for your bike can be problematic, especially when they're exposed. Fortunately, the Full Internal Cable Routing Carbon Road Bike Frame set X18 handles this issue with ease. By routing the cables through the frame itself, you won't have to worry about them getting caught on anything or posing a risk to your safety. Plus, removing and replacing the cables is a breeze with this frameset. 3. Increased Comfort Carbon framesets like the X18 are known for providing a smoother riding experience thanks to their material composition. Additionally, the Full Internal Cable Routing Carbon Road Bike Frameset X18 supports this through its design, which minimizes vibration transmission. This aspect can be particularly helpful for those who want to go long distances without feeling the effects of the road. 4. Better Performance The Full Internal Cable Routing Carbon Road Bike Frameset X18 is a fantastic choice for anyone who wants to improve their cycling performance. The combination of the carbon fiber material and internal cable routing produces a lightweight, high-performing bike that is responsive and easy to control. Plus, with less drag from wind resistance and improved efficiency, you'll be able to ride faster with less effort. 5. Sleek Appearance While functionality should always come first when selecting your road bike frame, there's no denying that appearance matters too. Fortunately, the Full Internal Cable Routing Carbon Road Bike Frameset X18 ticks both boxes. The internal cable routing means that the bike appears even more streamlined than other framesets, and the slick carbon fiber adds a modern touch that looks fantastic. Conclusion: The Full Internal Cable Routing Carbon Road Bike Frameset X18 is an excellent choice for cyclists looking for a high-performance road bike. Its unique design offers a range of benefits from enhanced aerodynamics and a smoother ride to hassle-free cable management and sleek appearance. If you're ready to take your cycling experience to the next level, the X18 is a great place to start.
Buying a road bike can be an exciting experience, but it's important to get the right size. A bike that's too big or small can lead to discomfort, poor performance, and even injury. That's why it’s crucial to know how to measure a road bike frame correctly. In this blog post, we'll cover everything you need to know about measuring a road bike frame, from determining your ideal bike size to taking accurate measurements. Whether you're a seasoned cyclist or just starting out, this guide will help you choose the perfect road bike frame size for your needs. Step 1: Determine Your Ideal Bike Size The first step in measuring a road bike frame is to determine your ideal bike size. This will depend on a number of factors, including your height, inseam, riding style, and personal preference. A general rule of thumb is to measure your inseam and multiply it by 0.65 to find your ideal frame size. However, this is just a starting point, and you may need to make adjustments depending on your body type and riding style. Step 2: Measure the Top Tube Once you've determined your ideal bike size, it's time to start taking measurements. The first measurement you'll need is the top tube length. This is the horizontal distance between the seat tube and the head tube. To measure the top tube length, place a straightedge or ruler against the center of the head tube and measure to the center of the seat tube. Be sure to take this measurement with the bike level, and avoid measuring along the curve of the tube. Step 3: Measure the Seat Tube The next measurement you'll need is the seat tube length. This is the vertical distance between the center of the bottom bracket and the center of the top tube. To measure the seat tube length, place a tape measure at the center of the bottom bracket and measure to the top of the seat tube. Keep in mind that the seat tube length should be adjusted based on the length of your inseam. Step 4: Measure the Standover Height The standover height is the distance between the ground and the top of the top tube when the bike is standing upright. This measurement is important to ensure that you can stand comfortably over the bike without touching the top tube. To measure the standover height, stand over the bike with your feet flat on the ground and measure the distance between the ground and the top of the top tube. Step 5: Adjust for Riding Style Finally, it's important to adjust your measurements based on your riding style. For example, if you're planning to use your road bike for racing, you may want a smaller frame size for a more aerodynamic position. On the other hand, if you're using your road bike for touring or long-distance riding, you may want a larger frame size for more comfort and stability. Conclusion: Measuring a road bike frame may seem daunting at first, but it's an essential step in choosing the right bike for your needs. By following these steps and taking accurate measurements, you can find the perfect road bike frame size for your height and riding style. Remember to also take into account your comfort and preference when selecting the frame size. The right sized bike will help you ride further, faster, and with more comfort. Start exploring the trails or roads with your new bike!
Riding a road bike can be both an exciting and healthy activity. However, to experience ultimate comfort and performance, you need to choose the right road bike with proper frame size. Luckily, you don't need to stress yourself out about it. In this comprehensive guide, we will be discussing everything you need to know about road bike frame size chart. So, buckle up and let's dive in! To start with, what is the right frame size for you? The answer to this depends on a whole lot of factors, but the most essential are your height and inseam measurements. These two factors are what the experts use to help you select the right frame size suitable for your body anatomy. Also, your body flexibility and riding style can come in handy in determining the size of your preferred road bike. Next, let's explain how to measure inseam and height. Measuring inseam is relatively easy; stand against a wall barefooted and measure the distance from your crotch to your ankle. On the other hand, measuring height requires you to stand against a wall barefooted, and someone else measures the distance between the top of your head and the floor. After measuring your inseam and height, the next step is to use road bike frame size chart to determine the right frame size for you. Note that different manufacturers may have different sizing charts, but most follow the same essential measurements. Most bike shops offer chart sizing assistance when purchasing a bike. Another factor that can aid you in selecting the right frame size is considering your riding style and preferences. If you prefer an aggressive riding position, you may opt for a smaller frame size than the chart suggests to lower the handlebars' height. Alternatively, if you prefer a more upright riding posture, you may choose a more significant frame size than the sizing chart to increase the handlebar height. More so, moving beyond the standard frame, there are options for different frame geometries. Generally, road bikes come in either a compact or classic geometry. Compact frames have sloping top tubes, which allow for shorter rear triangles and clearer standover heights, while classic geometry frames have horizontal top tubes, providing a longer rear triangle. Taller riders typically opt for compact frames, while shorter riders opt for classic geometry frames. Conclusion: Choosing the right road bike frame size can make all the difference in your cycling experience, from the comfort and efficiency of your ride to your performance on the road. With the step-by-step guide provided in this article, you now have enough information to make an informed decision on the right frame size for your body. Remember to factor in your riding style and preferences when choosing a frame. With the right frame size, you're on the verge of enjoying an unforgettable cycling experience that will keep you fit and healthy.
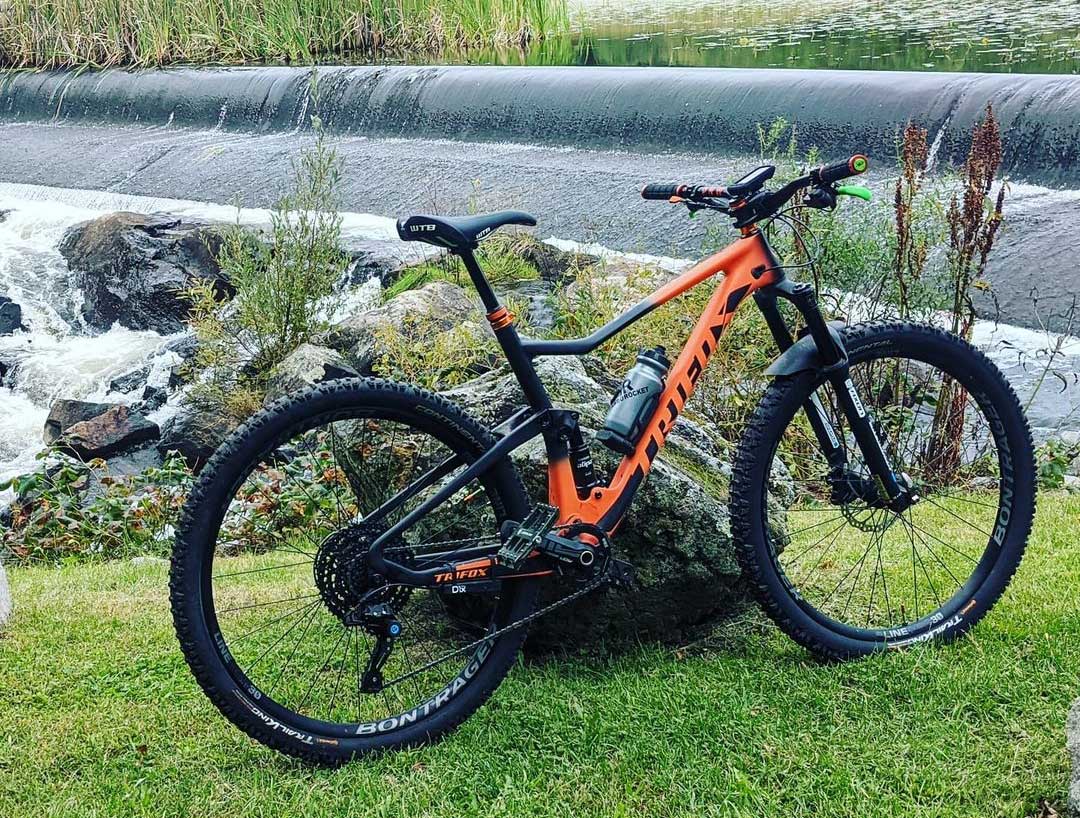
One of the most important factors when it comes to purchasing a mountain bike is choosing the right size. An improperly sized mountain bike can greatly affect your riding experience, from causing discomfort and pain to reducing your control and performance on the trails.In this article, we will take a comprehensive look at the MTB frame size chart and provide recommendations for finding the perfect size for you. We will also discuss important geometric terms and their meanings, as well as the problems that can arise from choosing the wrong size.MTB Frame Size Chart and Recommendations:Mountain bike frames come in a variety of sizes, typically measured in inches or centimeters. The size of the frame refers to the length of the seat tube, which is the part of the frame that holds the seat post and saddle.When it comes to selecting the right size frame, there are several factors to consider, including your height, inseam length, and riding style. Here are some general recommendations based on height:For riders under 5'4", a small frame (14-15 inches) is recommended.For riders between 5'4" and 5'8", a medium frame (15-17 inches) is recommended.For riders between 5'8" and 6'2", a large frame (17-19 inches) is recommended.For riders over 6'2", an extra-large frame (19-21 inches) is recommended.It's important to note that these recommendations should be used as a starting point, and riders should also consider other factors such as their riding style and personal preference.For most mtb frames, you can find the mtb frame size chart in the product details page, such as Carbon MTB Frame MFM100Important Geometric Terms and Their Meanings:When looking at the MTB frame size chart, there are several important geometric terms to be familiar with:Reach: The distance between the bottom bracket (where the pedals attach to the frame) and the center of the head tube (where the fork attaches to the frame). This measurement affects how stretched out or upright you will be on the bike.Stack: The distance between the center of the bottom bracket and the top of the head tube. This measurement affects the height of the handlebars in relation to the saddle.Standover Height: The distance between the ground and the top tube of the frame. This measurement affects how much clearance you have when standing over the bike.Problems Caused by Choosing the Wrong Size:Choosing the wrong size mountain bike frame can cause several problems, including discomfort, pain, and reduced control and performance on the trails. If the frame is too small, it can cause cramped and uncomfortable riding positions, while a frame that is too large can cause difficulty reaching the handlebars and pedals.A poorly fitting mountain bike can also cause pain and discomfort in the back, neck, shoulders, and wrists, as well as numbness or tingling in the hands and fingers. In addition, a wrong size frame can greatly affect your control and performance on the trails, leading to accidents and injuries.Conclusion:In conclusion, choosing the right size mountain bike frame is essential for a comfortable and enjoyable riding experience. By using the MTB frame size chart and considering important geometric terms, riders can find the perfect size for their height, inseam length, and riding style.Remember, it's important to not solely rely on the general recommendations and also to take into account your own physical anatomy and riding preferences. Don't overlook the importance of selecting the correct size as it can save you from a lot of pain, discomfort, and accidents in the long run.


