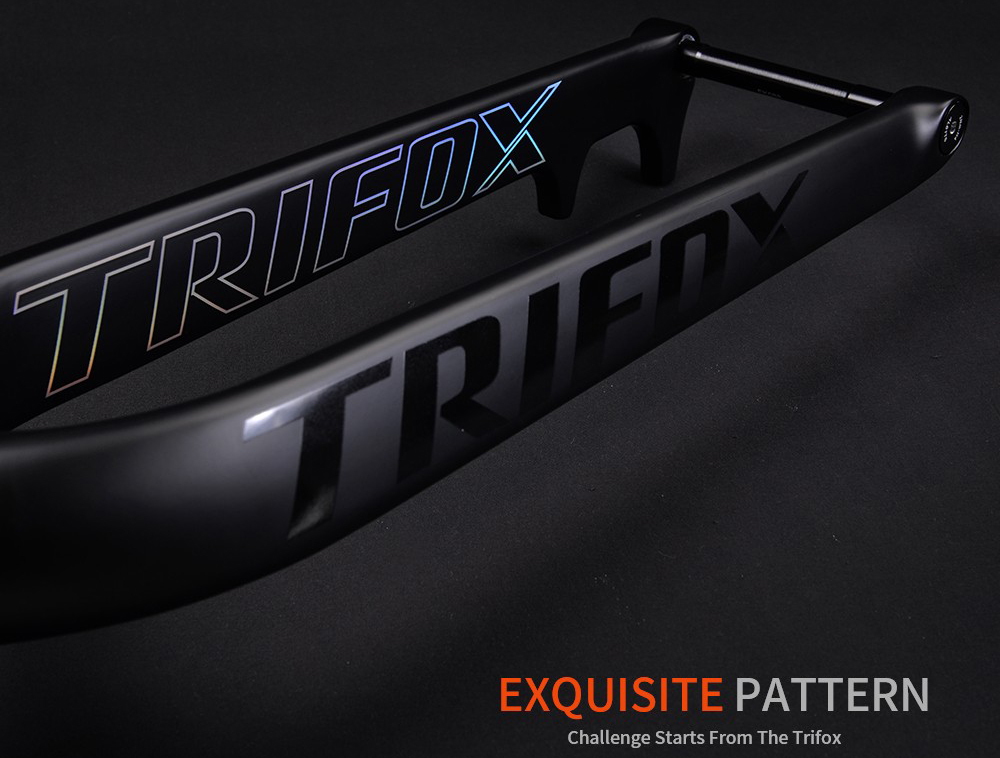
When it comes to mountain biking, trail riders are always looking for the latest gear that can enhance their performance and improve their ride quality. One such game-changer is the Boost MTB Fork, a component that’s quickly gaining traction among trail riders for its ability to offer superior stability, control, and overall ride quality. Specifically, the Trifox 29er Disc Brake Tapered Carbon MTB Rigid Fork (TMK200) has redefined the way riders experience technical trails.
Enhanced Stability and Control
The Boost MTB fork features an increased hub spacing of 110mm, compared to traditional forks that typically use a 100mm spacing. This wider stance improves wheel stiffness and creates a more stable front end, which translates to better control on rocky, uneven terrain. For riders navigating tricky sections of a trail, this added stability means a smoother, more controlled ride, allowing you to power through obstacles with confidence.
Superior Strength with Lightweight Carbon Fiber
The Trifox TMK200 is crafted from high-quality carbon fiber, a material known for its exceptional strength-to-weight ratio. This allows the fork to provide the durability needed for tough trail conditions, while keeping the overall weight low. The result is a robust fork that won’t weigh you down, helping you maintain speed and agility on the trails.
Improved Handling and Ride Quality
The Boost MTB fork also helps improve the handling and responsiveness of your bike. With better axle alignment and an optimized fork design, the TMK200 offers more precise steering and less flex, so you can ride with greater confidence and efficiency. Whether you're tackling technical descents or navigating tight corners, this fork helps you stay in control and ride faster.
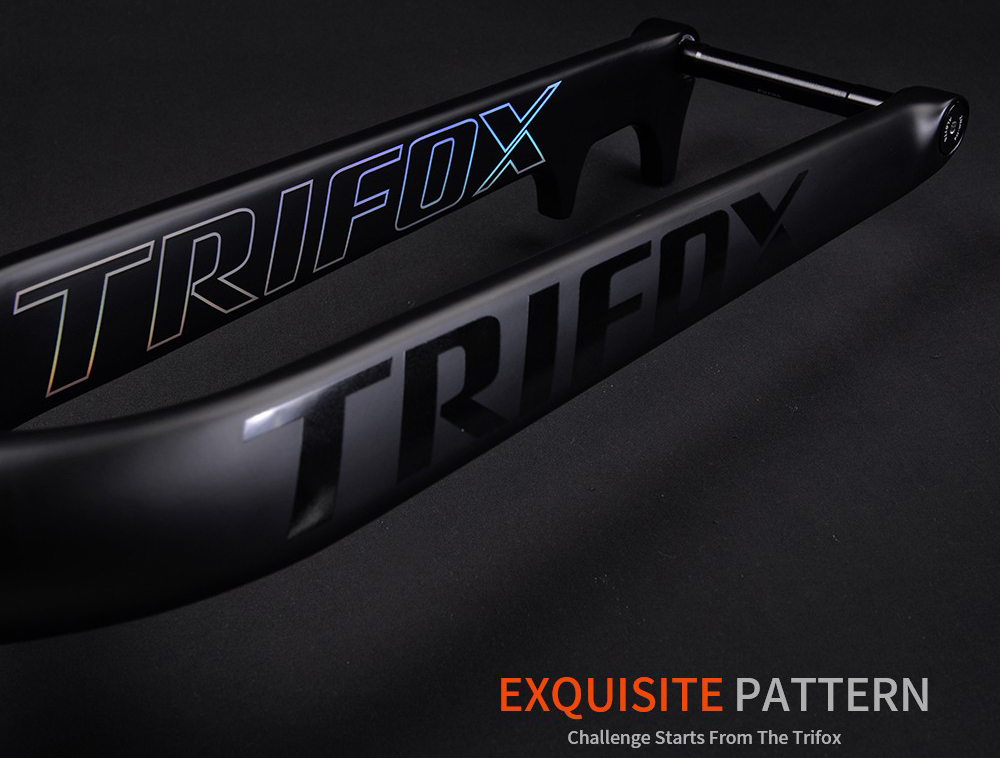
For trail riders looking to elevate their performance, the Boost MTB Fork is truly a game-changer, offering superior stability, strength, and handling.
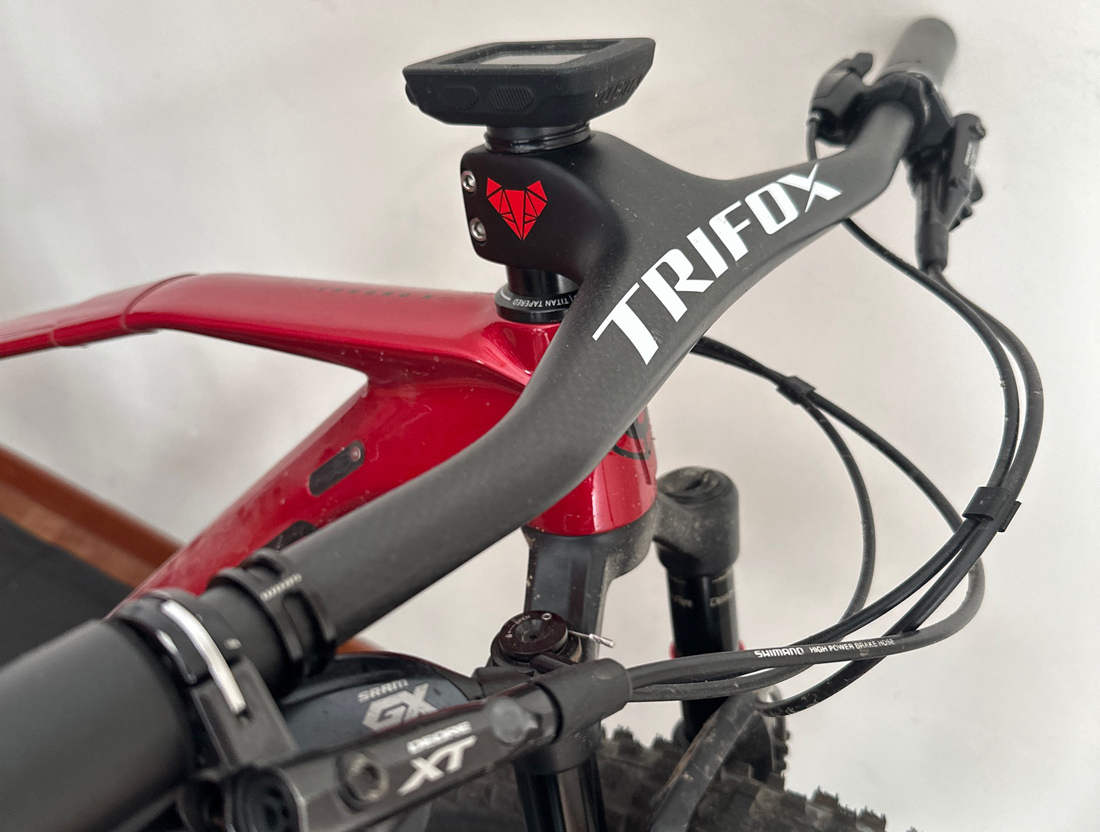
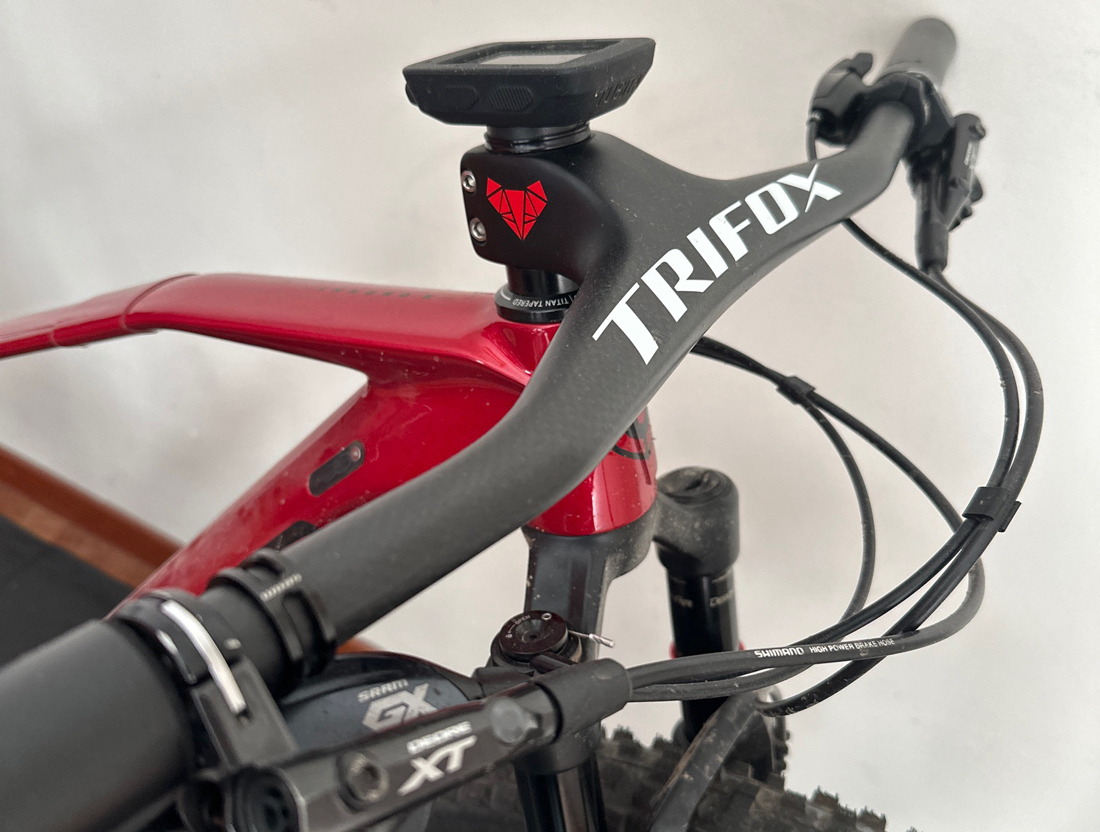
When it comes to enhancing your cycling performance, the handlebar is one of the most important components to consider. Not only does it affect your riding posture and comfort, but it also plays a crucial role in the overall handling and control of your bike. For athletes and enthusiasts looking to fine-tune their ride, choosing the right sports bike handlebar is essential. Trifox’s range of carbon bike handlebars provides the perfect balance of performance, comfort, and durability, making it easier to find a handlebar that suits your riding style.
Understanding Handlebar Types
There isn't a one-size-fits-all handlebar for sports bikes. The right choice depends on factors like your riding discipline, body type, and personal preferences. Here are the key types of handlebars to consider:
1. Flat Bars: Ideal for mountain biking or urban riding, flat bars provide excellent control and stability on rough terrain. These handlebars are typically lightweight and offer a neutral riding position that helps reduce strain on the back and wrists.
2. Riser Bars: Offering a higher position than flat bars, riser handlebars are great for those looking to improve control on technical trails. They provide better handling and can reduce stress on the rider’s arms and shoulders, making them ideal for aggressive riders or those tackling more challenging trails.
3. Drop Bars: Common on road bikes, drop bars allow for multiple hand positions, providing comfort and aerodynamic advantages during long-distance rides. These handlebars are perfect for riders who want to improve their speed and efficiency while maintaining control.
4. Aero Bars: Designed for triathlons and time trials, aero handlebars offer an aggressive, aerodynamic position to maximize speed and minimize drag.
The Trifox Carbon Advantage
When it comes to materials, carbon fiber handlebars are a top choice for serious riders. Carbon handlebars are known for their lightweight properties and exceptional strength-to-weight ratio, making them ideal for performance-driven cyclists. Trifox carbon handlebars are engineered with precision, providing stiffness where it’s needed most and absorbing road vibrations for a smoother ride.
Trifox's carbon handlebars are designed to reduce fatigue, allowing you to ride longer with less discomfort. The ergonomic design ensures that your wrists, shoulders, and elbows stay comfortable, even on longer rides or rough terrain. These handlebars are not only light but also incredibly durable, able to withstand the rigors of competitive cycling.
Comfort and Performance Combined
Ultimately, the perfect sports bike handlebar is one that aligns with your riding style and ensures both comfort and performance. Whether you’re looking for better control on mountain trails or aiming for speed on the open road, the right handlebar can make a significant difference. Trifox’s carbon bike handlebars provide superior performance while reducing fatigue and increasing comfort, making them an excellent choice for riders seeking to elevate their cycling experience.
Choosing the right handlebar doesn’t have to be complicated. With Trifox’s expertise and range of handlebars tailored for different cycling disciplines, finding the perfect fit has never been easier. Ready to upgrade your bike? The right handlebar could be the game-changer you’ve been looking for.
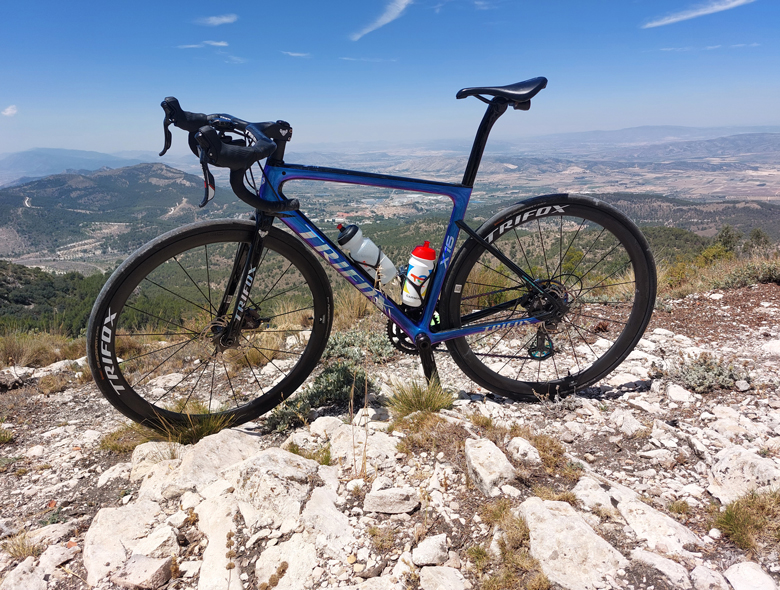
When it comes to mountain biking, having the right wheels can make all the difference. While high-end wheels often come with a hefty price tag, you don't have to break the bank to get a set that delivers excellent performance on the trails. The Trifox MTB Wheels offer a great balance of affordability, durability, and performance, making them the perfect choice for riders on a budget who still demand quality.
Why Wheel Quality Matters
Wheels are one of the most crucial components of any mountain bike. They determine how well your bike handles different terrains, how quickly you accelerate, and how smoothly you glide over rough ground. Lightweight and strong wheels are essential for optimal performance, especially when navigating rocky trails or steep descents. But finding a quality set that won’t drain your wallet is often a challenge.
Budget-Friendly Without Compromise
Trifox has made it their mission to offer budget MTB wheels that don’t skimp on quality. Designed with riders in mind, these wheels offer durability, lightness, and responsiveness at an affordable price. Whether you’re just starting out or looking to upgrade your current setup without spending a fortune, Trifox has several options that won’t disappoint.
The Trifox T22 MTB Wheels are an excellent choice for those who want a reliable and versatile wheelset that performs well across various terrains. Made with aluminum rims and designed to be strong yet lightweight, they offer great stiffness and control, allowing you to tackle everything from technical trails to downhill sections. The tubeless-ready design helps reduce weight and improve traction, providing a smoother and faster ride while keeping punctures at bay. These wheels are a solid option for riders who prioritize durability but want to keep costs down.
For those who want a more performance-oriented wheelset without splurging on high-end carbon options, the Trifox T24 Carbon MTB Wheels offer the perfect compromise. The carbon fiber rims provide the strength and stiffness necessary for aggressive riding, while their lightweight design enhances acceleration and climbing ability. These wheels are also tubeless-ready, ensuring better traction and reduced rolling resistance. The T24 wheels offer incredible value for riders who want the benefits of carbon at a budget-friendly price.
If you're on a tight budget but still want wheels that can handle rough terrain, the Trifox T26 MTB Wheels are an excellent choice. These wheels come with strong aluminum rims that offer excellent durability without sacrificing too much weight. The double-wall construction ensures added strength and protection against impact, making them perfect for trail riders who often find themselves riding over rocks, roots, and other obstacles. They also feature sealed hubs, which reduce maintenance and provide smooth, reliable performance in various conditions.
What to Look for in Budget MTB Wheels
When choosing budget-friendly MTB wheels, there are a few important factors to keep in mind to ensure you're getting the best value for your money:
Durability: Budget wheels need to be able to withstand the wear and tear of rough trails. Look for wheels with reinforced rims, solid spokes, and sealed hubs.
Weight: Lighter wheels improve acceleration and reduce fatigue, but they need to be durable as well. Aim for a balance of lightness and strength.
Tubeless Compatibility: Tubeless-ready wheels offer numerous benefits, including reduced rolling resistance, better grip, and fewer flats. Look for wheels that are compatible with tubeless tires for added performance.
Hub Quality: The hub is the heart of your wheelset, so it’s important to choose wheels with reliable, smooth-rolling hubs. Sealed hubs are a good option, as they require less maintenance and offer better protection from dirt and moisture.
Final Thoughts
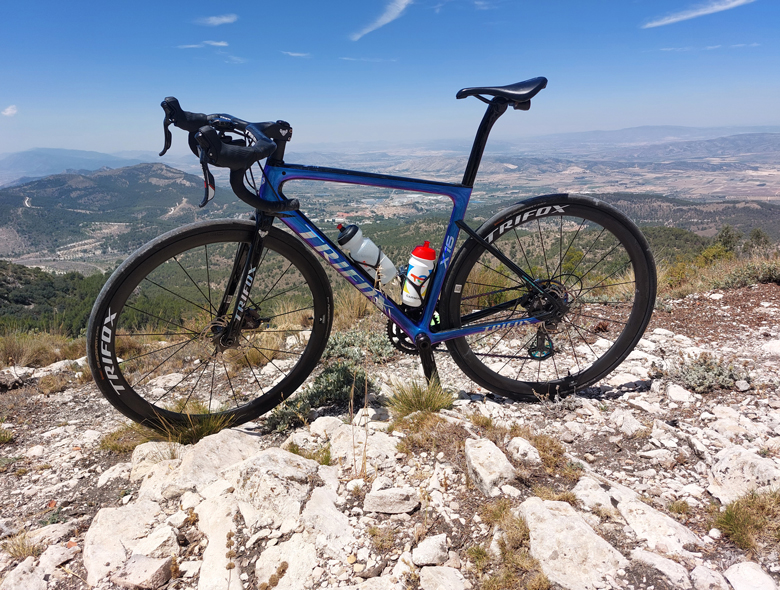
You don't have to spend a fortune to upgrade your mountain bike wheels. Trifox offers several excellent budget-friendly MTB wheelsets that deliver impressive performance on the trails. Whether you’re a beginner looking to improve your bike’s handling or an experienced rider seeking a cost-effective upgrade, Trifox MTB wheels are a great option. With the right combination of durability, performance, and value, you can ride confidently without breaking the bank. Ready to hit the trails with new wheels? Trifox has you covered.
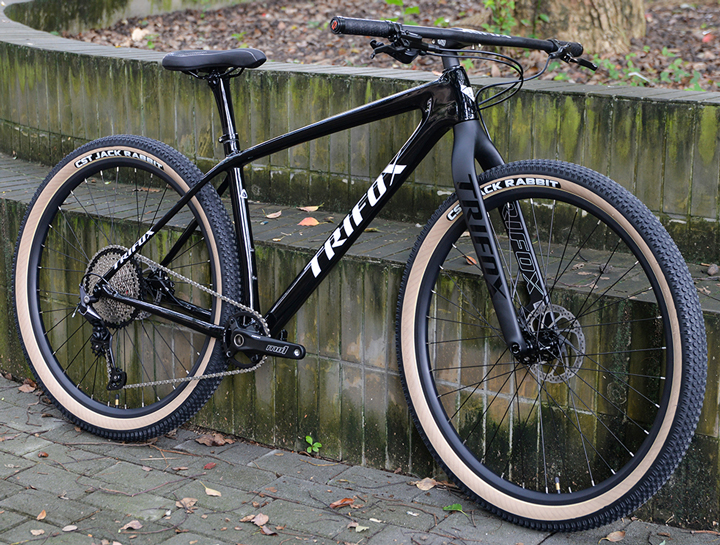
When it comes to cycling, weight matters. The lighter your bike, the faster, more agile, and efficient your ride.
Enter the Trifox SDY20, a superlight bike designed for riders who crave speed, precision, and peak performance. Crafted with cutting-edge technology and materials, this bike offers the ultimate combination of lightweight design and top-tier performance features.
The SDY20 is built with a carbon fiber frame, reducing weight without compromising on strength or durability. This design ensures maximum power transfer with minimal effort, so you can conquer steep climbs and reach top speeds on the flat.
Whether you're sprinting down a winding road or tackling a challenging trail, the SDY20's responsiveness gives you complete control.
Its aero design further enhances speed by reducing drag, while the advanced suspension system guarantees comfort and stability across various terrains. Additionally, the SDY20 comes equipped with high-quality components that ensure smooth shifting, precise braking, and long-lasting reliability.
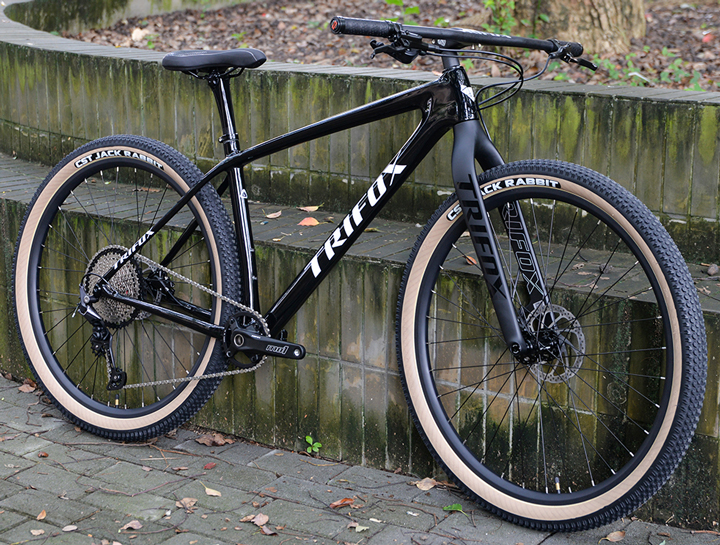
If you're a cyclist looking to push your limits and experience the thrill of unmatched agility and performance, the Trifox SDY20 is your perfect ride. It's not just a superlight bike – it's the future of cycling.
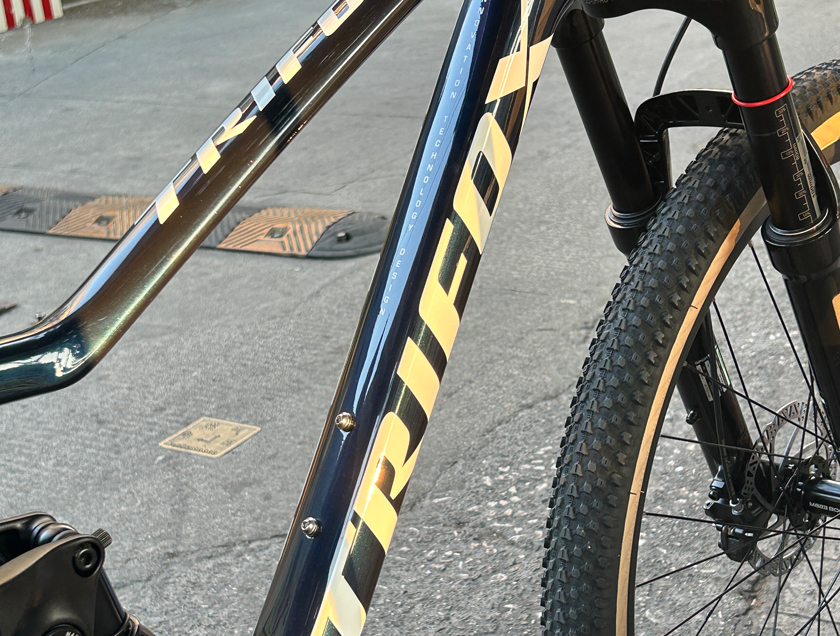
When it comes to mountain biking, especially for trail riders, choosing the right bike can make a world of difference. One of the most debated decisions among cyclists is whether to opt for a dual suspension bike or stick with a hardtail. Dual suspension bikes, which feature both front and rear shocks, are known for their ability to absorb impacts and provide a smoother ride on rough terrain. However, they come with a higher price tag and more maintenance. So, are dual suspension bikes really worth the investment for trail riders? Let’s break it down.
1. Superior Comfort on Rough Terrain
One of the most obvious advantages of dual suspension bikes is the comfort they provide. Trail riding often involves navigating rocky paths, bumpy trails, and obstacles that can create significant jolts and impacts. Hardtail bikes, which only have a suspension fork at the front, can transfer a lot of that shock directly to the rider, leading to discomfort, fatigue, and a less enjoyable ride.
Dual suspension bikes, like the Trifox Pioneer Bike, are equipped with both front and rear shocks that work together to absorb impact. This creates a much smoother ride, allowing you to handle rough terrain with greater ease. The rear suspension helps to absorb shocks from bumps and drops, making the ride more comfortable and reducing the risk of injury from jarring impacts. For trail riders who often encounter technical terrain or prefer longer rides, the added comfort of dual suspension can be a game-changer.
2. Better Control and Handling
Dual suspension bikes also offer superior control and handling compared to hardtails, especially on downhill and technical sections of the trail. The rear suspension helps to keep the rear wheel planted on the ground, improving traction and stability. This is particularly important when navigating loose gravel, wet conditions, or steep descents, where maintaining control is crucial.
The Trifox Pioneer Bike is designed with a robust dual suspension system that enhances handling, even in challenging conditions. The bike’s front and rear shocks work in unison to maintain tire contact with the ground, providing more consistent traction and allowing you to tackle technical sections with confidence. Whether you’re navigating tight switchbacks or blasting down a rocky descent, the improved stability and control that come with dual suspension can make a noticeable difference in your performance.
3. Reduced Fatigue on Long Rides
Riding on rough terrain can be exhausting, particularly on long rides. The constant jarring and bouncing of a hardtail bike can take a toll on your body, leading to fatigue and discomfort. On the other hand, dual suspension bikes reduce the impact forces that travel through your body, making the ride less taxing. This is especially beneficial for trail riders who enjoy longer rides or multi-day adventures.
The Trifox Pioneer Bike offers excellent suspension performance that helps reduce the strain on your arms, legs, and back. With the rear suspension absorbing much of the shock, riders can focus on the ride itself rather than worrying about fatigue or discomfort. If you’re planning on tackling challenging trails or going for long-distance rides, the added comfort and reduced fatigue provided by dual suspension will allow you to ride longer and harder without burning out.
4. Increased Safety and Confidence
A well-designed dual suspension system can also increase your safety on the trails. By providing better traction, stability, and control, these bikes help riders stay in control during high-speed descents, technical maneuvers, and challenging terrain. When you’re riding on a bike that feels stable and secure, you’re more likely to take on challenging obstacles with confidence.
The Trifox Pioneer Bike is equipped with advanced suspension technology that enhances both safety and performance. Whether you’re descending a steep hill or negotiating an uneven rock garden, the bike’s suspension keeps you in control and minimizes the risk of losing traction or control. This makes dual suspension bikes an excellent choice for riders who enjoy pushing their limits and tackling more advanced trail features.
5. The Cost vs. Benefits Debate
Of course, dual suspension bikes come with a higher price tag compared to hardtails. The additional cost is typically due to the more complex suspension systems, higher-quality components, and additional maintenance required. For some riders, especially those just starting out or those who primarily ride smooth trails, a hardtail might offer all the performance they need at a more affordable price.
However, for serious trail riders who often ride on rough, technical trails, the benefits of a dual suspension bike are hard to ignore. The increased comfort, better control, and reduced fatigue make the higher investment well worth it for riders who want to maximize their performance and enjoy a smoother, more enjoyable ride.
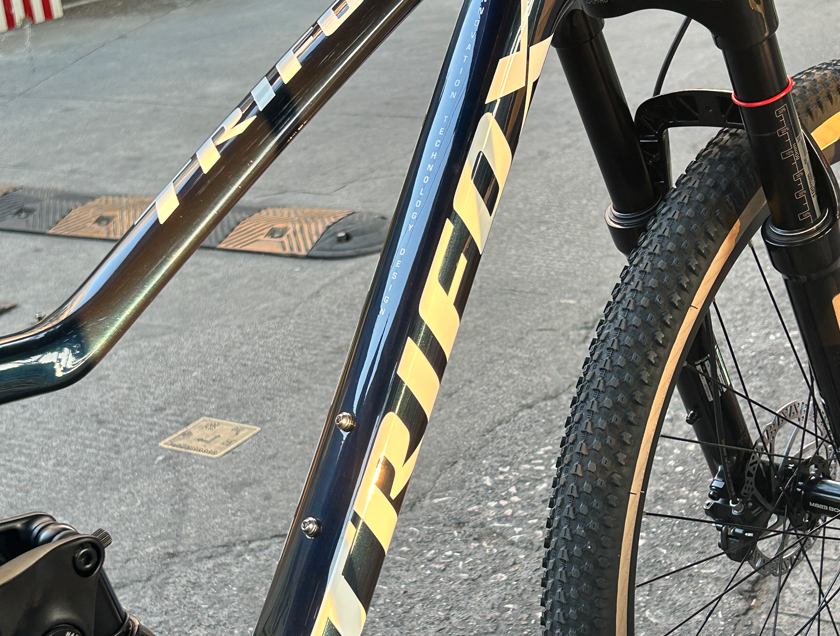
So, are dual suspension bikes really worth the investment for trail riders? The answer largely depends on the type of riding you do and your priorities as a cyclist. If you regularly ride on rough, technical terrain or enjoy long-distance trail rides, a dual suspension bike like the Trifox Pioneer Bike can significantly improve your ride quality, comfort, and performance. While they do come with a higher price tag, the added benefits of better control, reduced fatigue, and increased safety make them an excellent choice for serious trail riders who want to take their biking experience to the next level.
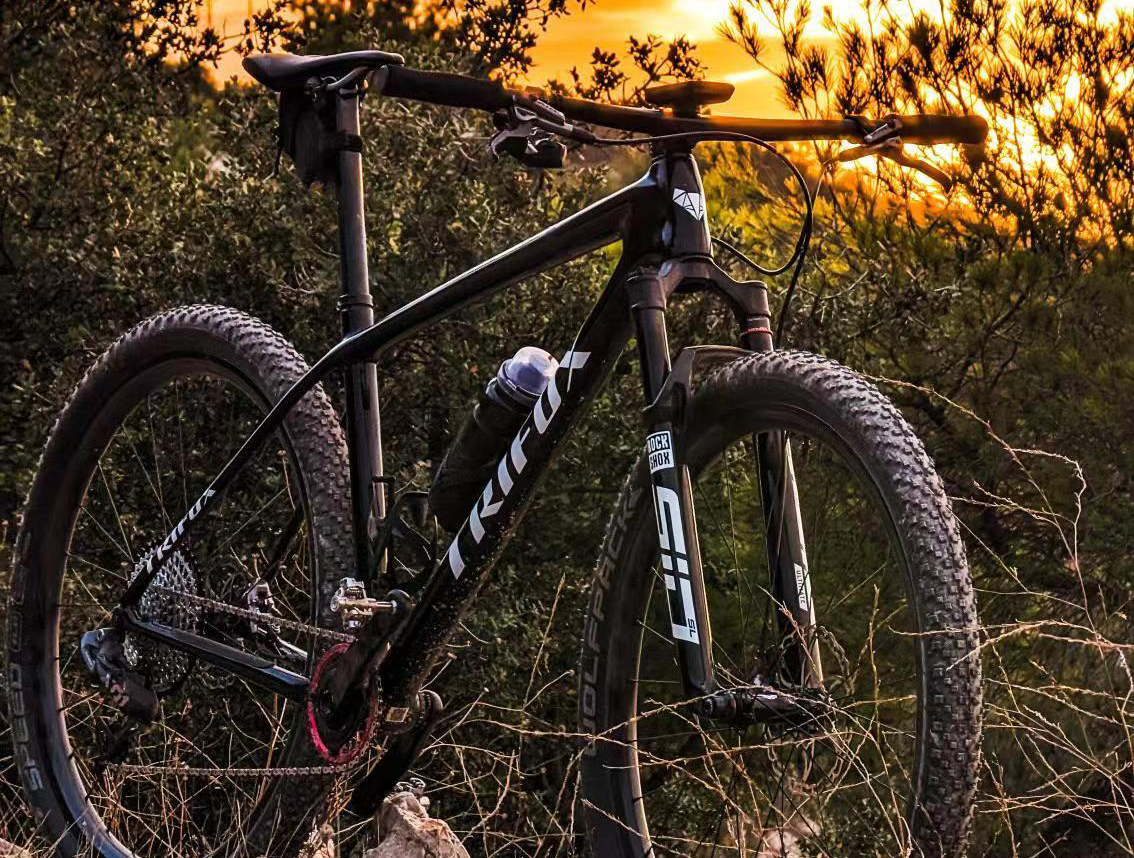
In the world of cycling, performance and weight are always at the forefront of a cyclist’s mind. Whether you're an avid racer or a weekend rider, the quest for a faster, smoother, and lighter ride never ends. Among the innovations that have revolutionized the sport, carbon bike frames have emerged as one of the most significant advancements in lightweight cycling.
Known for their superior strength, reduced weight, and enhanced riding experience, carbon frames are becoming the go-to choice for riders across all disciplines. In this blog post, we’ll explore why carbon frames are the future of lightweight cycling and why they may be the perfect choice for your next bike upgrade.
1. Incredible Strength-to-Weight Ratio
One of the primary reasons cyclists turn to carbon frames is their unmatched strength-to-weight ratio. Carbon fiber is incredibly strong yet extremely lightweight, making it the ideal material for bike frames. In fact, carbon frames are often much lighter than their aluminum and steel counterparts without sacrificing durability or performance. This is especially important for competitive cyclists, where every gram saved can translate into faster speeds and improved race times.
The lightweight nature of carbon frames makes climbing hills and accelerating on flat terrain significantly easier. Whether you’re racing up steep inclines or pushing the limits on a time trial, a carbon frame provides the responsiveness and agility needed to optimize your cycling performance. The lighter weight of the bike means less energy is required to propel it forward, allowing for more efficient cycling overall.
2.Superior Stiffness and Power Transfer
Another compelling reason to choose carbon frames is the stiffness they offer, which results in enhanced power transfer. When you pedal, the energy you generate needs to be efficiently transferred through the frame to the wheels. Carbon frames excel at this by offering a stiffness that allows for optimal power transfer, meaning more of your effort goes directly into speed, rather than being absorbed by the frame.
This feature is particularly important for road racers and cyclists who demand the highest levels of efficiency from their bikes. Carbon frames can be engineered to deliver stiffness where it’s needed most, such as in the bottom bracket area (where the pedals attach), while still providing enough flexibility in other parts of the frame to absorb vibrations from the road. This balance between stiffness and comfort is one of the reasons carbon frames are so highly regarded in competitive cycling.
3. Customization for Specific Riding Needs
Carbon fiber is highly customizable, allowing manufacturers to design frames that cater to a wide variety of cycling disciplines. Whether you're looking for a frame that prioritizes aerodynamics for road cycling or one that offers shock absorption for mountain biking, carbon can be molded to meet specific needs.
Trifox, for example, offers a range of carbon bike frames that are designed for various types of cycling, from lightweight road frames to more durable mountain bike frames. The ability to fine-tune the composition and structure of the frame ensures that carbon frames can meet the demands of any rider, no matter their discipline or riding style. This level of customization makes carbon frames the perfect choice for cyclists who are serious about performance.
4. Vibration Damping for a Smoother Ride
A key advantage of carbon frames is their ability to dampen road vibrations. Unlike aluminum or steel, which can transmit vibrations directly through the frame to the rider, carbon fiber naturally absorbs and dissipates these shocks. This leads to a smoother, more comfortable ride, especially on rough or uneven surfaces.
For long-distance cyclists, this means less fatigue and more comfort over time, while for racers, it can lead to a more controlled ride at high speeds. Carbon’s ability to reduce road buzz allows cyclists to focus on their performance without being distracted or uncomfortable due to vibrations.
5. Durability and Longevity
While carbon frames are lightweight and thin, they are also incredibly durable. Modern carbon frames are designed with multiple layers of carbon fiber, arranged in a way that makes them resistant to cracking and damage. They can withstand impacts better than one might expect from such a light material, and advancements in carbon technology continue to improve their resilience and lifespan.
Carbon frames are also more resistant to corrosion than metal frames, which means they can last for many years with proper care and maintenance. This longevity makes carbon frames a good long-term investment for serious cyclists who want to get the most out of their bike.
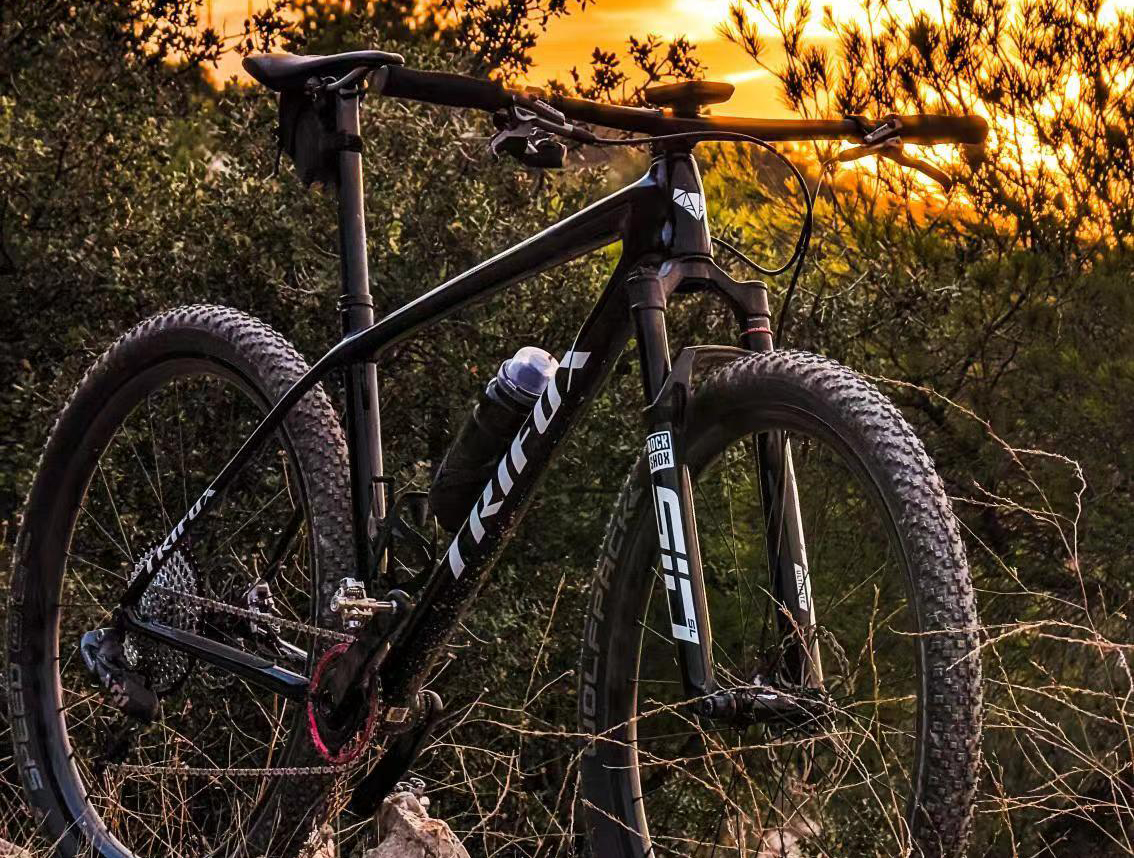
In the world of cycling, where every advantage counts, carbon frames stand out as the future of lightweight cycling. Their combination of strength, lightweight construction, stiffness, vibration damping, and durability makes them the ideal choice for cyclists who want to maximize performance and comfort. Whether you're looking to shave off those extra grams in a race or simply want a bike that offers the best in speed and handling, a carbon frame is an investment that can take your cycling experience to the next level.
As technology continues to evolve, carbon frames will only become more refined, offering even greater performance benefits. If you're serious about cycling, it’s clear that carbon frames are the future—and they might just be the perfect upgrade for your next bike.
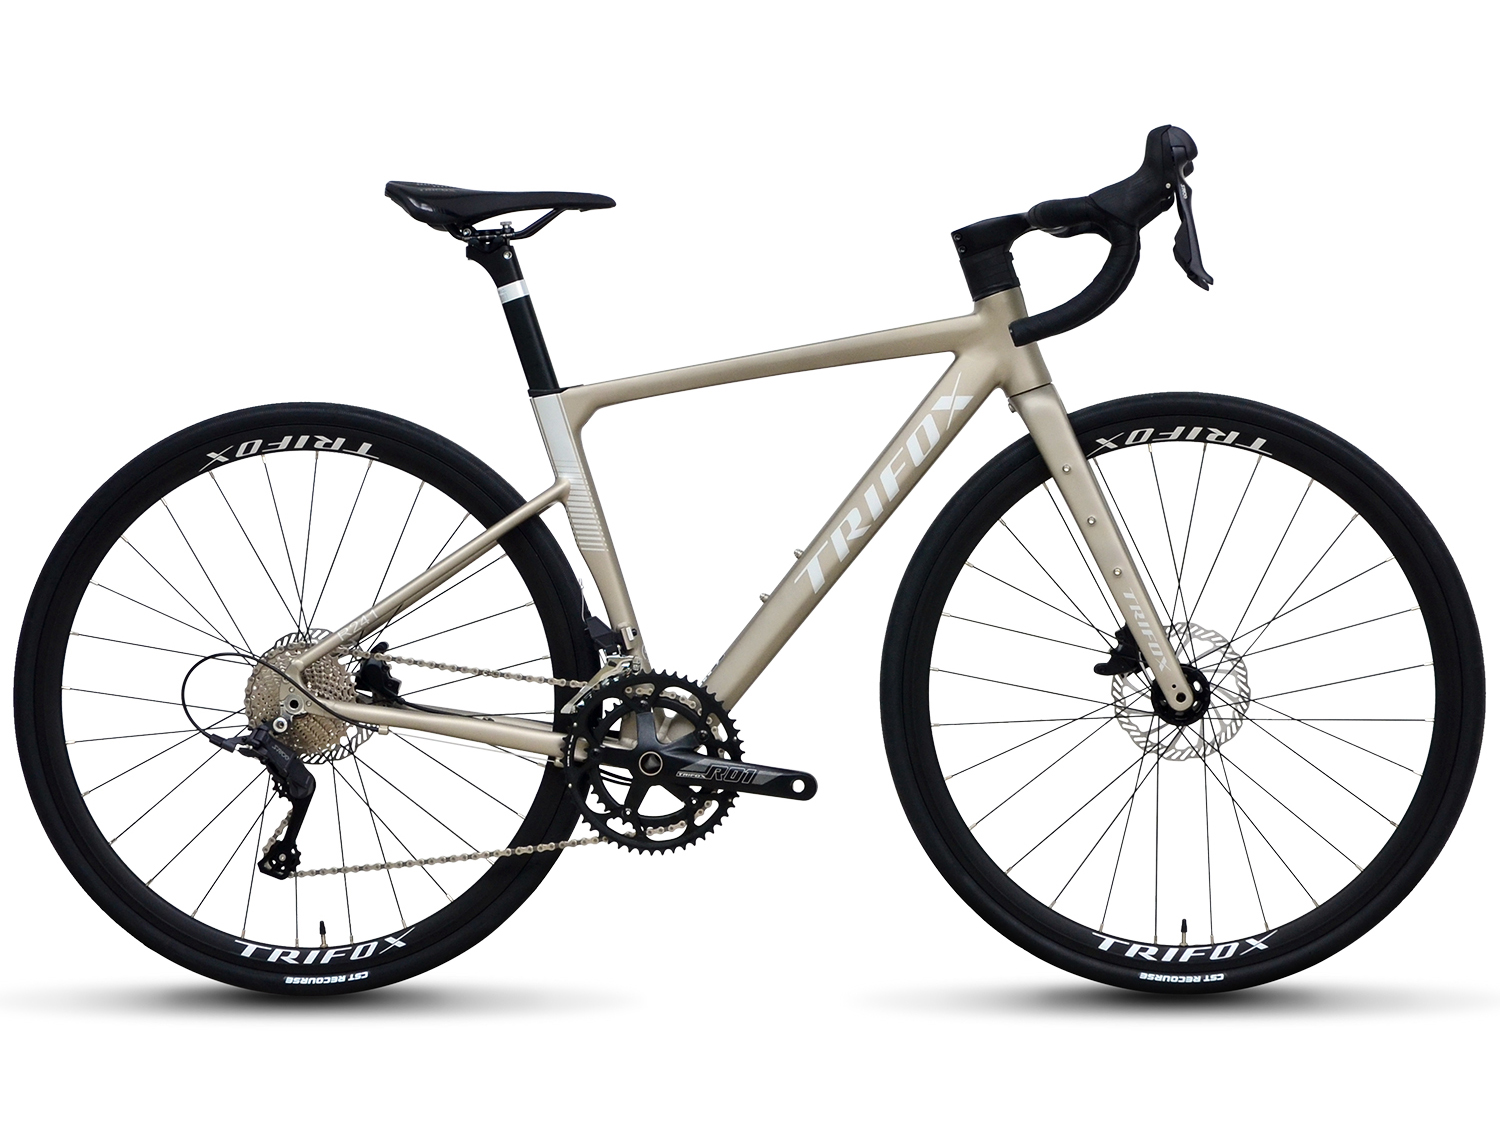
For cycling enthusiasts and competitive riders, the quest for speed is an ongoing challenge. Every part of the bike contributes to the overall performance, from the frame material to the gearing system. Among the most popular choices for speed-focused cyclists is the 11-speed aero road bike. These bikes promise improved aerodynamics, faster shifting, and a more efficient ride, but the question remains: is an 11-speed aero road bike worth the investment for those who are serious about speed?
1. Precision Shifting and Gear Range
One of the most significant upgrades you get with an 11-speed system is the increased gear range and smoother, faster shifting. Compared to a 10-speed bike, an 11-speed drivetrain allows for more closely spaced gears. This means you can make finer adjustments in your cadence, ensuring that you always find the perfect gear to optimize your pedaling efficiency—whether you're powering through flat stretches or tackling a challenging climb.
The added gears also give you a broader range, helping to maintain speed on varying terrains. For speed enthusiasts, having the ability to fine-tune your gear selection in response to changes in gradient or wind conditions is a huge advantage. In races or time trials where every second counts, this level of precision can make the difference between a podium finish and an also-ran result.
2. Aerodynamics and Speed
An aero road bike is designed with one goal in mind: speed. The frame geometry is optimized to reduce drag, and the bike’s overall design helps the rider achieve a more aerodynamic position. Combined with the 11-speed drivetrain, which allows for more efficient power transfer, an aero road bike helps cyclists maintain higher speeds with less energy.
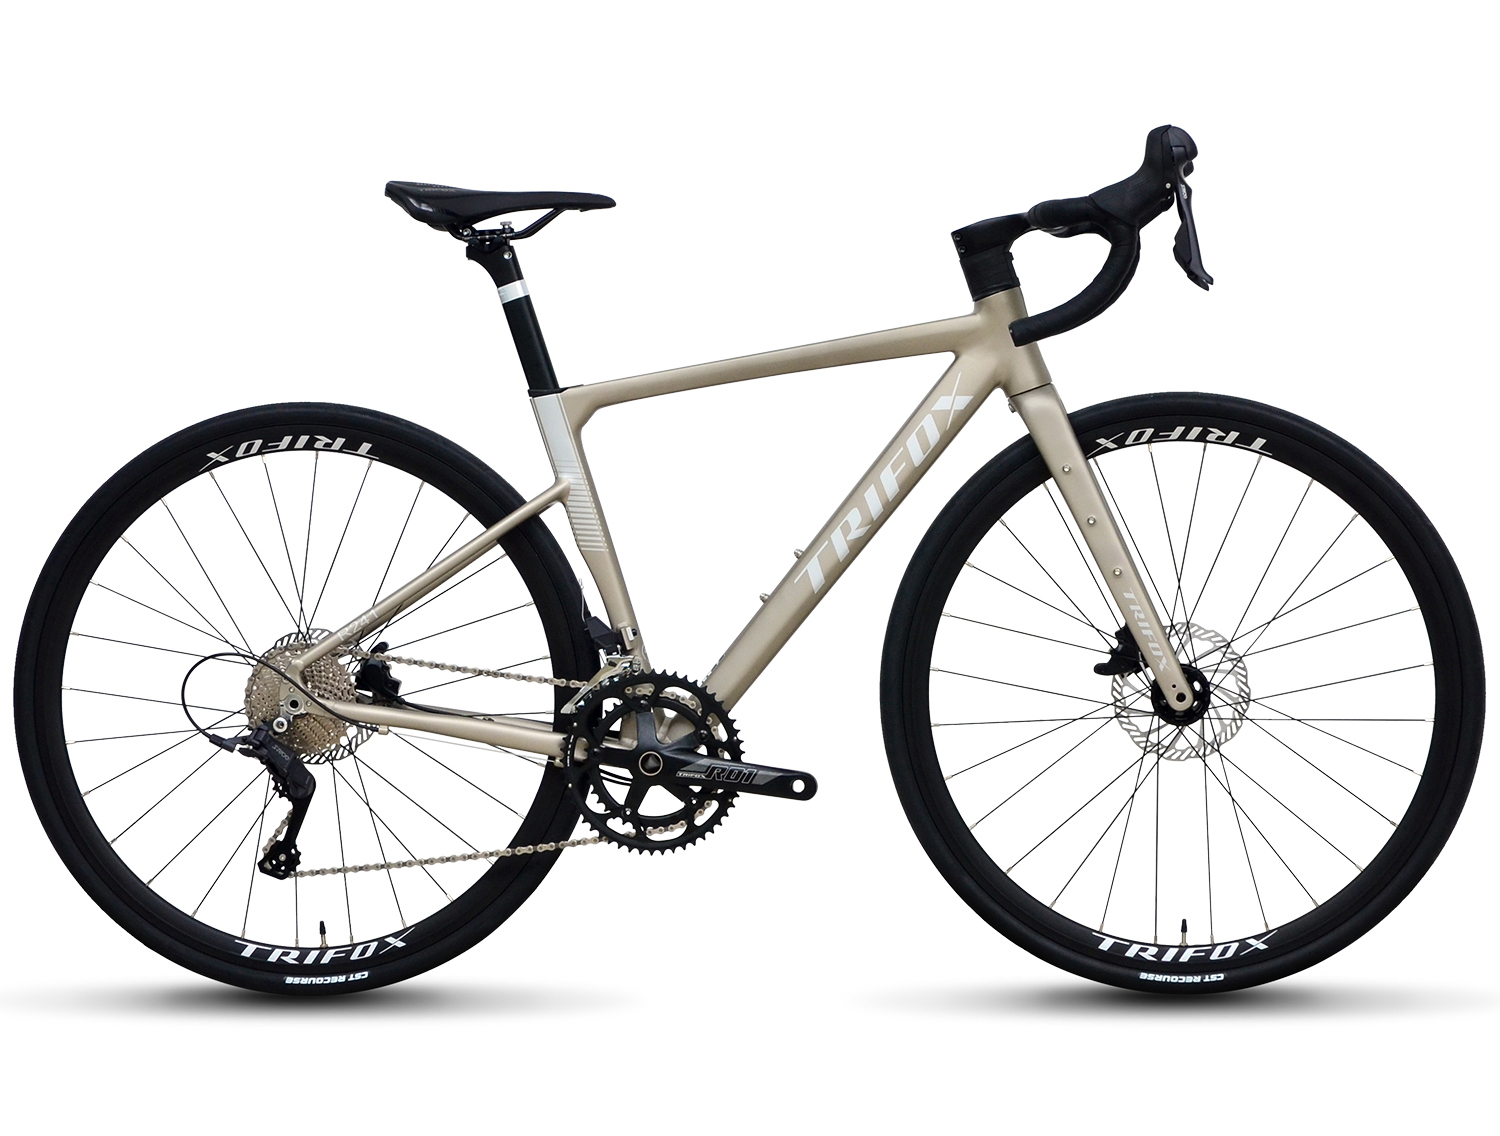
The Trifox 2024 R241, for example, features a carbon fork and aluminum frame, a combination that delivers both aerodynamics and durability without sacrificing weight. The lighter frame, combined with the aerodynamic design, reduces wind resistance, allowing cyclists to achieve faster speeds with less effort. For speed enthusiasts, this means that you can ride faster, use less energy, and maintain high speeds over longer distances.
3. Better Control with Disc Brakes
In addition to the performance benefits of the 11-speed system, modern aero road bikes like the Trifox R241 come equipped with disc brakes. Disc brakes provide superior stopping power, especially in wet or variable conditions, allowing for better control at high speeds. For speed enthusiasts, having the confidence to brake effectively—without compromising safety or control—is crucial when navigating downhill stretches or tight corners during competitive events.
When you're pushing your bike to its limits, knowing that your braking system can handle the demands of high-speed riding offers peace of mind, ensuring you can focus on performance without worrying about safety concerns.
4. Enhanced Durability and Performance Over Long Distances
While the initial investment in an 11-speed aero road bike may seem steep, these bikes are built for durability. The quality of materials, such as the aluminum frame and carbon fork found in the Trifox R241, is designed to withstand the demands of long-distance rides, high-speed sprints, and tough training sessions. Aero bikes are engineered for riders who are pushing their limits, and these frames can handle the stress of aggressive riding.
Moreover, the S-Ride 2x11-speed groupset offers smooth, responsive performance over time, even as it experiences wear and tear. The added durability ensures that you're not just buying a bike for today but investing in a machine that will serve you well through many seasons of racing and training.
5. The Cost-to-Performance Ratio
One of the key considerations when purchasing any high-performance bike is the cost-to-performance ratio. While an 11-speed aero road bike like the Trifox R241 may come at a premium price compared to entry-level models, the performance gains in terms of speed, efficiency, and aerodynamics make it a worthwhile investment for serious cyclists. If speed is your top priority, the precision and control offered by an 11-speed system can significantly enhance your overall riding experience.
For speed enthusiasts, the ability to gain an edge in both training and competition can justify the investment. When you factor in the long-term durability and the advanced features like disc brakes and aerodynamic frame design, an 11-speed aero road bike offers both performance and value.
Conclusion
If you’re a speed enthusiast looking to elevate your riding experience, the 11-speed aero road bike is definitely worth the investment. With benefits like precision shifting, superior aerodynamics, better braking performance, and long-term durability, this bike type is built to optimize every ride. Whether you’re a competitive cyclist or a recreational rider aiming for higher speeds, a well-designed aero road bike like the Trifox R241 can help you achieve your goals while providing a thrilling and efficient ride.
Whether you’re a competitive cyclist, a recreational rider, or someone aiming to improve fitness, setting goals is crucial for progress. Goals give purpose and direction to your cycling journey, helping you stay motivated, track progress, and push your limits. But it’s not enough to simply say, “I want to get better at cycling.” Achieving goals requires strategy, dedication, and a clear plan. So, what are the best strategies for setting and achieving your cycling goals?
1. Define Clear, Measurable Goals
The first step in any goal-setting process is to define clear, measurable objectives. Without clear goals, it's easy to lose sight of what you want to achieve. Instead of saying, “I want to ride more,” set specific targets, such as:
-Ride a certain number of miles per week: “I will ride 100 miles per week.”
-Achieve a specific speed or time: “I will improve my 10-mile time by 10%.”
-Participate in a cycling event: “I will complete a 100-mile race by the end of the season.”
Measurable goals make it easier to track your progress and stay motivated, as you can see the tangible improvements over time.
2. Break Goals into Smaller Milestones
Once you have your big goal, break it down into smaller, more manageable milestones. These milestones act as checkpoints on your journey and give you a sense of achievement as you progress. For instance, if your ultimate goal is to complete a century ride (100 miles), break it down into milestones like:
-Week 1: Ride 30 miles
-Week 3: Ride 50 miles
-Week 6: Ride 75 miles
-Week 9: Complete 100 miles
Smaller, incremental goals help you stay focused without becoming overwhelmed by the larger target. They also provide an opportunity for frequent celebrations and reinforce the habit of progress.
3. Focus on Consistency Over Intensity
Consistency is key to progress in cycling. While it’s tempting to push yourself hard during a single workout, long-term success comes from steady, consistent effort. Try to establish a regular cycling schedule that fits your lifestyle and gradually increases in intensity over time.
For example, if you’re aiming to build endurance, focus on steadily increasing your weekly mileage. If you’re working on speed, try to gradually improve your time on a set route or track.
Remember, consistency doesn’t mean pushing yourself to exhaustion every ride. It means making cycling a regular habit, which will pay off over time.
4. Track Your Progress with Technology
One of the advantages of cycling in the modern age is the plethora of technology available to help track your progress. Bike computers, GPS devices, fitness apps, and heart rate monitors can provide valuable data on your performance. Track metrics like speed, distance, heart rate, cadence, and elevation gain to see where you are improving and where you need to focus.
For example, tools like Strava and Garmin can track your rides and let you compare performance over time. This data-driven approach helps you stay focused and adjust your training plan as necessary.
5. Create a Training Plan
A structured training plan tailored to your cycling goals is essential for making measurable progress. Whether you’re training for a race or simply aiming to improve your fitness, a well-balanced training plan should include:
-Endurance rides: Longer, steady rides to build stamina.
-Interval training: Short, intense bursts of effort followed by rest periods to improve speed and power.
-Strength training: Exercises off the bike (like leg and core workouts) to improve cycling performance and prevent injury.
-Rest and recovery: Incorporating rest days is crucial to allow muscles to repair and grow stronger.
A structured training plan ensures that you’re working on different aspects of your cycling abilities and prevents burnout.
6. Stay Flexible and Adapt Your Plan
Life can sometimes interfere with your best-laid plans, whether it’s weather conditions, illness, or other commitments. It’s important to stay flexible and adapt your goals and training plans when necessary. Missing a few rides or having to adjust your target date isn’t a failure—it’s an opportunity to learn and adjust.
For example, if weather conditions cause you to miss an outdoor ride, consider doing an indoor trainer session or an alternate form of exercise to maintain fitness.
7. Celebrate Milestones and Stay Positive
Cycling goals can take time to achieve, but celebrating small victories along the way can help you stay motivated. Whether it’s completing a challenging ride, hitting a personal best, or simply sticking to your training schedule, recognize your progress. Positive reinforcement is key to maintaining enthusiasm, especially during tough times.
Additionally, maintain a positive mindset and focus on your progress rather than setbacks. Cycling can be challenging, but with persistence and the right strategies, you can overcome obstacles and reach your goals.
Conclusion
Setting and achieving cycling goals requires more than just motivation—it requires a clear strategy. By setting specific, measurable goals, breaking them into manageable milestones, staying consistent, and tracking progress, you’ll be well on your way to becoming a better cyclist. Remember to stay flexible, celebrate your achievements, and keep a positive mindset. With patience and persistence, you’ll see significant progress and achieve your cycling goals.
For more tips and cycling gear recommendations to support your journey, visit Trifox Bike. Happy riding!
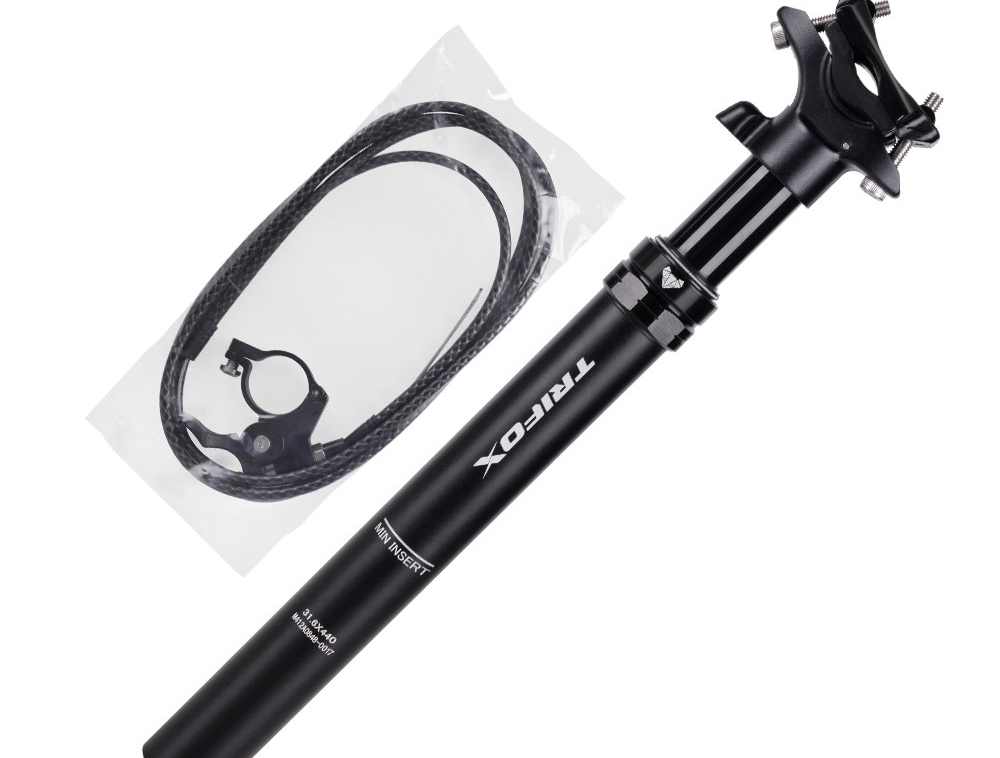
Cycling enthusiasts know that every component of a bike contributes to the overall riding experience. One often overlooked part is the seatpost, which can significantly impact comfort, performance, and bike handling. Among the various options available, the 27.2 carbon seatpost stands out for its unique benefits, making it a top choice for many cyclists.
The Benefits of a 27.2 Carbon Seatpost
1. Weight Reduction: Carbon seatposts are renowned for their lightweight properties. The 27.2 mm diameter is particularly popular because it offers a perfect balance between strength and weight savings. A lighter seatpost reduces the overall bike weight, enhancing acceleration and climbing efficiency, especially beneficial for competitive cyclists.
2. Vibration Dampening: Carbon fiber is excellent at absorbing road vibrations, providing a smoother ride. This feature is crucial for long-distance cyclists who need to minimize fatigue over extended rides. The 27.2 carbon seatpost helps in reducing the vibrations felt through the saddle, improving comfort significantly.
3. Performance Improvement: By lowering the bike's weight and providing better vibration absorption, a carbon seatpost can dramatically improve ride quality and performance. Cyclists often experience better control and responsiveness, which is essential for high-speed descents and technical terrains.
Why Trifox Bike?
Trifox Bike has established itself as a leader in manufacturing high-quality carbon bike components, including seatposts. Here are some reasons why Trifox is an excellent choice for your next bike upgrade:
- Quality and Durability: Trifox seatposts, such as the SLS21 Bike Seatpost, are crafted from premium carbon fiber, ensuring durability and longevity. These seatposts are tested for strength and resilience, providing peace of mind for cyclists tackling challenging routes.
- Affordable Pricing: Trifox offers competitive pricing on their carbon seatposts, with discounts making them accessible to a broad range of cyclists. For instance, the AP316 Dropper Seatpost is available at a 58% discount, showcasing Trifox's commitment to affordability.
- Customer Support and Convenience: With free shipping on orders over $50 and 24/7 live chat support, Trifox ensures a seamless shopping experience. Their secure payment options add an extra layer of trust for customers purchasing online.
Tips for Choosing the Right Seatpost
When selecting a 27.2 carbon seatpost, consider the following factors to ensure it meets your needs:
- Compatibility: Ensure the seatpost diameter matches your bike's frame specifications. A 27.2 mm seatpost is standard, but always double-check your bike's requirements.
- Riding Style: Consider your riding style and conditions. If you frequently ride on rough terrains, prioritize seatposts known for excellent vibration dampening.
- Adjustment and Fit: Look for seatposts with easy adjustability for saddle height and angle, ensuring you can fine-tune your position for maximum comfort.
- Material Quality: Opt for seatposts made from high-grade carbon fiber for the best balance between weight, strength, and durability.
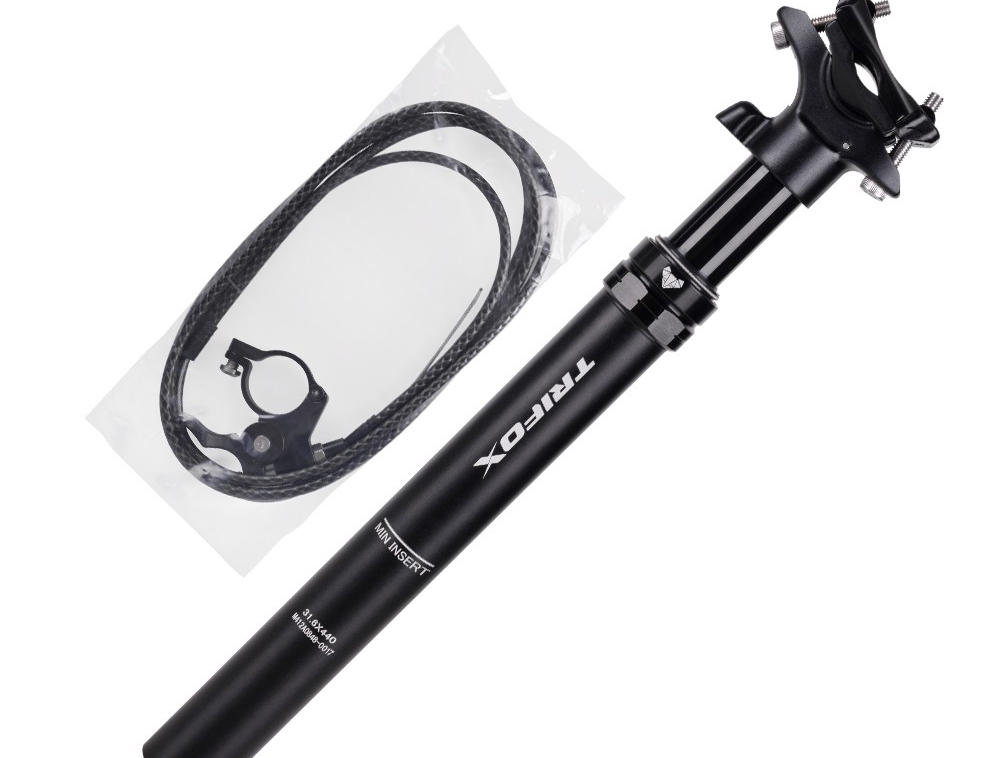
In conclusion, choosing a 27.2 carbon seatpost can significantly enhance your cycling experience by offering weight savings, improved comfort, and enhanced performance. Trifox Bike provides a range of high-quality and affordable options, making it an ideal choice for cyclists looking to upgrade their bike components. By focusing on compatibility, riding style, and material quality, you can select a seatpost that perfectly complements your cycling needs and preferences.


