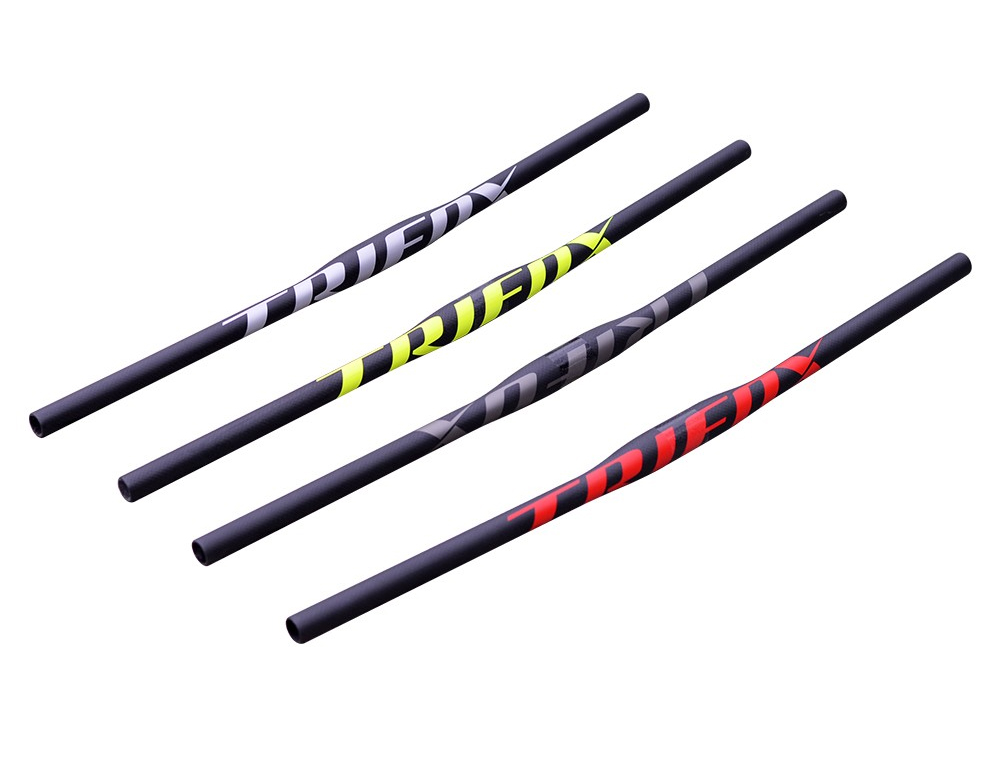
Flat handlebars have become a popular choice among cyclists, especially those navigating the rugged terrains of mountain biking. Known for their straightforward design and functional advantages, flat handlebars like the Trifox Carbon Flat Bar FHB100 can significantly enhance your biking experience.
Introduction to Flat Handlebars
Flat handlebars are characterized by their straight shape, providing a wide grip that promotes stability and control. This design is particularly advantageous for mountain bikers who require precise steering on challenging trails. Unlike drop handlebars, flat bars offer a more upright riding position, which can help reduce fatigue during long rides and improve visibility, making them ideal for both novice and seasoned riders.
Benefits of Flat Handlebars
1. Improved Control: The wide grip of flat handlebars enhances leverage and control, allowing riders to maneuver their bikes with greater ease. This is crucial when navigating steep descents or tight corners, where precise steering is necessary.
2. Comfort: By promoting an upright posture, flat handlebars help distribute weight evenly across the body, reducing strain on the back and wrists. The Trifox Carbon Flat Bar FHB100, with its ergonomic design, further alleviates discomfort by dampening vibrations, a common issue on uneven terrains.
3. Weight Reduction: Materials like carbon fiber, used in the Trifox FHB100, provide strength without the added weight. This makes climbing hills less strenuous and enhances overall bike handling. The lightweight nature of carbon fiber handlebars also contributes to improved acceleration and agility.
Choosing the Right Flat Handlebars
Selecting the right flat handlebars involves considering several factors:
- Material: Carbon fiber is a top choice due to its lightweight and durable properties. The Trifox Carbon Flat Bar FHB100, crafted from T700 carbon fiber with a 3K weave, offers a perfect blend of strength and performance.
- Back Sweep and Width: A slight back sweep, like the 3-degree angle found in the Trifox FHB100, can enhance comfort by aligning the wrists naturally. The width of the handlebar should match the rider’s shoulder width, ensuring optimal control and comfort.
- Compatibility: Ensure that the handlebars are compatible with your bike’s stem size. The Trifox Carbon Flat Bar FHB100, for instance, is designed to fit a 31.8mm stem, making it versatile for various bike models.
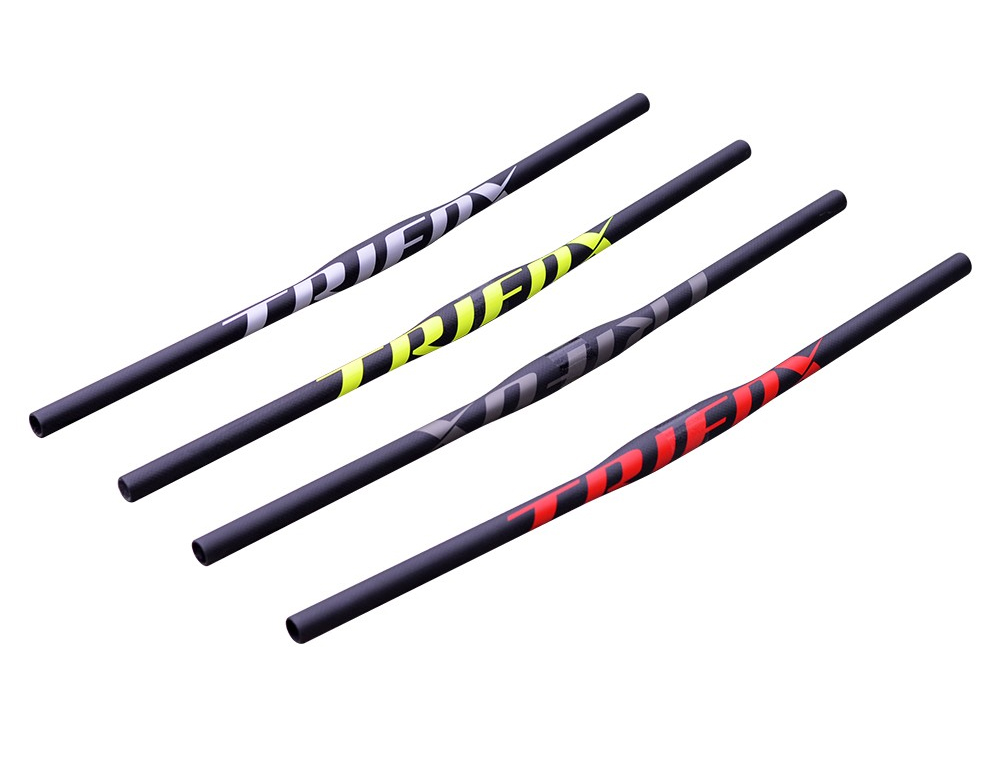
Flat handlebars are an excellent choice for cyclists seeking improved control, comfort, and reduced bike weight. By considering factors such as material, back sweep, and compatibility, riders can find handlebars that enhance their performance and riding enjoyment.
The Trifox Carbon Flat Bar FHB100 exemplifies these benefits, offering a reliable option for those looking to upgrade their biking experience. Whether you're tackling mountain trails or enjoying a city commute, flat handlebars can significantly amplify your cycling adventures, making them a worthwhile investment for any cyclist's toolkit.
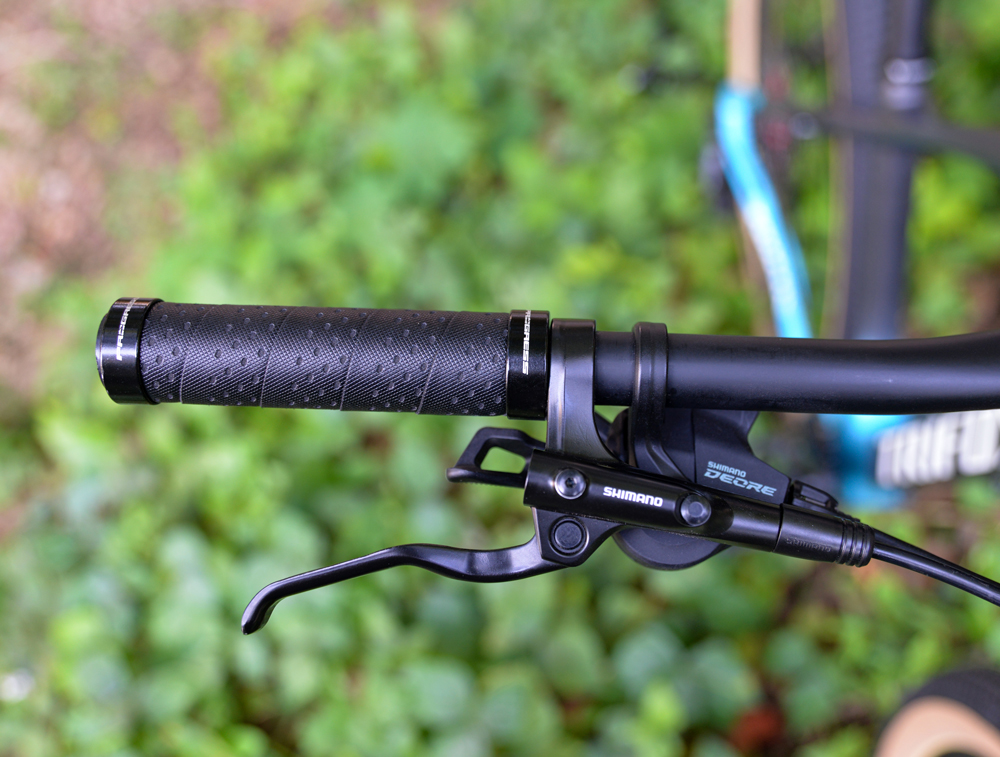
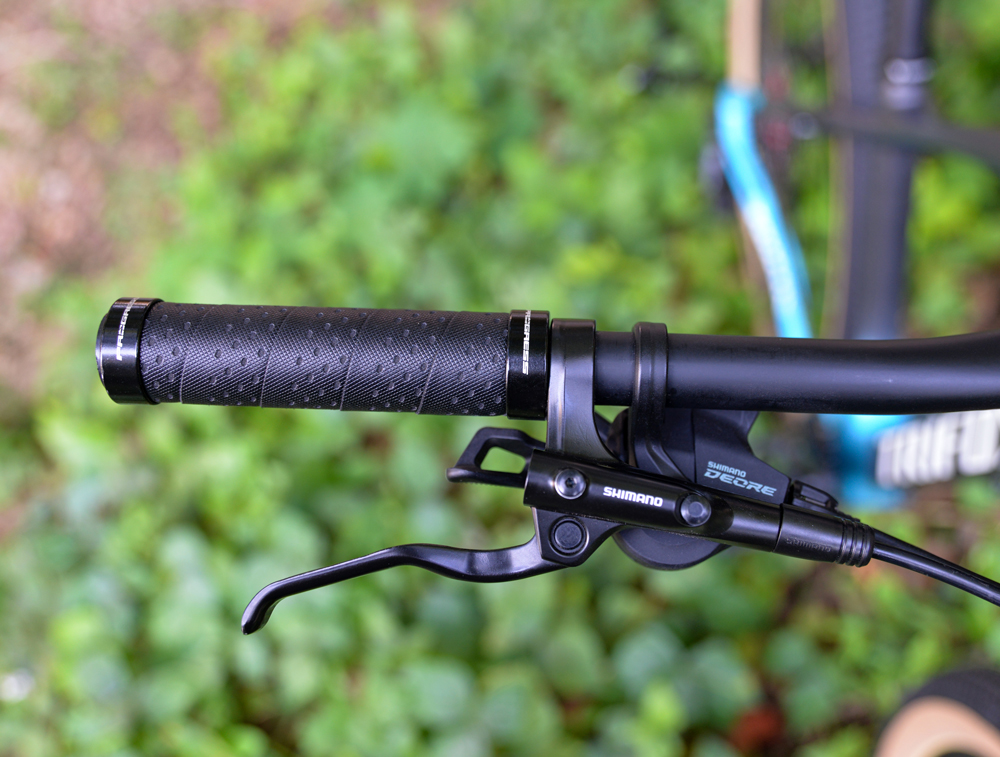
For mountain biking enthusiasts, navigating rugged trails requires not only skill but also the right equipment to ensure comfort and control. One crucial yet often underestimated component is the bike grips. The right MTB bike grips can make a significant difference in your riding experience, providing both comfort and improved handling on the trails.
Choosing the right mountain bike grips starts with understanding their impact on your ride.
High-quality grips can reduce hand fatigue and increase control, crucial for tackling varying terrain with confidence. Key features to look out for include the material, texture, and locking mechanisms that ensure the grips stay firmly in place.
Material plays an essential role in the comfort and durability of bike grips. The Trifox MBT100 grips, for example, are made from robust rubber, offering a balance of comfort and resilience. Rubber grips provide excellent cushioning, absorbing shocks and vibrations that are common on bumpy trails, thus reducing strain on your hands and wrists.
Grip texture is another critical component. The MBT100 grips are designed with anti-slip properties that ensure a secure hold even in wet or muddy conditions. This texture enhances your control over the handlebars, allowing for precise steering and better handling of your bike. Whether you're navigating tight corners or descending steep slopes, maintaining a firm grip is essential for safety and performance.
Additionally, the locking mechanism is vital for ensuring that your grips remain securely attached to the handlebars. The Trifox MBT100 features a locking system that prevents slipping or rotation, providing peace of mind as you tackle challenging trails. This feature is particularly beneficial during intense rides where stability is paramount.
When selecting MTB grips, consider your riding style and personal preferences. Factors such as hand size, riding conditions, and the type of terrain you typically encounter should influence your choice. Test different grips to find the perfect fit that offers both comfort and control.
In conclusion, investing in the right MTB bike grips, like the Trifox MBT100, can greatly enhance your biking experience.
By focusing on features that prioritize comfort and control, you can ride longer and tackle trails with greater confidence. Consider upgrading your grips to enjoy improved comfort and performance on your next adventure. Happy trails!
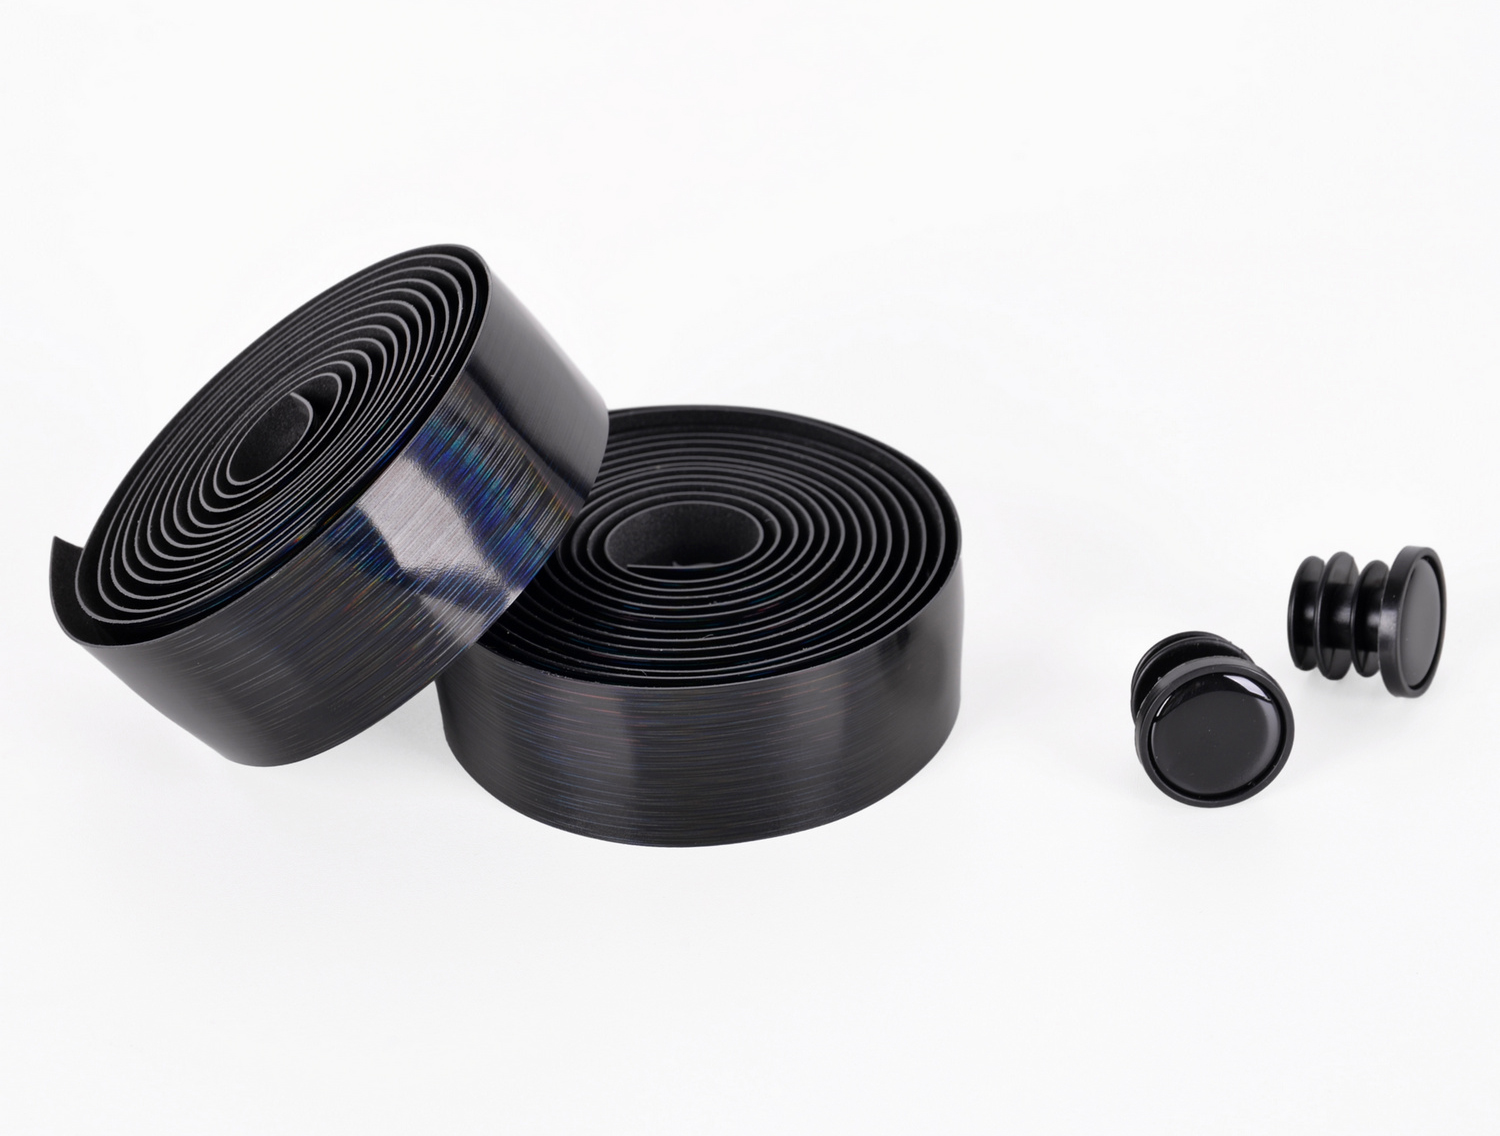
Cyclists often seek ways to enhance their performance and comfort, and taping aero bars is a simple yet impactful method to achieve this. Aero bars, used primarily by triathletes and time trialists, offer aerodynamic advantages by allowing cyclists to assume a more streamlined position.
Taping these bars with high-quality handlebar tape, such as Trifox Bike's BHT100, further enhances grip, comfort, and aerodynamics, making it an essential practice for serious cyclists.
One of the primary benefits of taping aero bars is improved grip. During long rides or competitive events, maintaining a secure hold on the bars is crucial, especially in adverse weather conditions.
The BHT100 tape, made from EVA and PU leather, provides a textured surface that offers excellent grip, even when wet. This ensures that cyclists can maintain control and stability, which is vital for safety and performance.
In addition to grip, comfort is significantly enhanced through taping. The padded nature of handlebar tape acts as a cushion against road vibrations, reducing hand fatigue and discomfort. This is particularly beneficial during long-distance rides or time trials where comfort can directly influence endurance and performance.
Taping also contributes to the aerodynamics of the aero bars. By creating a smooth surface, tape minimizes air resistance, allowing cyclists to maintain their aerodynamic posture without interruptions. This subtle yet effective improvement can lead to time savings during races.
Here’s a step-by-step guide on how to tape your aero bars effectively:
1. Preparation: Begin by cleaning the aero bars thoroughly to remove any dirt or grease. This ensures that the tape adheres properly.
2. Application: Start at the end of the aero bars, securing the tape with a small overlap. Stretch the tape slightly as you wrap it tightly around the bars, ensuring each wrap overlaps the previous one by half. This technique prevents gaps and ensures full coverage.
3. Finishing Touches: Once you reach the top of the bars, trim any excess tape and secure the end with the finishing tape provided. Ensure the tape is smooth and securely fastened to prevent unraveling during rides.
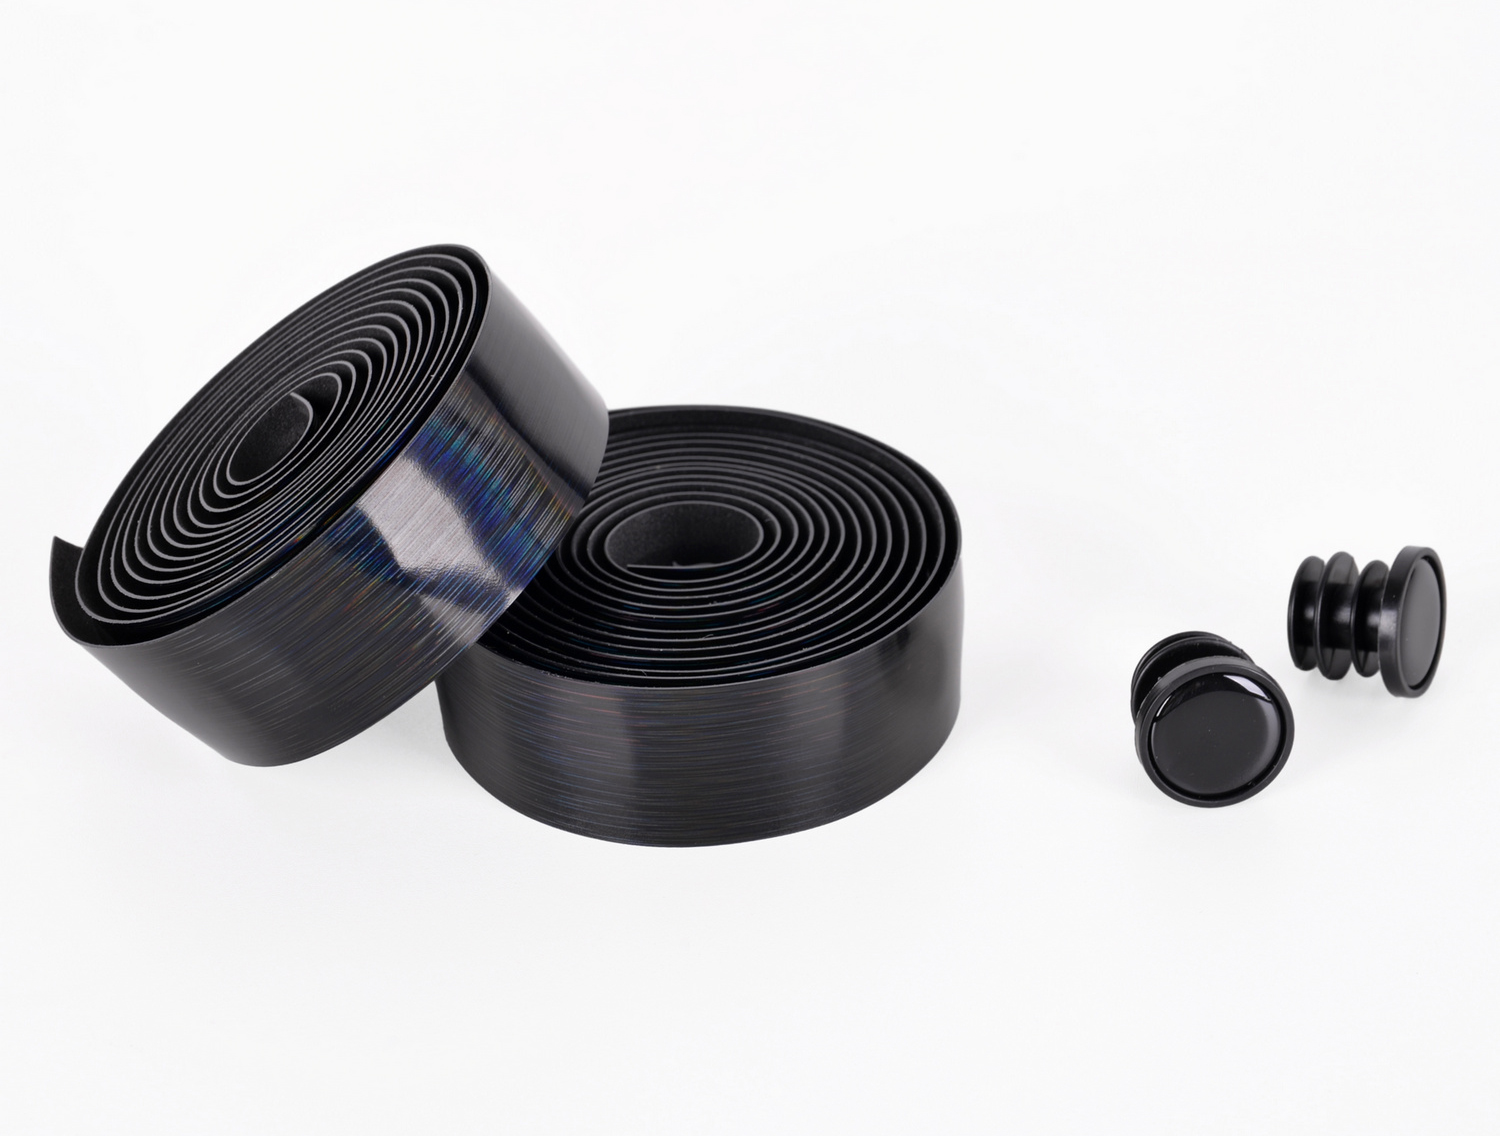
Trifox Bike's BHT100 tape is an excellent choice for taping aero bars. Its durability and cushioning provide both comfort and performance enhancements. With easy installation and a reliable grip, it is designed to meet the demands of cyclists at any level.
In conclusion, taping aero bars offers tangible benefits in terms of grip, comfort, and aerodynamics, making it a valuable practice for cyclists. By using high-quality tape like Trifox Bike's BHT100, riders can optimize their aero bars for superior performance and comfort, ensuring a more enjoyable and efficient cycling experience.
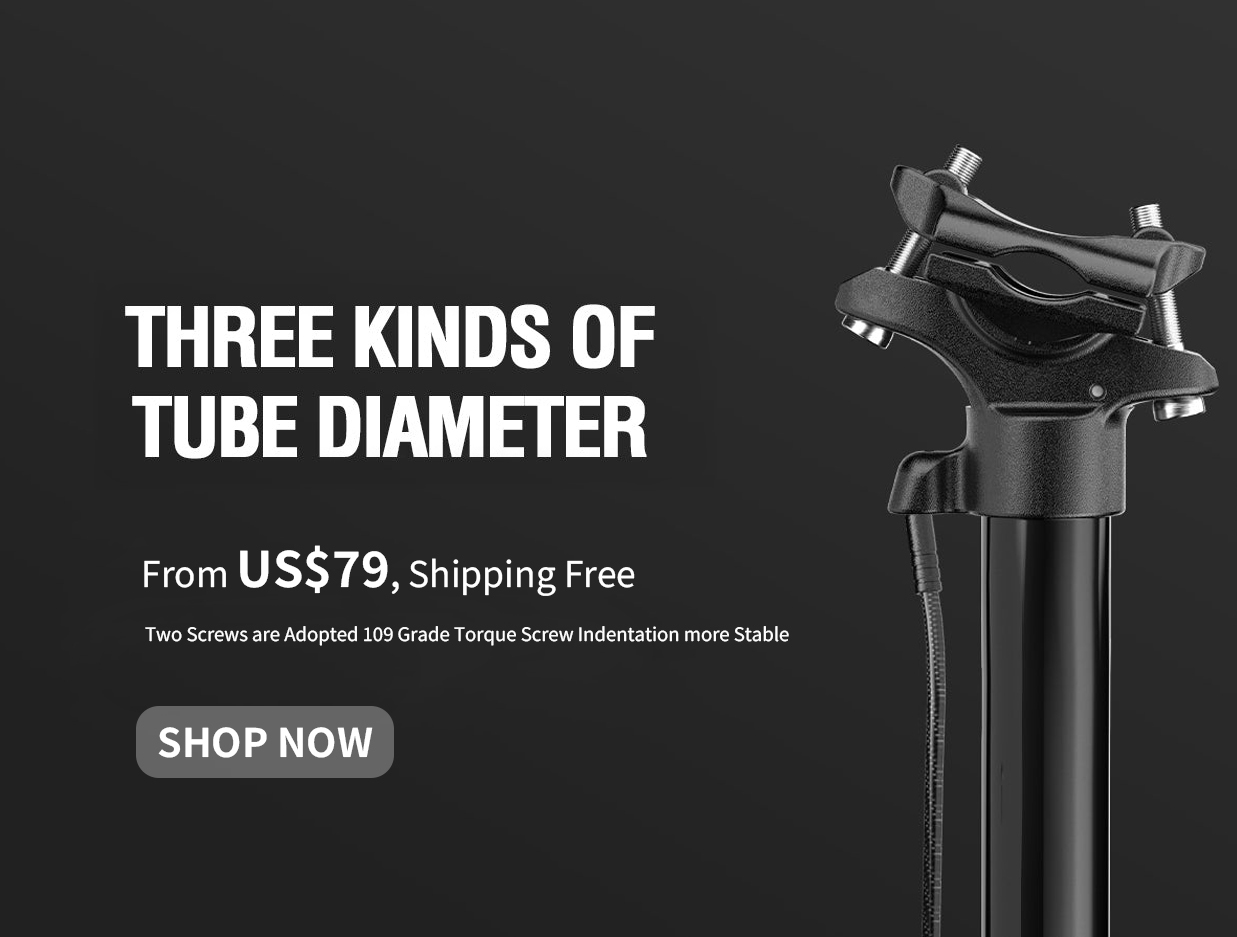
Choosing the right seatpost tube can significantly enhance your riding experience, whether you're tackling rugged mountain trails or cruising on smooth tarmac.
A seatpost is more than just a connector between your saddle and bike frame—it plays a crucial role in your bike's comfort, control, and overall performance. Let's explore how selecting the right seatpost tube can transform your ride and what options are available to suit various cycling needs.
For mountain bikers, the terrain's unpredictable nature demands a seatpost that can adapt quickly. This is where dropper seatposts shine. A dropper seatpost allows you to adjust your seat height on-the-fly, offering the flexibility to lower your saddle for technical descents and raise it again for efficient pedaling on flats or climbs.
Imagine bombing down a steep trail—by lowering your seatpost, you can shift your center of gravity and maintain better control, enhancing your safety and confidence. Trifox Bike's AP316 and AP309 Dropper Seatposts are excellent examples, designed to provide seamless transitions and reliable performance on challenging trails.
On the road cycling front, the choice of material and design becomes paramount. Carbon seatposts are popular among road cyclists due to their lightweight and vibration-damping properties. The material helps absorb road buzz, reducing fatigue on long rides and contributing to a more comfortable experience.
Additionally, the stiffness of a carbon seatpost ensures efficient power transfer, allowing you to maximize your effort during sprints or climbs.
Adjustability is another key factor to consider. A seatpost with micro-adjustability features can help you fine-tune your saddle position, ensuring optimal comfort and pedaling efficiency. This is crucial for maintaining proper biomechanics and preventing discomfort or injuries over long distances. Whether you're a casual rider or a competitive cyclist, the ability to adjust your setup for the perfect fit cannot be overstated.
Design innovations in seatposts also contribute to a better riding experience. Some seatposts feature aerodynamic designs that reduce drag, a critical consideration for time-trial cyclists and racers seeking every possible advantage. Others may include suspension mechanisms to further enhance comfort on rough surfaces.
Trifox Bike offers a range of seatposts catering to different cycling disciplines. Their dropper seatposts, such as the AP316 and AP309, provide exceptional performance for mountain bikers, while their carbon seatposts are ideal for road cyclists looking to minimize weight and maximize comfort. Each product is crafted with precision, ensuring durability and reliability under various riding conditions.
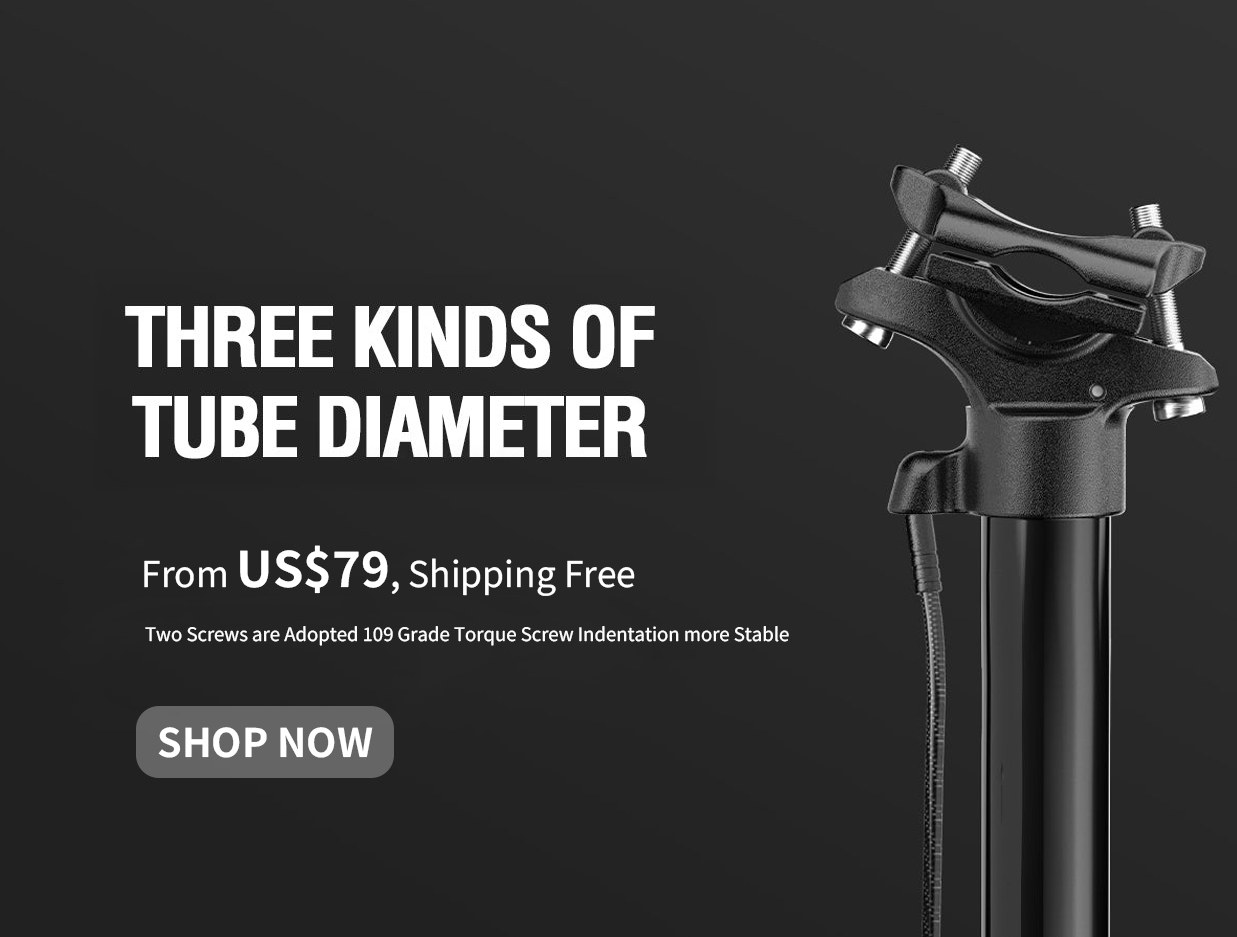
To explore Trifox Bike's seatpost offerings, visit their dropper seatpost page. Whether you're upgrading to tackle more challenging trails or seeking comfort on endurance rides, the right seatpost tube can make all the difference in your cycling experience. Embrace the benefits of a well-chosen seatpost and elevate your ride to new heights.
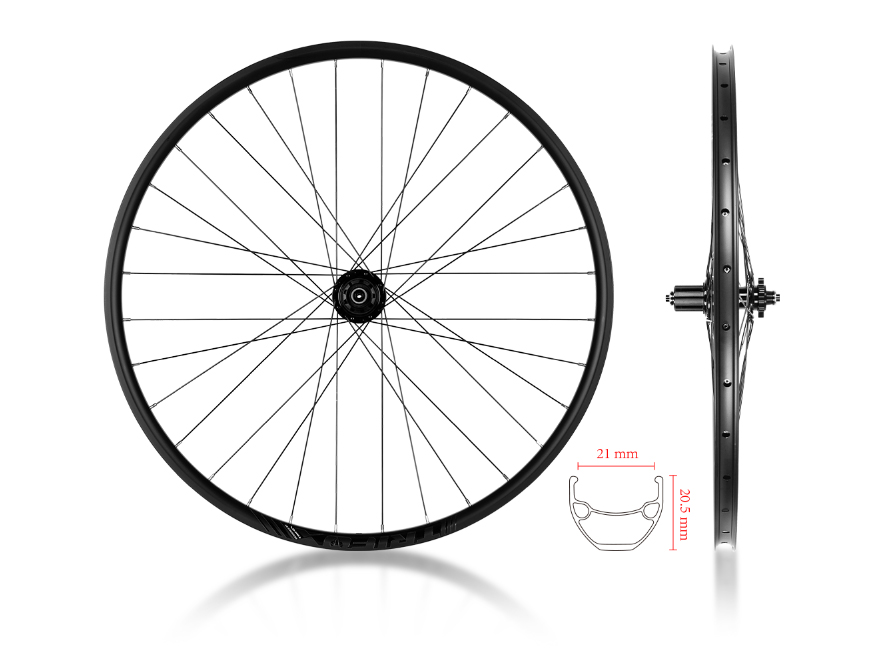
Properly aligning your rim brake alloy wheelset is crucial for peak performance and a smooth ride. Here’s a step-by-step guide to aligning the Trifox 29er Alloy Mountain Bike Wheelset WM823.
Step-by-Step Alignment Guide
1. Check for Trueness: Place your bike on a stand and spin the wheel. Observe the rim from above to spot any wobbles. If the rim moves side-to-side, it needs truing. A truing stand can help, but you can also use the bike’s brake pads as a reference.
2. Adjust Spoke Tension: Use a spoke wrench to adjust the tension. Turn the nipple clockwise to tighten and counterclockwise to loosen. Focus on small increments. Tighten the spokes on the opposite side of the wobble. For vertical alignment, adjust every few spokes to ensure even tension.
3. Ensure Proper Brake Pad Alignment: Loosen the brake pad mounting bolt and align the pad so it’s parallel to the rim and strikes the center. Make sure the pad clears the tire and isn’t too close to the edge of the rim. Tighten the bolt once aligned.
Tips for Peak Performance
Regular Inspections: Check your wheelset for trueness and spoke tension regularly. Look for any signs of wear or damage.
Cleanliness: Keep the rims and brake pads clean to prevent dirt buildup, which can affect braking efficiency.
Proper Tools: Invest in quality tools like a truing stand, spoke wrench, and torque wrench for precise adjustments.
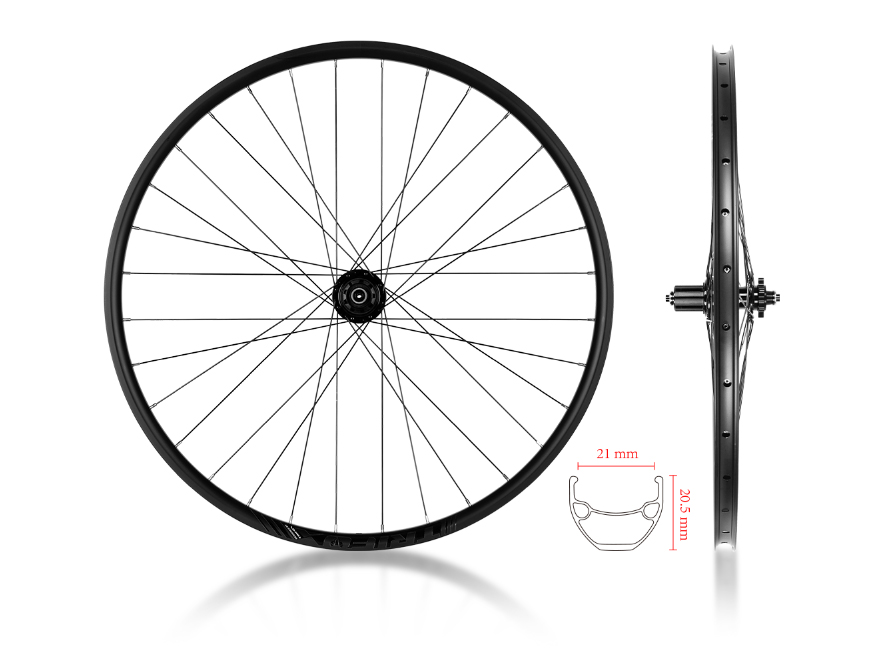
Benefits of a Well-Aligned Wheelset
A well-aligned wheelset like the Trifox WM823 enhances braking efficiency, ensuring that your bike stops smoothly and safely. Proper alignment also improves ride smoothness, reducing vibrations and providing a more comfortable experience.
In conclusion, aligning your rim brake alloy wheelset is essential for maintaining peak performance. Regular checks, proper tools, and careful adjustments will help you enjoy the utmost efficiency and smoothness in your rides. With the Trifox 29er Alloy Mountain Bike Wheelset WM823, you can trust in durability and performance to elevate your cycling adventures.
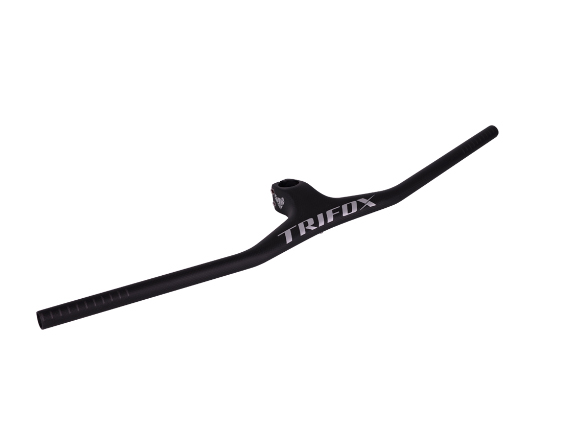
Upgrading your bike with a 3K weave handlebar is an excellent way to enhance performance, comfort, and aesthetics. Here’s how to make the most of this upgrade:
Choose Quality: Start with a high-quality option like the Trifox Carbon Integrated Handlebar RHB200. The 3K weave carbon fiber ensures superior strength and lightweight properties, reducing overall bike weight for better handling.
Compatibility: Ensure the new handlebar fits your bike’s stem and fork. Check the clamp diameter to match your current setup, commonly 31.8mm or 35mm.
Remove Old Handlebars: Safely remove the old handlebars by loosening the stem bolts. Carefully detach the brake levers, shifters, and any accessories.
Install the New Handlebar: Position the new 3K weave handlebar on the stem, ensuring it is centered and properly aligned with the front wheel. Tighten the stem bolts evenly to avoid any imbalance.
Attach Controls: Reinstall the brake levers and shifters, adjusting their positions for comfortable reach. Securely fasten all components.
Cable Management: Neatly reroute and secure the cables using zip ties or integrated channels if available. This ensures a clean look and prevents interference while riding.
Grip and Tape: Install new grips or wrap the handlebars with tape for added comfort and better grip. This also helps in absorbing vibrations during rides.
Test and Adjust: Take a test ride to ensure everything is securely in place and feels comfortable. Make any necessary adjustments to the positioning of controls or angle of the handlebars.
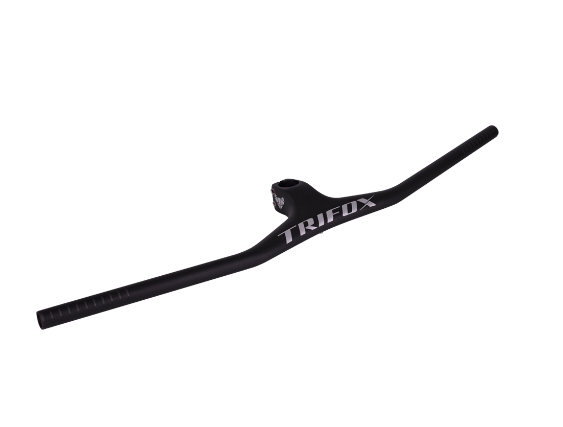
By following these steps, you can successfully upgrade your bike with a 3K weave handlebar like the Trifox Carbon Integrated Handlebar RHB200, enhancing both performance and aesthetics.
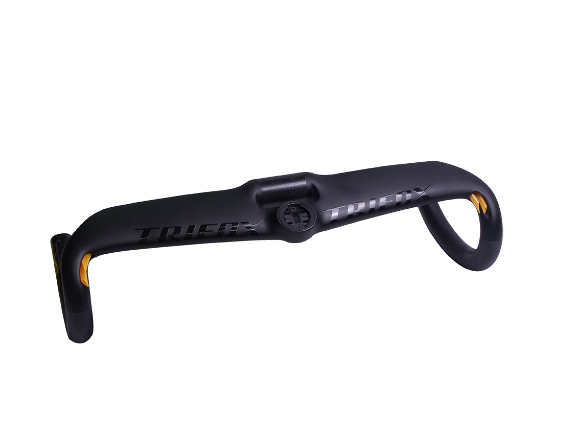
Selecting and installing the perfect bicycle drop bar can transform your riding experience, enhancing comfort, aerodynamics, and control. Here’s how to make the best choice:
Material: Opt for lightweight and durable materials like carbon fiber. The Trifox Aerofoil Section Carbon Drop Handlebar TC20AF is an excellent example, offering both strength and minimal weight.
Shape and Reach: Drop bars vary in shape (traditional, compact, ergo) and reach (distance from the bar to the brakes). Compact bars are great for smaller hands and provide easier access to controls. Ergo shapes offer enhanced comfort by fitting the natural curve of your hands.
Width: Match the width of the drop bar to your shoulder width for optimal control. Wider bars improve stability, while narrower bars reduce wind resistance, benefiting aerodynamic performance.
Drop: The drop (vertical distance between the top and bottom of the handlebars) affects your riding posture. A deeper drop suits more aggressive, aerodynamic positions, while a shallower drop is better for relaxed rides.
Installation: Installing drop bars can be straightforward. First, remove the old handlebars and clean the stem. Position the new bars and ensure alignment with the front wheel. Tighten the clamp bolts evenly. Attach the brake levers and shifters, ensuring comfortable reach. Finally, wrap the bars with handlebar tape for a secure grip.
Test Ride: After installation, take a test ride to adjust the positioning as needed. Ensure that the brake levers and shifters are within easy reach and that the overall setup feels comfortable.
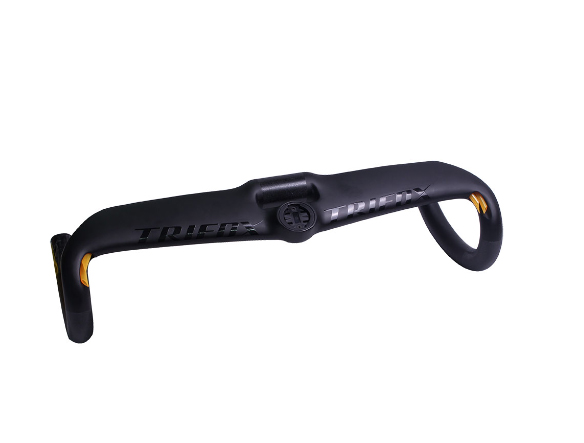
By carefully selecting and properly installing the right drop bar, like the Trifox Aerofoil Section Carbon Drop Handlebar TC20AF, you can significantly enhance your cycling performance and comfort.
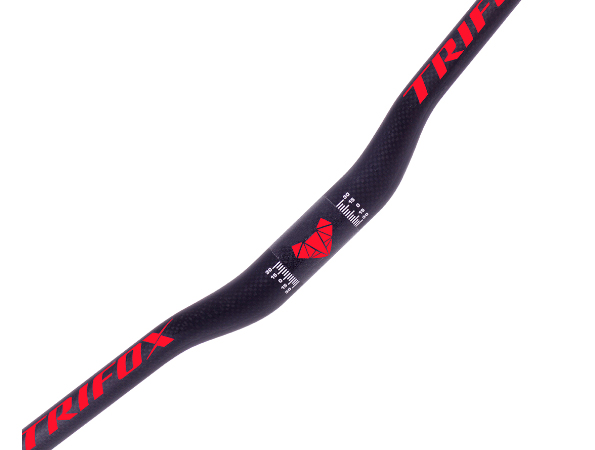
Choosing the best lightweight MTB handlebar for your mountain bike can significantly enhance your comfort, control, and overall riding experience. Here are some key considerations to guide you:
Material: The material of your handlebar plays a vital role in its performance. Carbon fiber handlebars, like the Trifox Carbon Riser Handlebar RHB300, are a top choice due to their superior strength-to-weight ratio. They also excel in absorbing trail vibrations, providing a smoother and more comfortable ride compared to aluminum counterparts.
Width: The width of the handlebar affects control and stability. Wider bars offer better leverage, making them ideal for rough terrains and technical trails. To determine the optimal width, consider your shoulder width and riding style. Cross-country riders might opt for narrower bars for agility, while enduro or downhill riders benefit from wider bars for enhanced control.
Rise and Sweep: The rise refers to the height difference from the center to the ends of the bar. Higher rise handlebars provide an upright riding position, which is beneficial for downhill and technical riding. Lower rise handlebars are preferred for cross-country biking. The sweep, or backward angle of the handlebar, impacts wrist comfort. More sweep can reduce wrist strain during long rides.
Clamp Diameter: Ensure that the handlebar's clamp diameter matches your stem size. Common sizes are 31.8mm and 35mm, with larger diameters offering increased stiffness and strength.
Weight: Since you're focusing on lightweight options, prioritize handlebars that minimize weight without compromising strength and durability. Carbon fiber is often the best material for achieving this balance.
Brand and Reviews: Lastly, consider reputable brands and read user reviews. A product like the Trifox Carbon Riser Handlebar RHB300 comes highly recommended for its quality and performance.
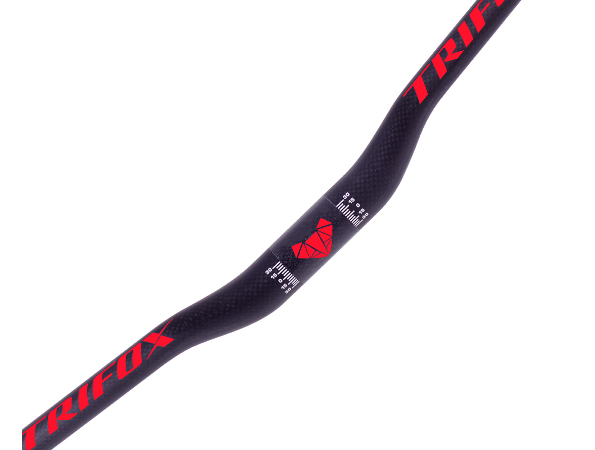
By considering these factors, you can find the perfect lightweight MTB handlebar that enhances your riding style and improves performance. For a reliable option, check out the Trifox Carbon Riser Handlebar RHB300.
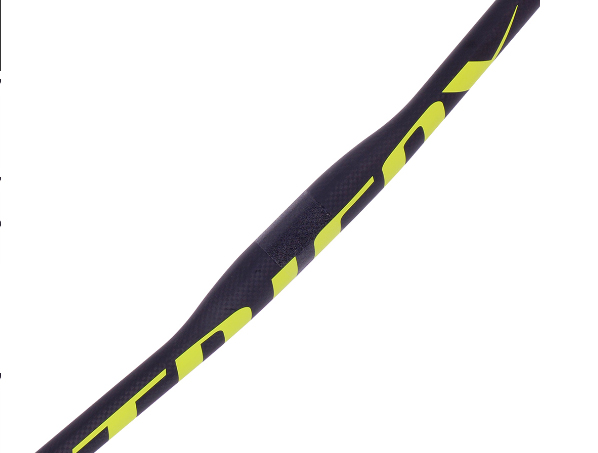
If you're an avid cyclist looking to improve your ride, you might want to consider upgrading to a flat bar. Unlike the traditional drop bars, flat bars offer a range of benefits that can enhance your cycling experience, especially for those who enjoy a more upright and comfortable riding position. Here’s why upgrading to a bicycle flat bar like the Trifox Carbon Flat Bar FHB100 could be the best decision you make.
1. Enhanced Comfort
One of the main reasons cyclists opt for flat bars is the enhanced comfort they provide. Flat bars allow for a more natural hand position, which can reduce strain on your wrists, shoulders, and back. This is particularly beneficial on longer rides or rough terrains where maintaining a comfortable posture is crucial.
2. Improved Handling and Control
Flat bars offer superior handling and control, making them ideal for urban commuting and off-road trails. The wider grip provides better leverage, allowing for more precise steering and easier maneuverability through tight spots or technical sections. The Trifox Carbon Flat Bar FHB100 is designed to optimize control while remaining lightweight.
3. Versatility
A flat bar setup is incredibly versatile and can adapt to various cycling styles. Whether you’re riding in the city, tackling mountain trails, or enjoying casual weekend rides, a flat bar can accommodate your needs. It’s also easier to attach accessories like lights, bells, or GPS devices to a flat bar, adding to its practicality.
4. Durability
Upgrading to a high-quality flat bar, such as the Trifox FHB100, ensures greater durability and longevity. Made from premium carbon fiber, the FHB100 is not only strong but also exceptionally lightweight, reducing the overall weight of your bike without sacrificing performance.
5. Ease of Installation and Maintenance
Switching to a flat bar is relatively straightforward and can usually be done with basic tools. Additionally, flat bars tend to require less maintenance compared to drop bars, as they have fewer components that can wear out or need adjustment.
6. Aesthetic Appeal
For many cyclists, the sleek, minimalist look of a flat bar is more appealing than the more complex appearance of drop bars. The Trifox Carbon Flat Bar FHB100, with its clean lines and refined finish, can give your bike a modern, streamlined look.
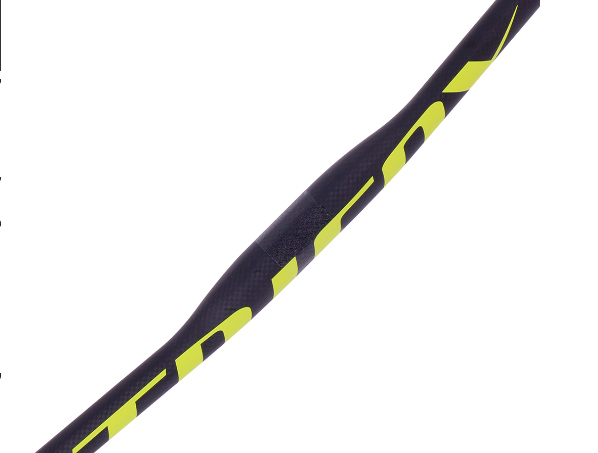
In conclusion, upgrading to a bicycle flat bar like the Trifox Carbon Flat Bar FHB100 offers numerous benefits, from enhanced comfort and improved handling to greater durability and aesthetic appeal. Whether you’re looking to tackle new terrains or simply make your daily commute more enjoyable, a flat bar could be the perfect upgrade to elevate your cycling experience.


