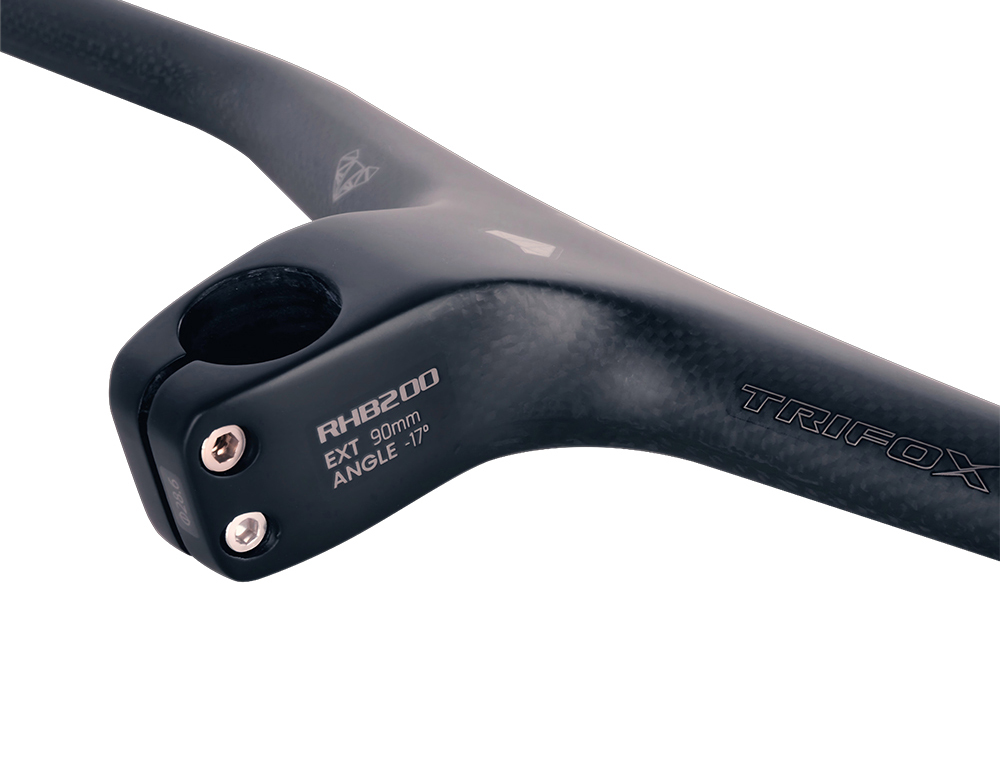
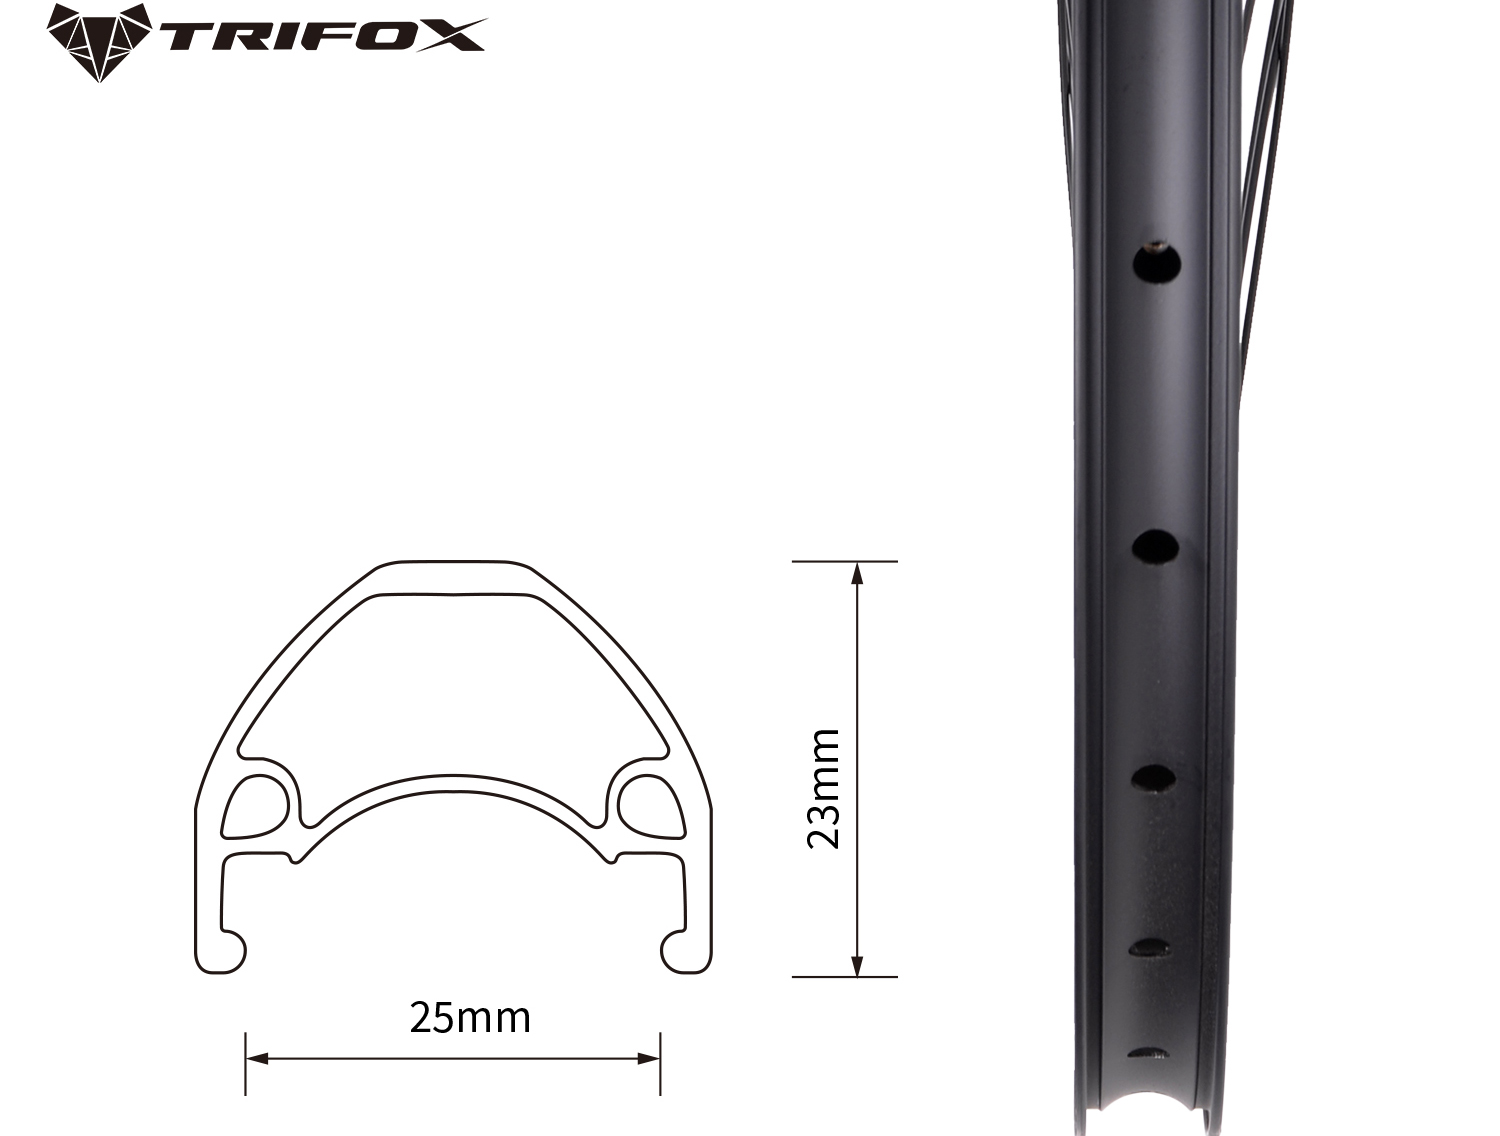
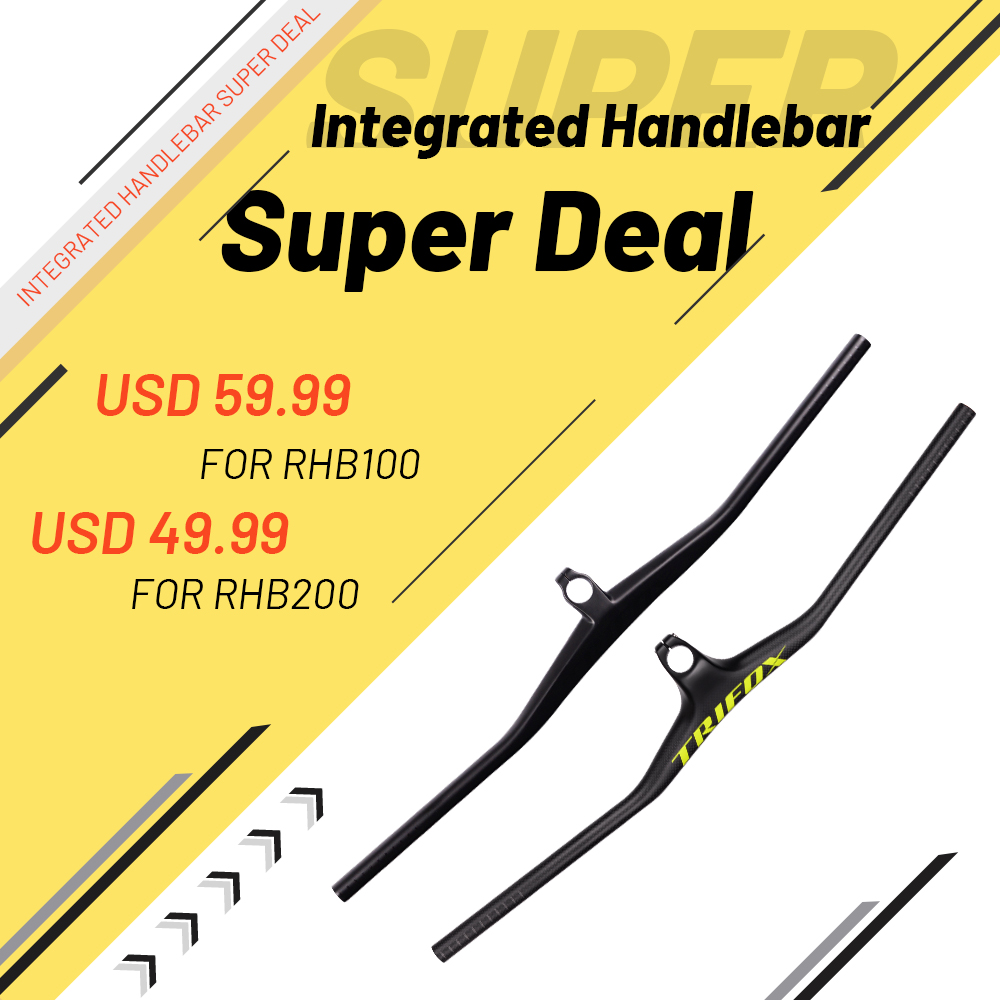
The integrated stem handlebar has become a popular choice among cyclists for its sleek design, aerodynamic benefits, and weight savings. However, selecting the best one for your cycling needs requires careful consideration. In this guide, we'll walk you through the process to help you make an informed choice.
Understanding Integrated Stem Handlebars
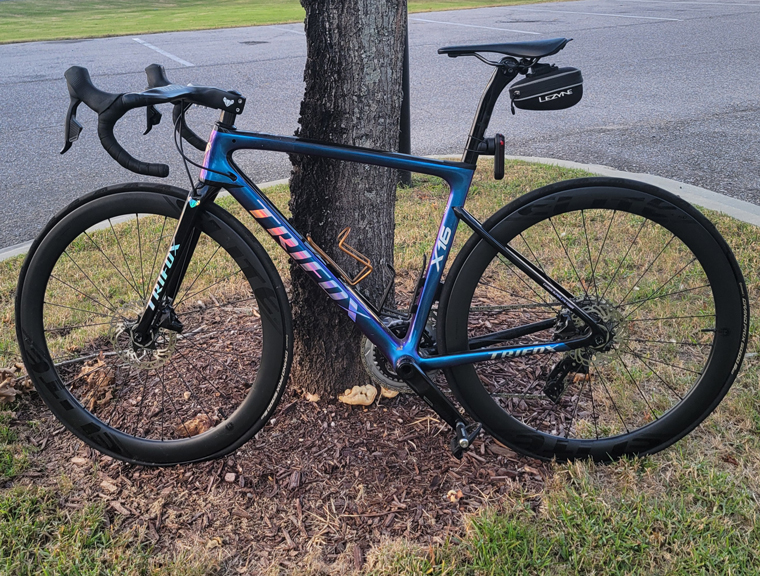
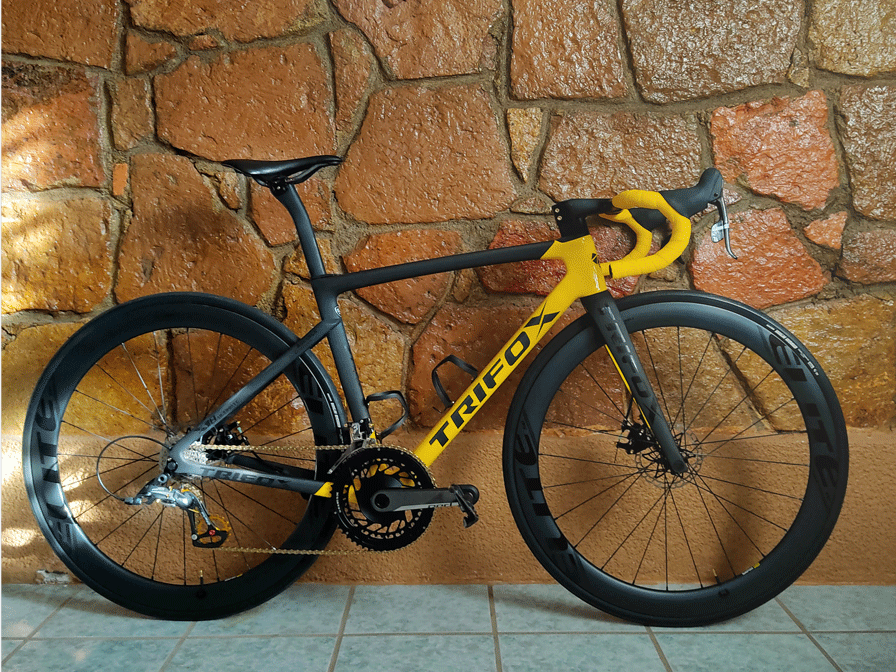
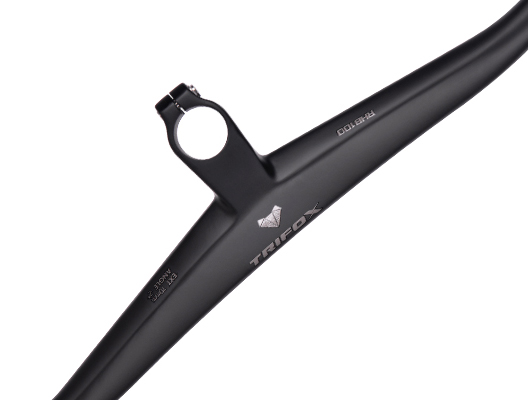
Integrated stem handlebars are a single unit that combines the handlebars and the stem. They offer a streamlined look, improved aerodynamics, and often a weight reduction compared to traditional separate stem and handlebar setups. However, they also limit adjustability, so it's crucial to choose the right one.
Factors to Consider When Choosing an Integrated Stem Handlebar
1. **Width:** The width of your handlebars should match the width of your shoulders for optimal comfort and control.
2. **Reach:** This is the distance from the center of the handlebar top to the furthest edge of the brake hoods. A longer reach is suitable for cyclists with long arms or those who prefer a more aggressive riding position.
3. **Drop:** The drop is the vertical distance from the handlebar tops to the bottoms. A smaller drop is easier for riders to reach and is comfortable for long rides.
4. **Material:** Most integrated handlebars are made of carbon fiber for its strength, lightness, and vibration-damping properties.
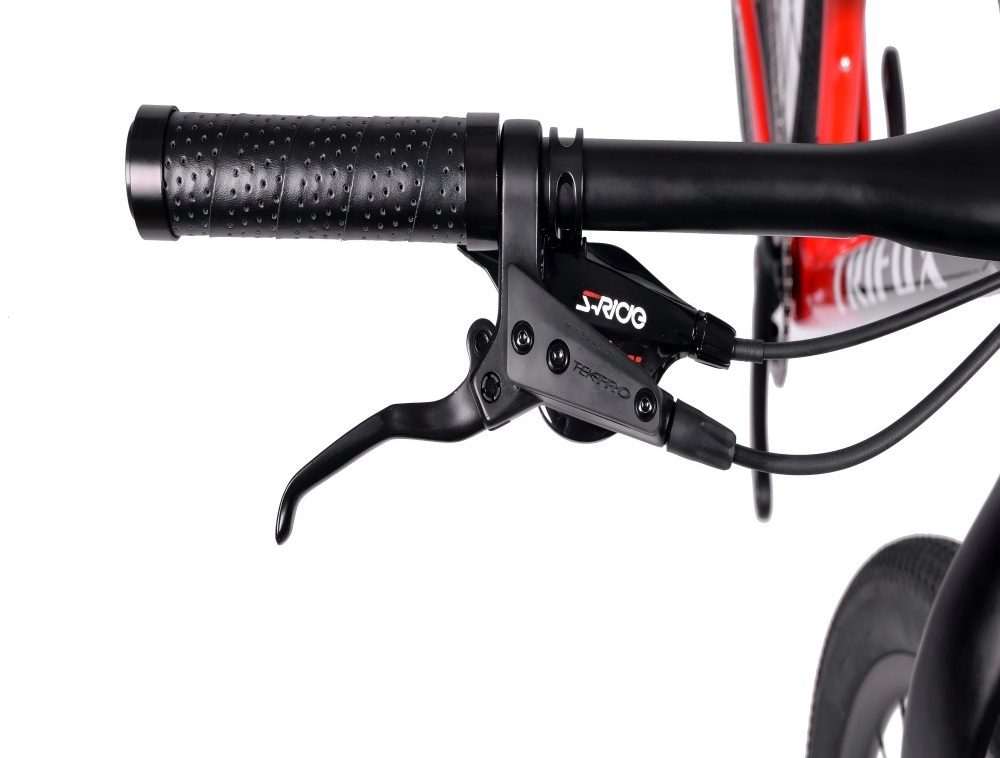
5. **Cable Routing:** Many integrated handlebars allow for internal cable routing, which improves aerodynamics and gives a cleaner look.
6. **Compatibility:** Ensure the handlebar is compatible with your bike's frame, fork, and headset. Also, check compatibility with your groupset and accessories like lights or GPS mounts.
Installing Your Integrated Stem Handlebar
Once you've chosen the perfect integrated stem handlebar, it's time to install it. Here's a simple step-by-step guide:
1. **Remove Old Components:** Start by removing your old handlebars and stem. Be careful when disconnecting brake and gear cables.
2. **Install the Integrated Handlebar:** Place the new integrated handlebar in the correct position on the steerer tube and tighten it according to the manufacturer's specifications.
3. **Reconnect Cables:** Thread your brake and gear cables through the integrated handlebar, following the manufacturer's instructions for internal routing if applicable.
4. **Reinstall Components:** Reattach your brake levers, shifters, and any accessories. Make sure everything is secure and in the right position for you.
5. **Final Adjustments:** Finally, adjust your handlebar angle and brake lever position for optimal comfort and control.
Conclusion
Choosing the best integrated stem handlebar for your cycling needs can significantly enhance your riding experience. By understanding what to look for and how to install it, you can enjoy the benefits of a clean, aerodynamic setup. Happy riding!


