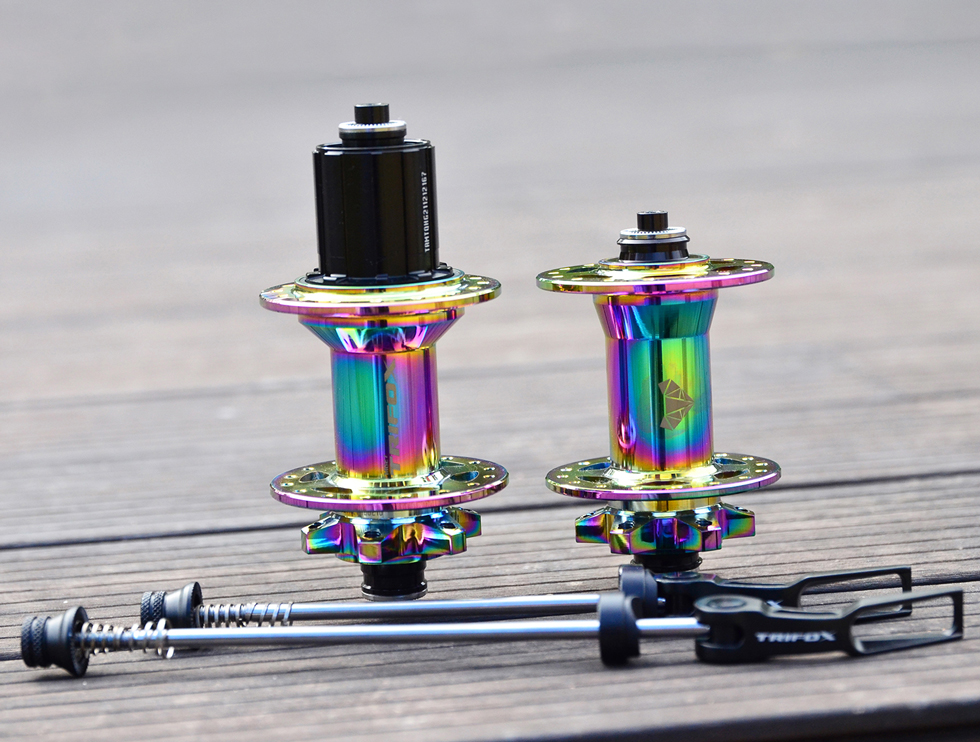
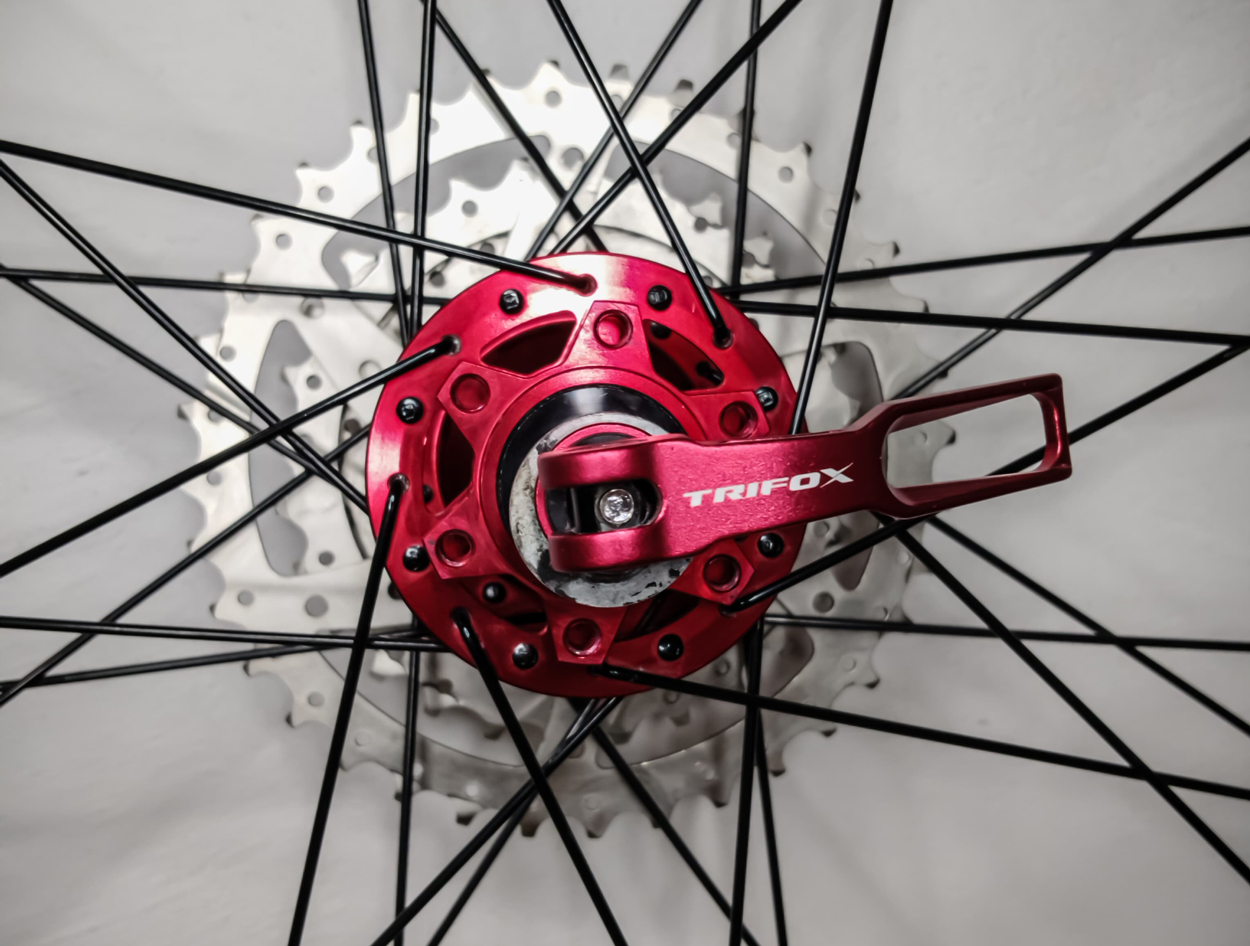
When it comes to cycling, one of the most important components is the hub. The hub is the part of the bike that the cassette attaches to and where the rear axle is mounted. However, over time, the hub's components can wear out or be damaged, and you may need to replace them. One of the parts that might need to be replaced is the freehub body. The freehub body is responsible for the bicycle's chain and cassette rotation. Here's a step-by-step guide on how to replace a freehub body on a hub.
Step 1: Remove the Quick Release
To begin, you should remove the quick release that holds the wheel in place. This will give you more room to work on the wheel. You can remove the quick-release by flipping it over and unscrewing the bolt that connects it to the non-drive side of the hub. Then, you can pull the quick release out.
Step 2: Remove the Cassette
After removing the quick-release, you should remove the cassette from the hub using a cassette removal tool. The cassette is connected to the freehub using a lockring that needs to be removed with the help of a lockring tool. Once the lockring is removed, you can slide the cassette off the freehub.
Step 3: Remove the Freehub Body
Next, you should remove the freehub body. Depending on the type of hub you have, this may require different tools. Typically, a 10mm Allen key or a 15mm box spanner is used to remove the freehub body. Insert the 10mm Allen key or 15mm box spanner into the center of the hub and turn it counterclockwise to remove the freehub.
Step 4: Install the New Freehub Body
After removing the old freehub, you can install the new one. Place the new freehub body onto the hub and secure it with the same tool you used to remove the old one. Make sure that you tighten it enough to hold it in place.
Step 5: Reassemble the Cassette and Quick-Release
Once the new freehub body is installed, you can reassemble the cassette and lockring onto it. Afterward, you can slide the quick-release back into place and screw the bolt back into the hub's non-drive side. Make sure the wheel is secure and test the rotation before heading out for a ride.

Conclusion:
Replacing a freehub body on a hub may seem like a daunting task for some, but it's definitely doable with the right tools and knowledge. By following the steps outlined above, you should be able to perform this task with ease. Always remember to take care of your bicycle's components and perform routine maintenance to ensure that your rides are as smooth as possible. Happy cycling!


