Ensuring a leak-free ride when using tubeless tires largely depends on the correct application of rim tape. This essential component not only seals the spoke holes on your rim but also provides a smooth surface for the tire to adhere to, making it crucial for preventing air loss and maintaining tire pressure. Mastering the art of applying tubeless tire rim tape can seem daunting at first, but with the right guidance, you can achieve a perfect setup that will enhance your cycling experience.
1. Gather Your Materials
Before starting, ensure you have the necessary materials on hand:
- Tubeless rim tape of the correct width and length for your rims
- Scissors or a sharp blade
- Alcohol wipes or a clean cloth and isopropyl alcohol
- A tubeless valve
- Optional: Heat gun or hairdryer
2. Prepare the Rim
The key to a successful tape application starts with a clean rim. Use alcohol wipes or a cloth dampened with isopropyl alcohol to thoroughly clean the rim's surface, focusing on the area where the tape will adhere. This removes grease, dirt, and old adhesive residues, ensuring a strong bond between the tape and the rim. Allow the rim to dry completely before proceeding.
3. Choose the Correct Tape Width
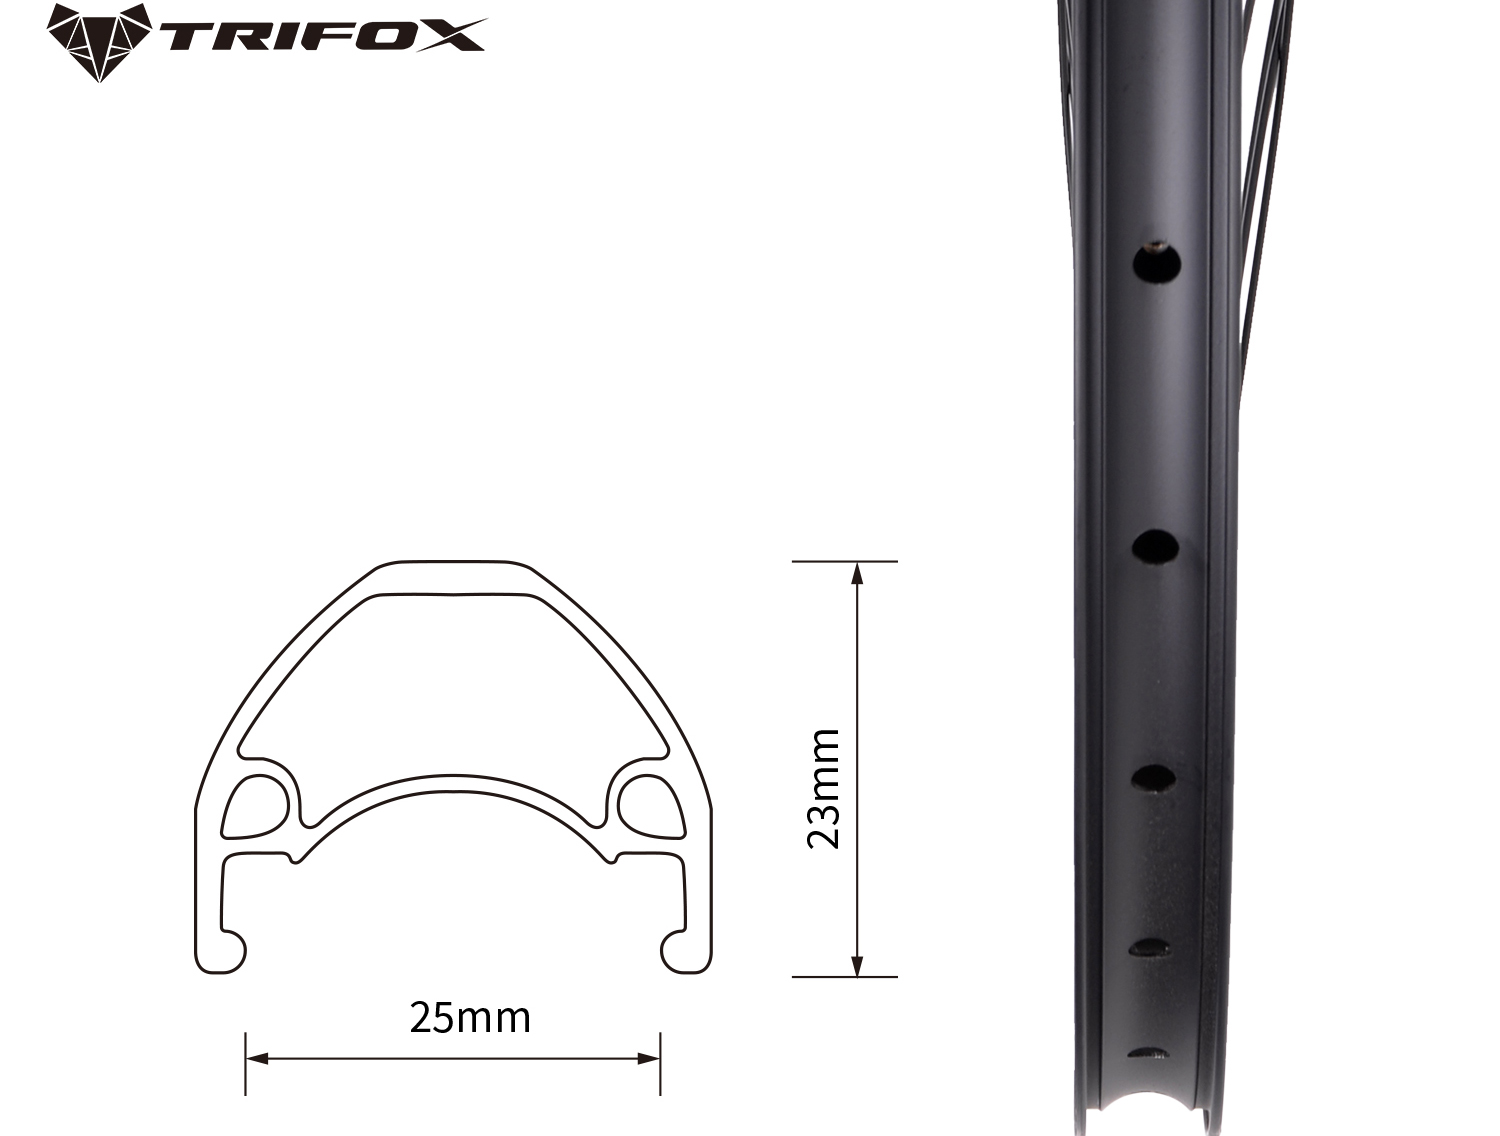
Selecting the right tape width is crucial for an effective seal. The tape should cover the entire inner width of the rim, extending slightly up the sidewalls but without encroaching on the area where the tire bead sits. Typically, the tape width should be 2-3mm wider than the internal width of your rim. This ensures complete coverage of the spoke holes and provides a sufficient sealing surface.
4. Start Applying the Tape
Begin by locating the valve hole on your rim. Position the end of the tape approximately 10cm (about 4 inches) to one side of this hole, pressing the tape firmly onto the rim. Slowly unroll the tape, stretching it slightly as you go to ensure it lays flat and adheres tightly. It's important to keep tension on the tape to avoid wrinkles or air bubbles, which could compromise the seal.
As you apply the tape, make sure it's centered and extends slightly up the sidewalls. Use your fingers or a small roller to smooth out the tape and firmly press it into place, paying extra attention to the area around the spoke holes.
5. Overlap and Cut
Once you've made a complete circuit of the rim, overlap the starting point by at least 15cm (about 6 inches) to ensure a secure seal. Cut the tape cleanly with scissors or a sharp blade. Firmly press down on the overlapping section to eliminate any potential gaps.
6. Create a Valve Hole
Locate the valve hole beneath the newly applied tape. Using a small, sharp object, carefully make a hole through the tape at this location. The hole should be just large enough to fit the valve stem through—too large of a hole can lead to leaks. Insert the tubeless valve through the hole, ensuring a tight fit. The rubber base of the valve should sit flush against the tape, creating an airtight seal.
7. Seal and Finish
For added durability and to ensure the tape adheres securely to the rim, consider gently heating the taped area with a heat gun or hairdryer. This softens the adhesive, allowing it to bond more deeply into the rim's surface. Once heated, go over the tape once more with firm pressure to ensure it's fully adhered.
After the tape is applied and the valve is in place, mount your tubeless tire onto the rim and inflate it according to the manufacturer's recommendations. The air pressure will help push the tape into place, further enhancing the seal.
8. Test for Leaks
Finally, it's crucial to test your setup for leaks. Submerge the rim and tire in water or spray soapy water along the rim and valve areas. Watch for any air bubbles that indicate a leak. If leaks are found, deflate the tire and reapply pressure to the tape or consider adding an additional layer of tape if necessary.
Applying tubeless tire rim tape correctly is vital for achieving a leak-free ride. By following these steps, you can ensure a robust and durable seal that will hold up under the rigors of your cycling adventures. Proper preparation, careful application, and thorough testing are the keys to success, allowing you to enjoy the benefits of tubeless tires with confidence.
