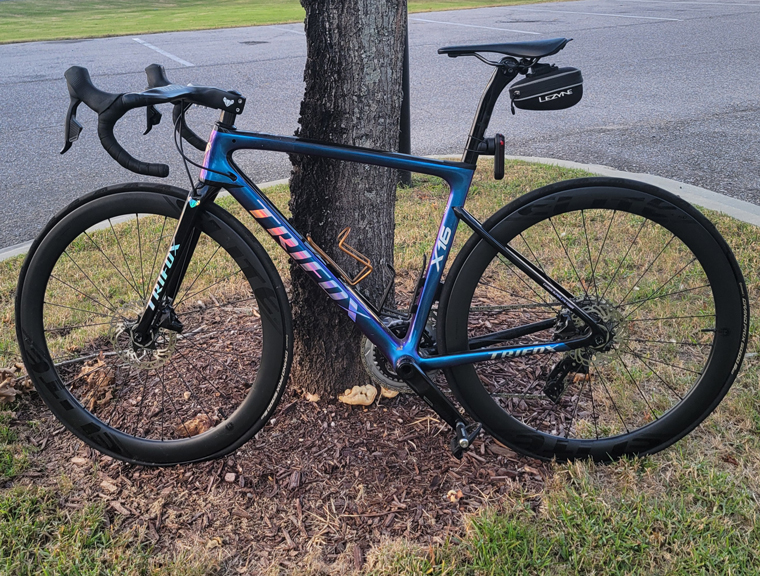
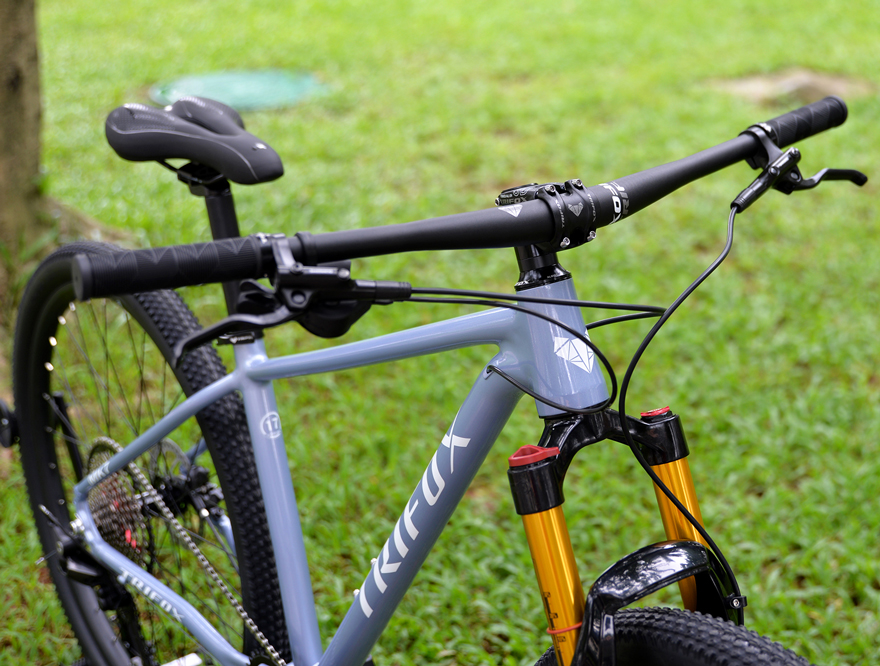
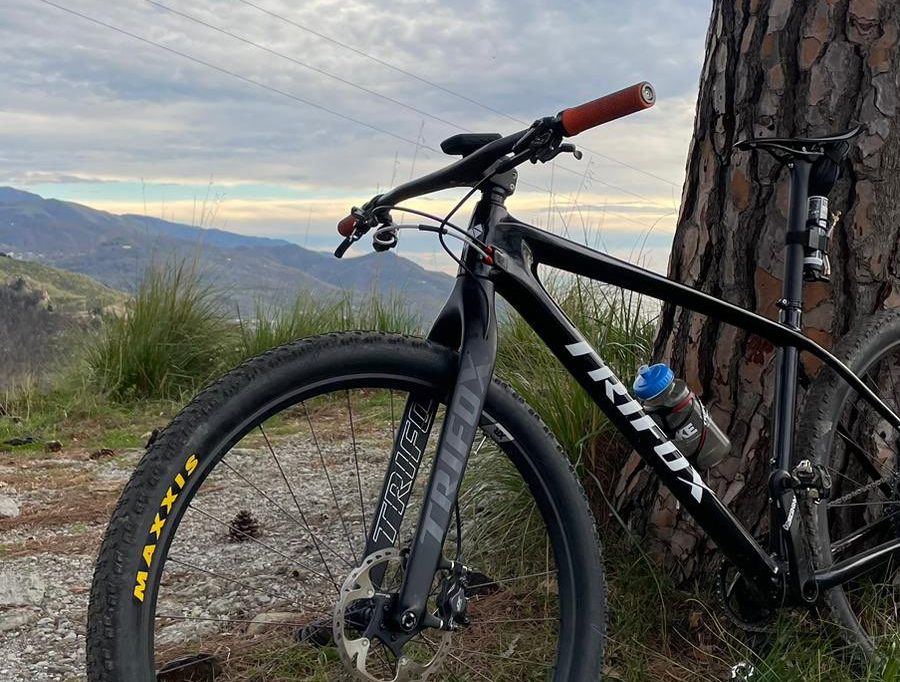
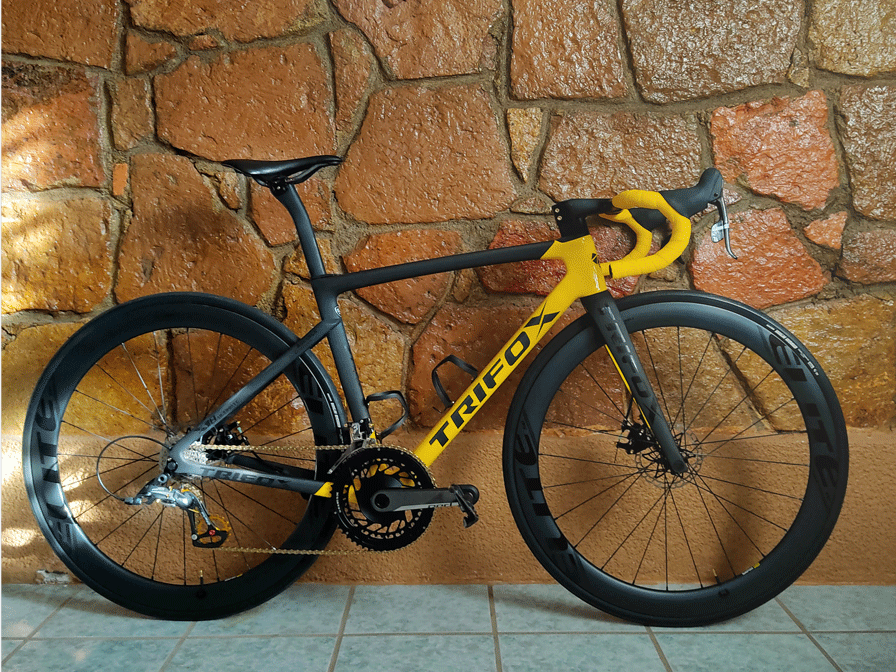
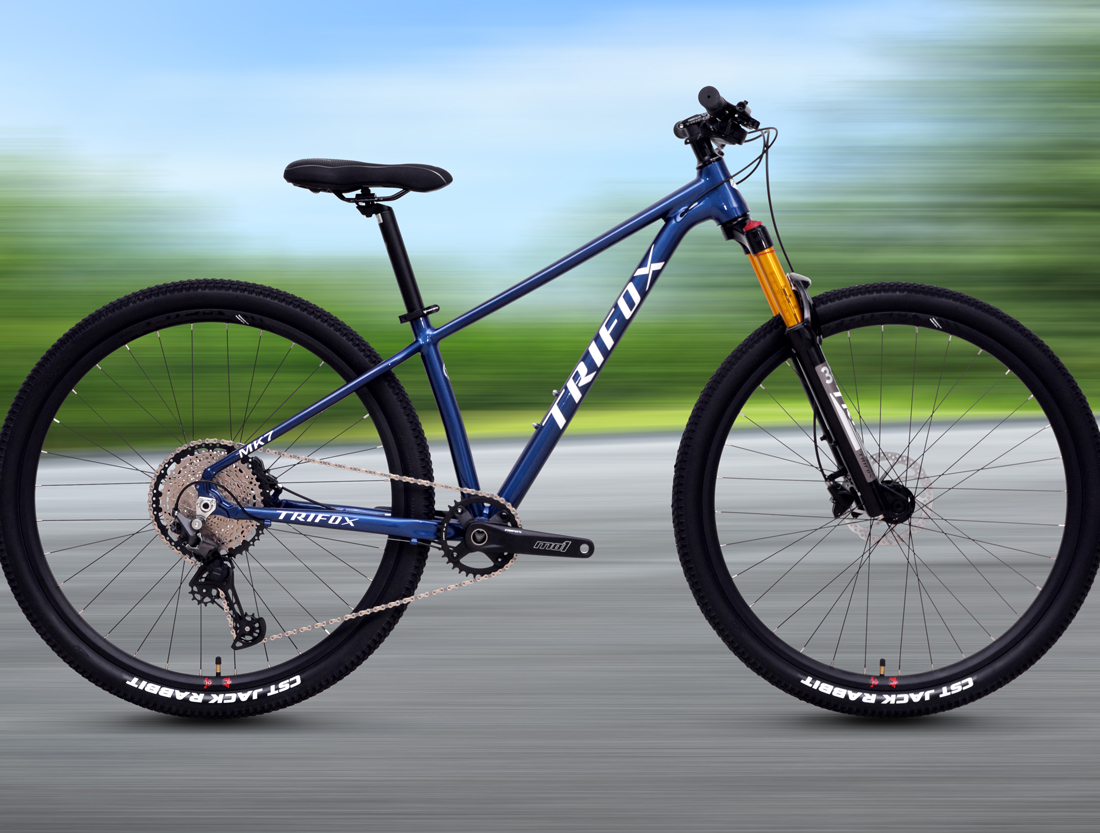
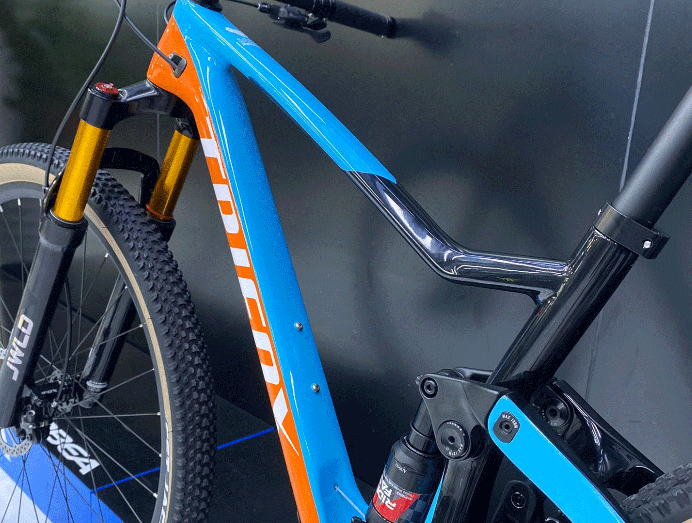
Do you have an old bike lying in your garage that needs some makeover? Painting your bike frame is an excellent way to give your old bike a new look without breaking the bank. Even if you’re new to the painting game, painting a bike frame is an easy and fun DIY project that anyone can do. With just a few tools and some basic knowledge, you can paint your bike frame and get a professional-looking result.
1) Prepare your bike frame:
The first and most important step towards painting your bike frame is to prepare it properly. This means removing all the components such as wheels, handlebars, and other bits and pieces. You'll also need to clean the frame thoroughly to remove any dirt, rust, or grease. Use a degreaser to get rid of any stubborn dirt and grime. Afterward, sand down the entire frame with fine-grit sandpaper, and clean it again with a microfiber cloth.
2) Choose the right paint:
The next step is to choose the right paint. You can use either spray paints or brush-on paints to paint your bike frame, depending on your preference. Spray paint is quick and easy, but it requires more preparation, whereas brush-on paint is more time-consuming but gives better results. There are many colors and finishes available for bike paints, so choose a color that suits your style and personality.
3) Apply paint to your bike frame:
Before applying paint, it's important to cover any parts of your bike frame that you don't want to get paint on. Use masking tape, newspapers, or old rags to cover those areas. Also, make sure to apply paint in thin layers to avoid drips and runs. Work in a well-ventilated area, preferably outdoors, to prevent inhaling fumes. Wait for each coat of paint to dry, and sand it lightly before applying the next layer. Repeat this step until you get the desired finish.
4) Dry and Reassemble:
Once you're happy with the results, allow the paint to dry completely. This can take anywhere from 24 to 48 hours, depending on the weather conditions. Once the paint is dry, you can reassemble the bike, but be careful not to scratch the paint. Attach the wheels, handlebars, and other components back onto the bike frame.
5) Finish with a clear coat:
The last step is to apply a clear coat to protect your newly painted bike frame. The clear coat gives a glossy finish to your bike and protects the paint from chipping and fading. Again, wait for each layer to dry before applying the next one.
Conclusion:
Painting your bike frame can be a fun and easy DIY project that can breathe new life into your old bike. With proper preparation, the right tools, and some patience, you can achieve a professional-looking finish that will have your friends marveling at your bike's new look. So, go ahead and try painting your bike frame, and have some fun while you're at it!


